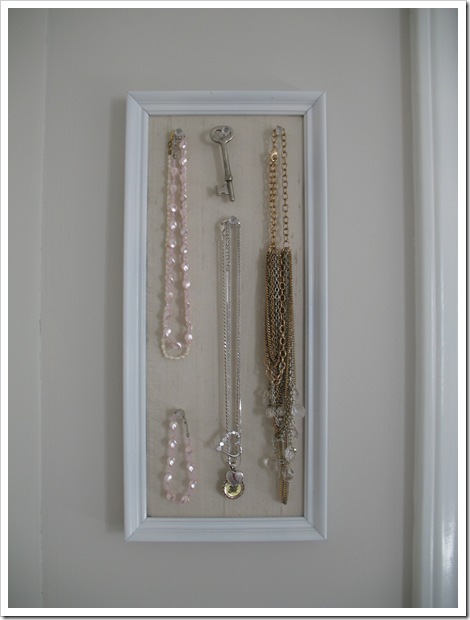
Yesterday I showed you how I had these two matching frames and I took one frame and two pieces of glass to make a butterfly collage. That left me with a second frame and two pieces of cardboard backer. Being ever-resourceful and in need of more things to hang on my walls ;) I decided to make a jewelry organizer to display some of my necklaces.
All you need is a frame, cardboard, fabric, tape, pushpins and jewelry, of course!
I took the two pieces of cardboard (that fit in the frame) and taped them together into a double thick piece (the thickness is important so your pushpins don’t fall out). Then I wrapped it with cream silk that would match my decor. I simply taped the fabric to the back of the cardboard. Easy peasy. Then I spray painted my frame white to match the trim in the room. Put the cardboard back in the frame and tape securely on the back. Tape is your friend. :) Lastly, I hung it on the wall behind my closet—it fits perfectly in that little space. Add some pushpins and the jewelry!
Now I have a place to hang my new fancy necklace that doesn’t fit in my jewelry box! Plus I get to display the weird old key that I found. FYI, I don’t wear that as jewelry. :)
What do you think? Do you have any old frames that you could convert into stylish jewelry organizers?


1 comments:
Oh, Auntie Sarah, your two nieces will love raiding your "jewelry organizer" LOL! That's such a clever idea. If I didn't think the girls would steal all my necklaces from it I would so make one. Maybe when they're older....
Post a Comment