Thursday, February 23, 2012

A Stove from the Future!

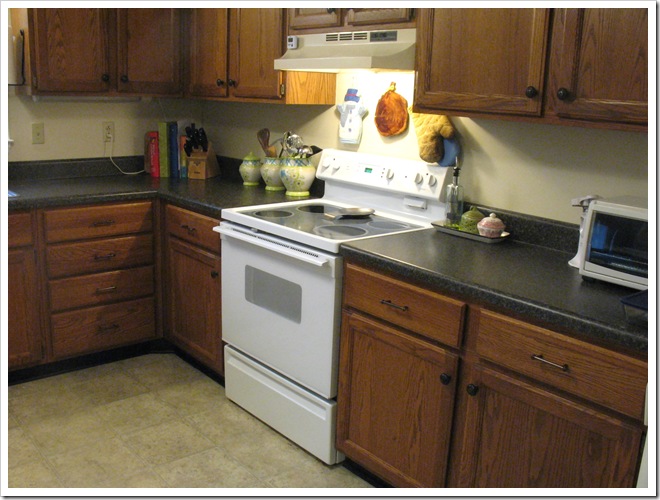
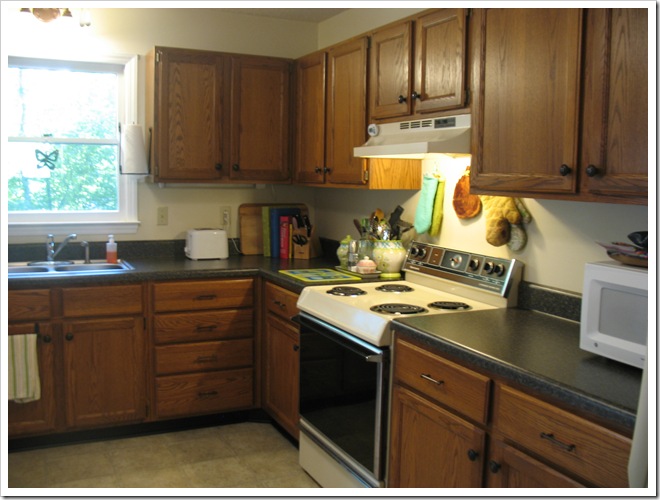
Greetings friends!  I have been absent from the blog for far too long.  So I am back today to share an upgrade that we made last week!  My sister found us a new stove that someone was getting rid of and they wanted to give it to us for FREE!  So naturally I said YES!  As you may have noticed our stove was looking at little, well… dated.  I’m pretty sure it was original to the house which is twenty-eight this year!  Ick.  A new stove was definitely called for, and when our oven element broke at Christmas, I begged for a new stove.  But frugality won out and we replaced the element for cheap.  Boy am I glad we waited!  Because we never would have received this beauty for free.  (Thanks Hannah!)

IMG_9617

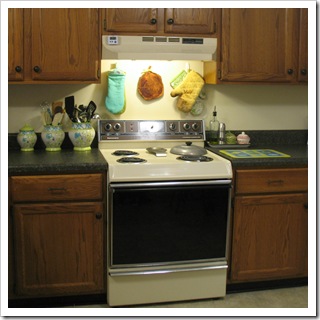
Here is the old stove:

IMG_7463

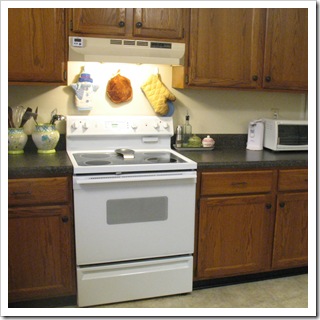
Blech.  And the new and improved:

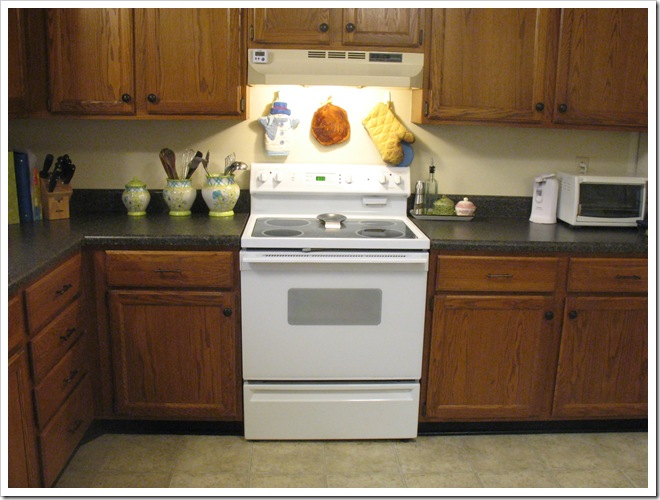
IMG_9618

The new stove is a bright white ceramic top model (from the future!)  It clearly trumps our old stove because it has not one, but two large burners and a self-cleaning oven.  Plus it’s bright and shiny, easy to clean the top, and the burners don’t go off intermittently while cooking. :)

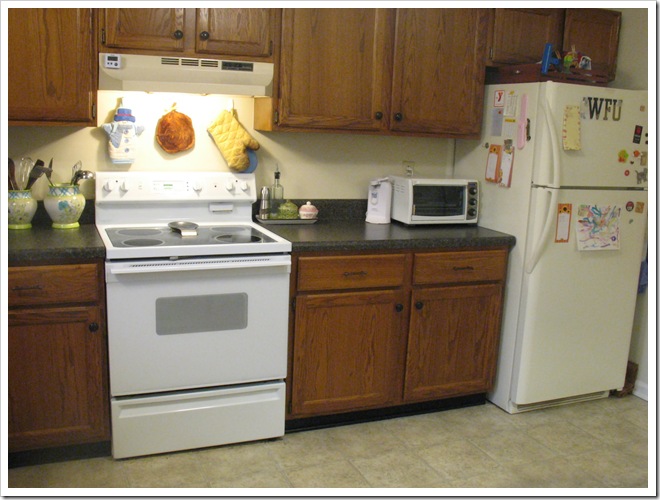
So spiffy and clean!  See the difference:

 IMG_8302   IMG_9620 

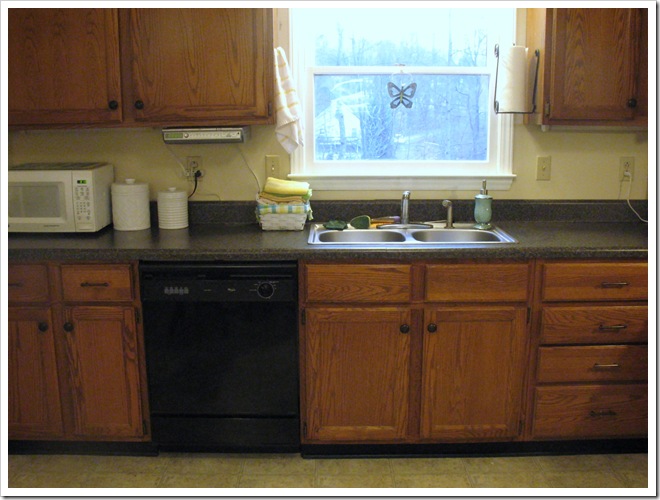
Now the problem we are faced with is a highly mismatched set of appliances.  White stove, almond hood (or is it bisque??), almond fridge, black dishwasher.  Glory.

IMG_9620 IMG_9623

In true Sarah fashion, I have a plan.  I’m thinking I can paint the refrigerator (and hood if we can’t find an affordable replacement) and create a new white panel for the dishwasher perhaps?  At least that will get us a bit closer to a semblance of matching.  And luckily all our countertop appliances are white, so they will fit right in.

And in the process of sprucing the appliances I plan to paint the walls and trim.  A fresh coat of paint (and some color!) will go a long way to freshening up this neglected space.  It is surely deserving since we spend so much time in the kitchen.  The kitchen work will kick off next month and I’ll be bringing you all the details!

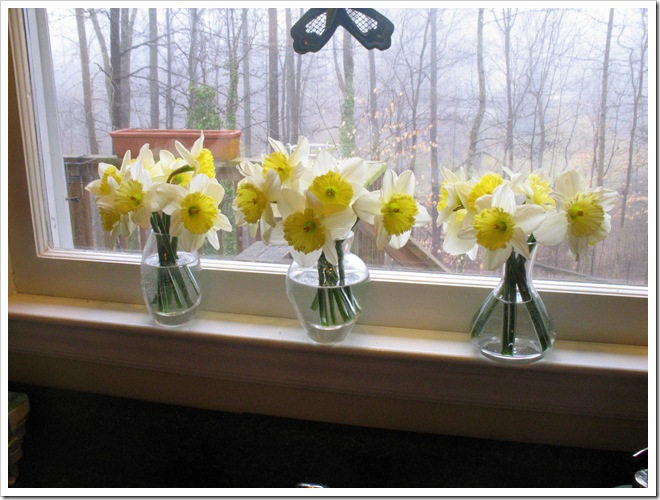
In the meantime, I’m celebrating the impending arrival of Spring with some of nature’s bounty in the kitchen window:

IMG_9626

So, how do you like my new stove?  Think it’s highly futuristic?  Think that mismatching appliances could be the new trend? 

Yeah, me neither.

signature

Sunday, February 05, 2012

DIY Shelf to Play Kitchen

Back in January I showed you a sneak peek of a project we have been working on.  It was a play kitchen for my niece’s birthday.  This weekend we celebrated her birthday so I am finally free to show you all the details of this project!

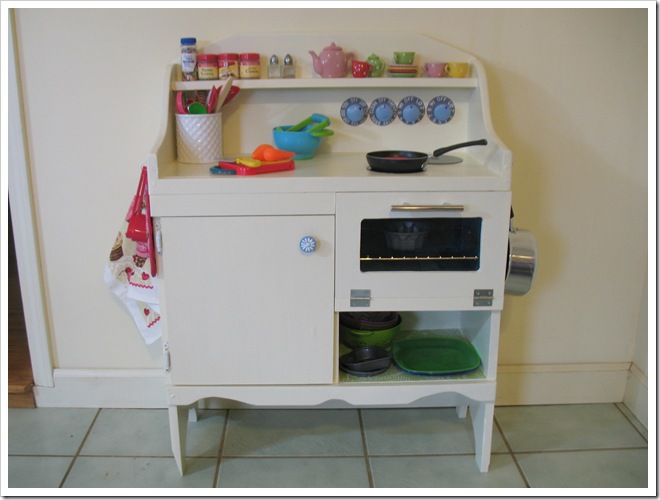
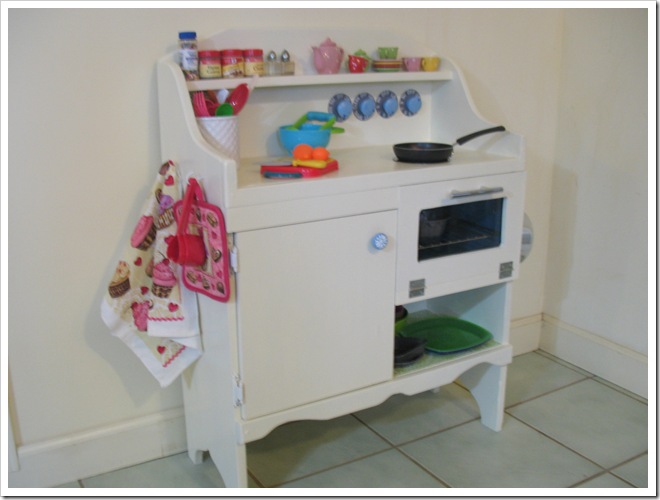
Here is the cuteness:

IMG_9447

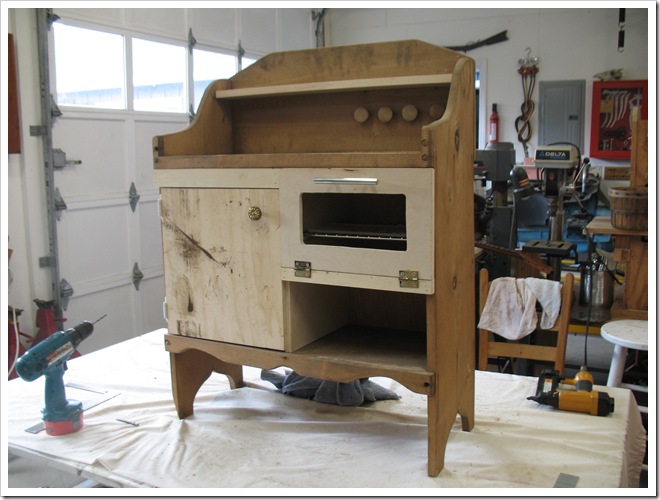
We started with a tiny shelf that had seen better days… I forgot to take a true “before” picture, but you can see in this picture what we were working with:

IMG_9280

I thought it was the perfect size to make a play kitchen, with room for an oven on one side and a workspace beside.  We opted not to add a sink because Abby is obsessed with playing in the water, and I have no doubt that her play sink would have quickly become a real sink.  Real sink = mess. 

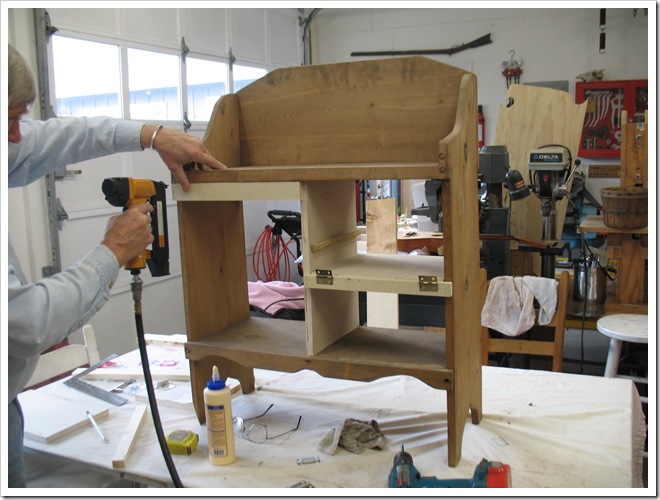
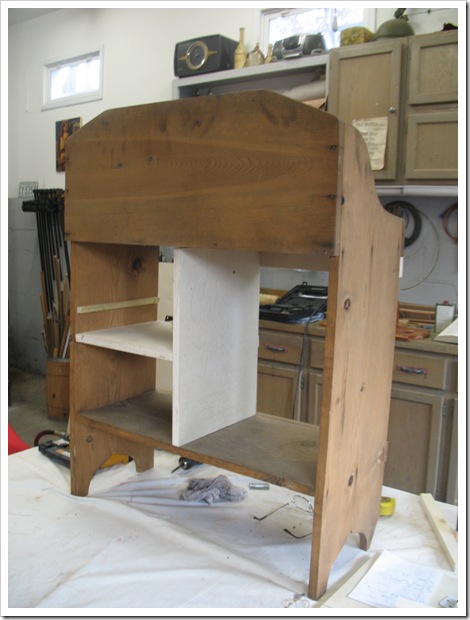
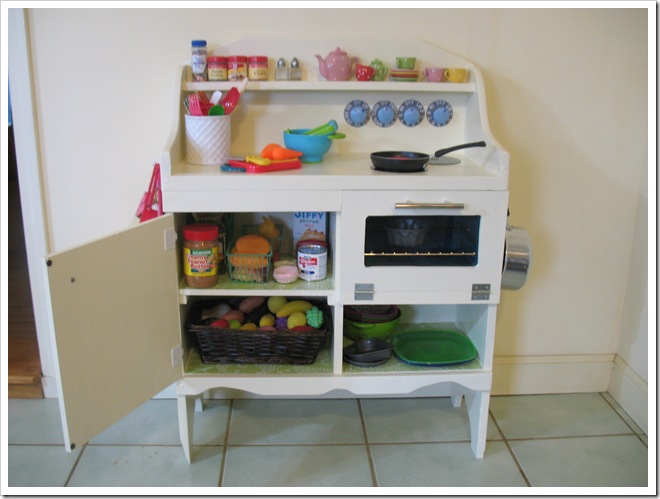
To begin with we added a center vertical divider to create the cabinet on one side and an oven and open cubby on the other.   

IMG_9283

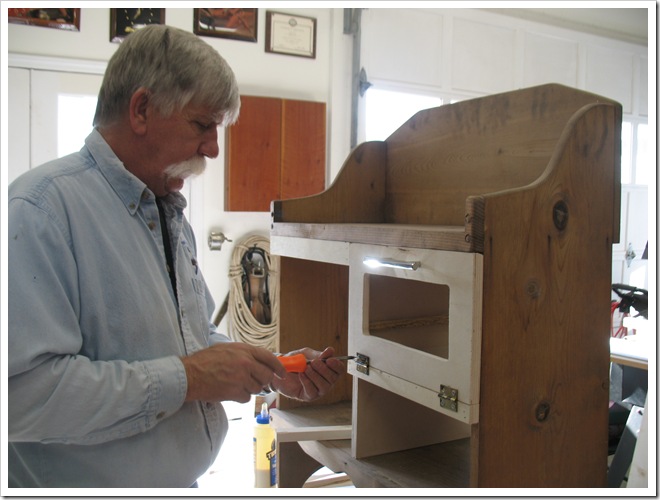
Then we added an oven door…

IMG_9287

A shelf, cabinet door, oven knobs and a back went on next.  The oven was fitted with a metal rack (leftover from a toaster oven) for added realism.

IMG_9292

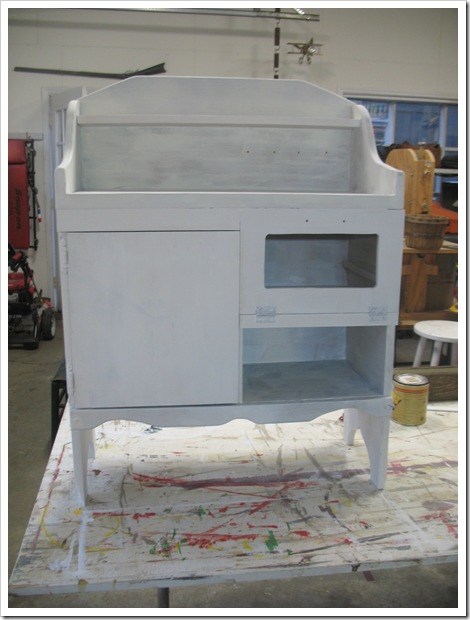
We spackled, sanded, caulked and primed the shelf to get ready for paint and details!

IMG_9302

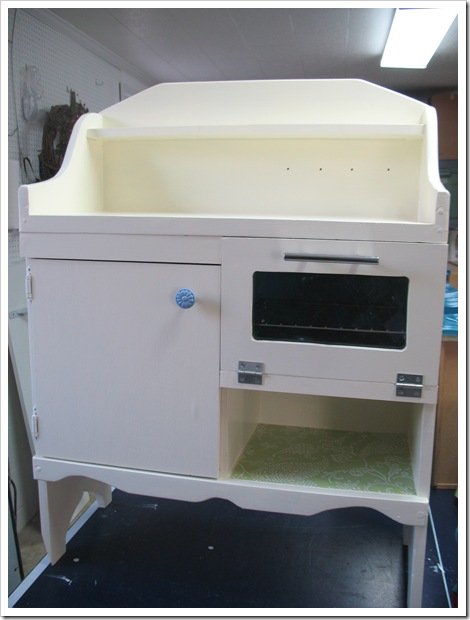
We painted it ivory with blue accents and I added green shelf paper.  And for a bit of fun, I painted the inside of the oven turquoise!

IMG_9314

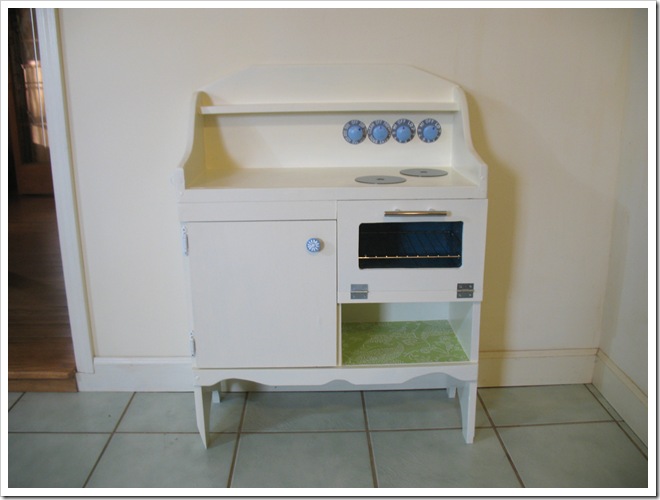
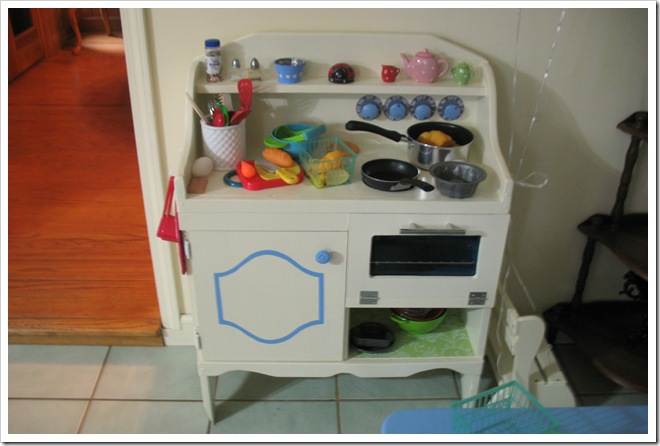
Here it is all finished and ready for kitchen accessories!

IMG_9430

We stocked it with food and equipment needed to run a proper kitchen.  

IMG_9451 IMG_9439

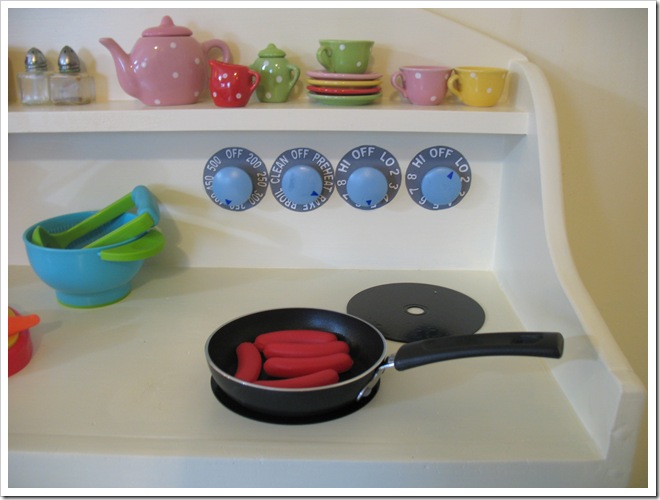
The stove knobs have labels to indicate temperature.  I printed it out and used Mod Podge to adhere them behind the knobs.  The stove burners are made from spray painted CDs (Thanks Donna, for the idea!).  I later painted the spaces under the center holes black.

IMG_9457

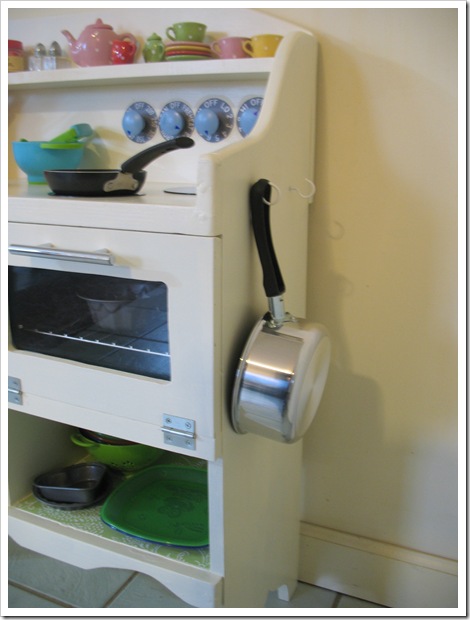
The sides have hooks for cookware and linens to hang.

IMG_9455

After we set it all up, I decided that the cabinet door needed a little something.  So I painted a blue border to tie in to the color scheme.

IMG_9514

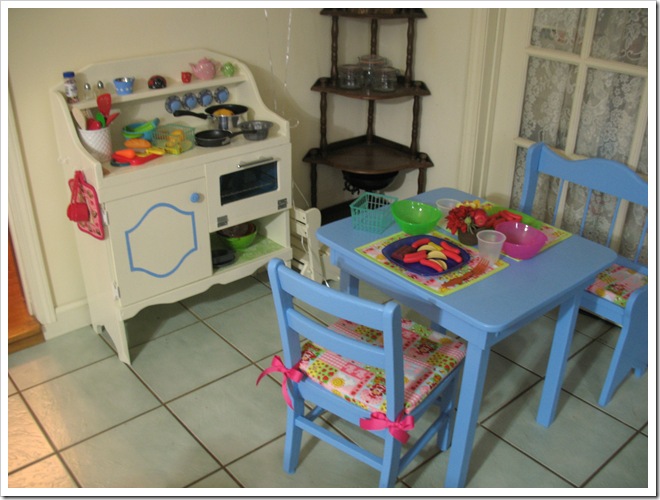
Mama painted Abby’s table and chairs blue to match and made new chair cushions.  It all looks so cute together!

IMG_9512

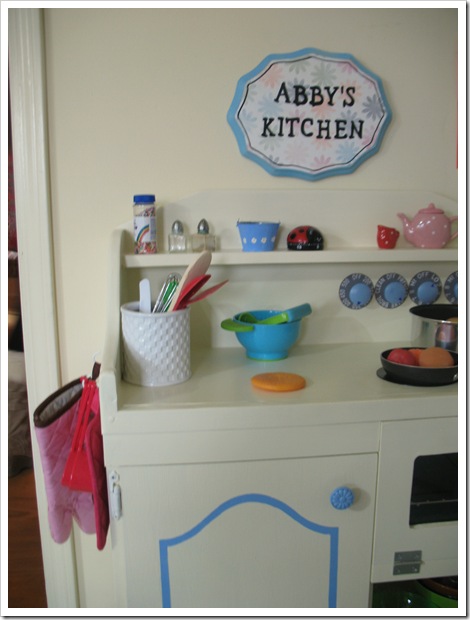
And, last but not least, I created a little sign to hang over the kitchen.  I got the wood cutout from Michael’s and decoupaged scrapbook paper on top.  Then I lettered it with a paint pen. 

IMG_9579

Abby loves her new kitchen!

Thanks for reading!

signature