Monday, January 31, 2011

A Spring Inspired Mantelscape

Most people probably don’t acknowledge the word “mantelscape”.  It’s like “tablescape”, but for your mantel.  Okay, some of you don’t acknowledge the word “tablescape” either.  It’s okay.  But in the world of home decor, mantelscapes are important.  People host link parties for them.  While I don’t find them important enough to party over (okay, maybe sometimes I do), I do like to decorate my mantel.  And “mantelscape” is easier to say and faster to type than “random stuff I arranged on the shelf over my fireplace.”

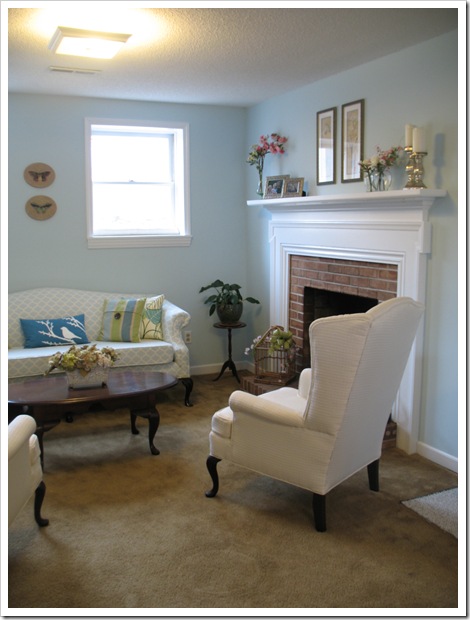
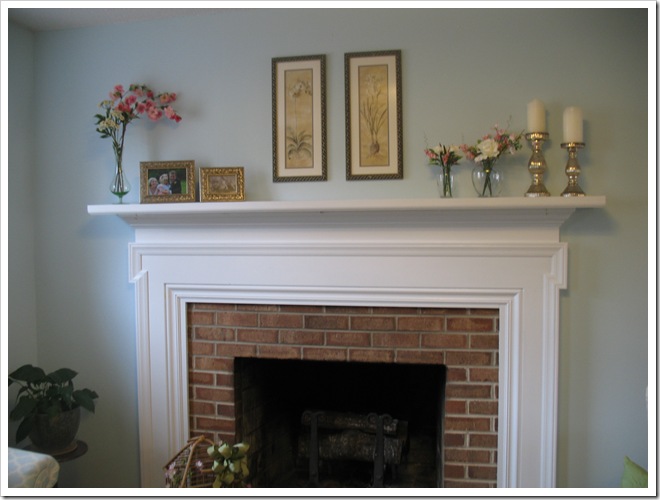
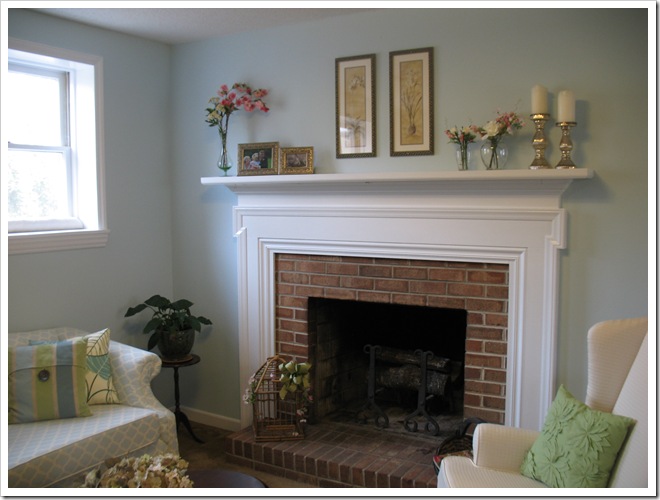
Anyway, after refreshing the foyer, and stealing our family sign from over the mantel, this area was looking a little neglected… especially since it hadn’t been redecorated after the Christmas decor was removed.  So, I set to work arranging random stuff on the shelf over my fireplace. :)  Some of it was already here, and some of it I thieved from other rooms.  I took those flower prints from the foyer before the refresh, and the green vase from the laundry room, and the other vases I had in the kitchen cabinets sans flowers, so I put them to use in here.  I like the different metallic finishes we’ve got going on, all variations of silvery gold.  And I’m digging the Spring colors popping off the blue walls… green and pink, my favorite :)  I thought about doing something Valentine’s inspired up there, but I didn’t really have any hearts and cupids laying around, and didn’t really feel like getting crafty, so I’m thinking this mantelscape will last well into Spring.  And for now, it’s serving to remind me that Winter won’t stick around forever, and Spring is just around the corner!

IMG_4510

IMG_4509

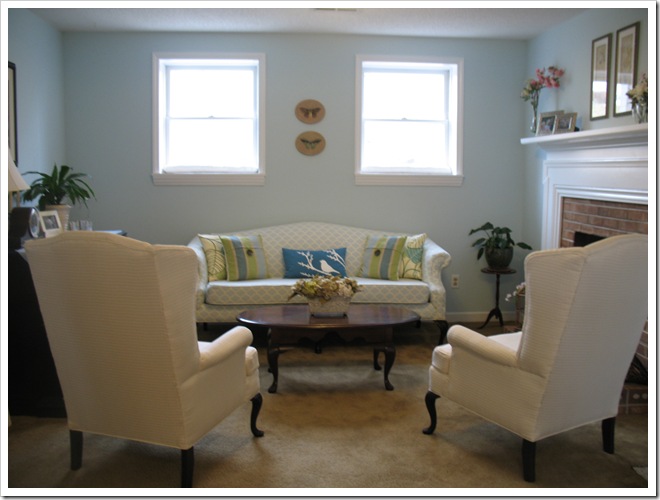
IMG_4517

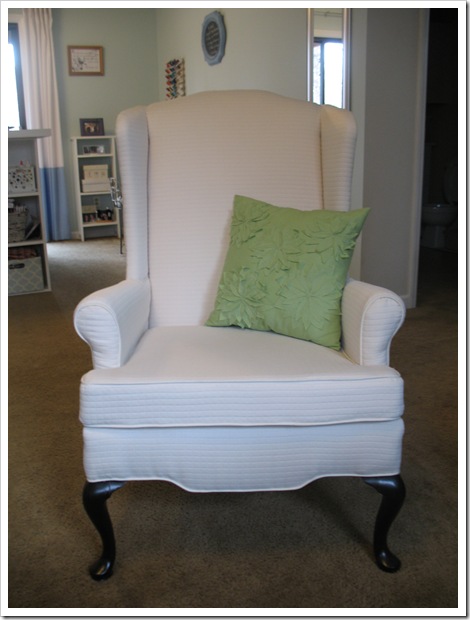
While we’re in here, I thought I’d show you the second wingback chair that was finished last year, but never pictured.

IMG_4506 IMG_4507

He’s a happy guy… if I could just keep Bandit from using the back as a scratching post, I’d be golden.  (Evil cat.)

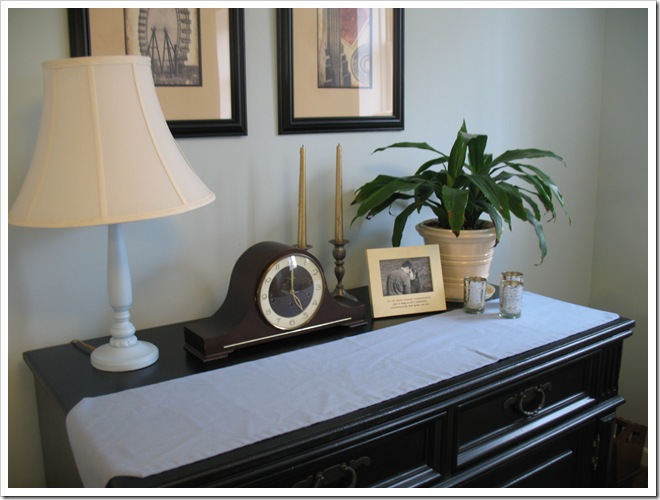
And I did a little sprucing over on the black cabinet, as well.  But I ran out of cute pink stuff.  Tragedy. 

IMG_4513

Anyway, hope you are enjoying the last few weeks of winter.  As if!

I hope Spring makes its arrival early this year!

And so does Riley…

IMG_4500

signature

Wednesday, January 26, 2011

The Sweet Gum Chainsaw Massacre

image

Let me introduce you to the gum ball (in case you haven’t already met).  And not the sugary candy from a machine kind.  The kind that prevent you from playing outside barefoot in summer, roll around like marbles trying to trip you on the driveway, and entice your dog to endlessly chew on them.  Yes, my dog loves to chew on gum balls… and acorns… and sticks. 

Anyway, gum balls are evil.  They litter up my yard every fall, covering it with little spiky balls of torture.  The mower won’t shred them, the blower won’t scatter them, so they just sit there, getting smushed into the dirt, becoming permanently imbedded between tufts of grass, and piling up in the flower beds.  We hate them.  We have waged war on gum balls.  The only effective way to wage war against gum balls is to wage war against gum trees, from which all gum balls come.  Enter the gum ball warriors! 

My Papa and brother John, the chainsaw wielding lumbermen! 

papa  little red and her woodsman

Yes, I realize one of these pictures is from Halloween. I also realize there is no use of hammers in gum tree wars. 

Note to self:  Must remember to take more pictures of Papa and John holding chainsaws.

Last year they took down two gum trees in the side yard and this winter they felled one in the front yard.  Here are the lumbermen in action still life:

IMG_4318   IMG_4316 IMG_4317

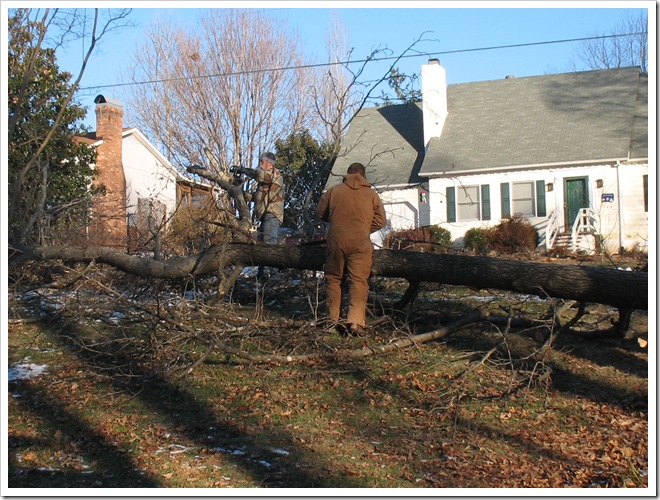
They made swift work of that tree, felling it in the time it took for me to brush my teeth. I didn’t even get to see it fall… which is probably a good thing, considering that this is where it landed:

IMG_4417

Right smack on top of my butterfly bush!  Luckily, these things grow super fast, and this one was due for a trim anyway. 

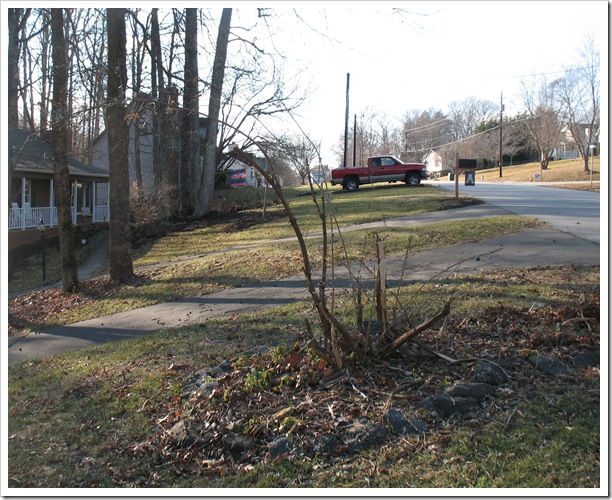
Here’s a glimpse of the new landscape sans gum tree (plus all the wood that the lumbermen couldn’t carry and will have to come back for):

IMG_4419

We are already enjoying the more open view without the tree, but come this Spring, I will really enjoy all the extra sunshine!  I can finally grow some “part-sun” plants on that side of the yard!  I’ll be sure to post before and after shots when the leaves come out.  While the tree may be gone, it left behind all its gum ball hangers-on.  I look forward to raking them all up and saying good riddance!  Now if I could just convince the neighbors to cut down all their gum trees, we could eradicate these pesky gum balls from our yard once and for all!  For now, I’m happy just to be free of one more gum tree. 

Lumbermen 3  Gum Trees 0. 

Victory is ours.

signature

Wednesday, January 19, 2011

DIY Jewelry Organizer

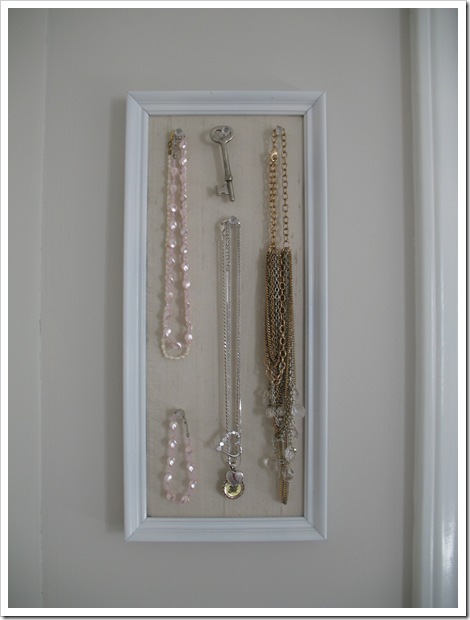
Yesterday I showed you how I had these two matching frames and I took one frame and two pieces of glass to make a butterfly collage.  That left me with a second frame and two pieces of cardboard backer.  Being ever-resourceful and in need of more things to hang on my walls ;) I decided to make a jewelry organizer to display some of my necklaces. 

All you need is a frame, cardboard, fabric, tape, pushpins and jewelry, of course!

I took the two pieces of cardboard (that fit in the frame) and taped them together into a double thick piece (the thickness is important so your pushpins don’t fall out).  Then I wrapped it with cream silk that would match my decor.  I simply taped the fabric to the back of the cardboard.  Easy peasy.  Then I spray painted my frame white to match the trim in the room.  Put the cardboard back in the frame and tape securely on the back.  Tape is your friend. :)  Lastly, I hung it on the wall behind my closet—it fits perfectly in that little space.  Add some pushpins and the jewelry! 

Now I have a place to hang my new fancy necklace that doesn’t fit in my jewelry box! Plus I get to display the weird old key that I found.  FYI, I don’t wear that as jewelry. :)

IMG_4414

What do you think?  Do you have any old frames that you could convert into stylish jewelry organizers?

signature

Tuesday, January 18, 2011

Les Papillons

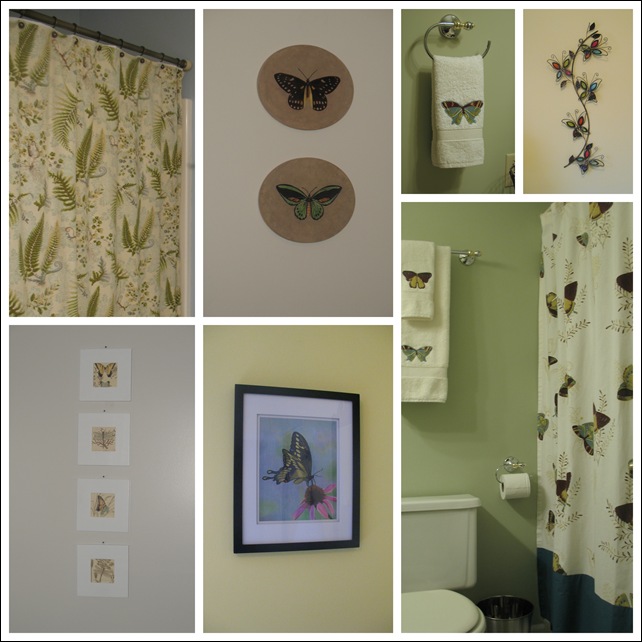
This blog should be called “Decorating with Butterflies”.  Apparently I love them and just can’t get enough butterflies!  They live in almost every room of the house:

butterflies

They are my go-to for art, fabric and accents.

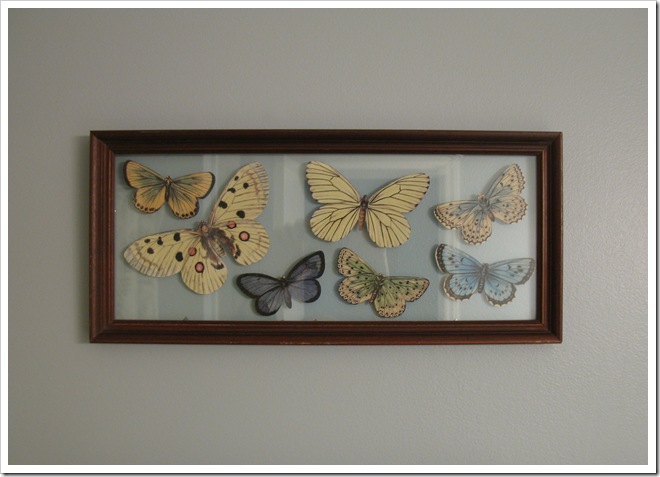
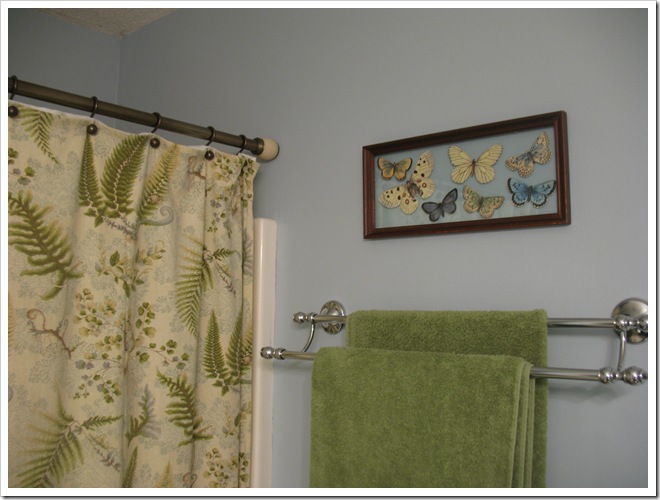
Case in point:  I’m looking for something to hang above the towel bar in our newly repainted master bathroom.  Everything I have is either too big or too small or has kittens on it and says something about sisters.  Then I remember these two long skinny frames that my Mama gave me.  With seashell prints.  Obviously the seashells have to go.  But what can I put inside?  At 14” wide I don’t have anything I can print that would fit.  So I decide to sandwich something between the two pieces of glass (one from each frame).  Ferns would be good but its winter and I don’t have any in the garden that don’t look frozen.  Hmmm… how bout a picture of something… Butterflies?  I can’t find anything to print (vintageprintable.com) that is landscape and close to my dimensions. 

Lightbulb!  What if I use cutouts of butterflies in a collage!  So I find and print two pages of butterflies and cut them out (minus their antennae… poor butterflies).  Then I simply arrange them in my frame and stick them to the glass with a glue stick.  Place the second piece of glass on top and replace in frame.  Voila!

IMG_4403

Instant art.  Love.

IMG_4404

What do you think?  Think I should be committed for using butterflies all over the place?  Think I am a genius with a color printer and a glue stick?

As soon as it gets warm enough to spray paint, I’ll show you what I did with the second frame!

signature

Monday, January 17, 2011

Moody Blue Bathroom Makeover

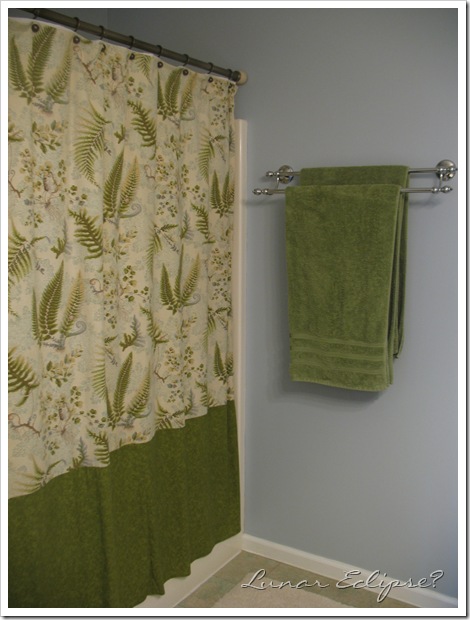
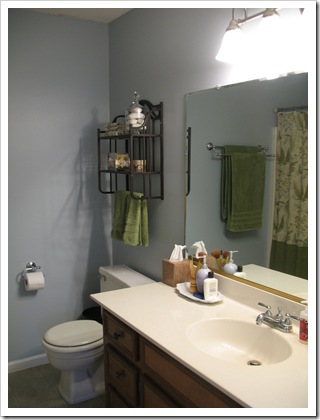
The long-awaited Operation Paint the Master Bathroom has finally been accomplished…  And I even got the right color on the first try! :)  Don’t you love it when that happens?  I have no patience for picking up paint samples and taping them to the wall.  Nah… I just grab a pillowcase or curtain that is the color I want and traipse on down to the paint department.  Lucky me, I found the perfect moody gray blue for our master bathroom.  It is called “Lunar Eclipse” by Olympic Paints. 

image

IMG_4390

Whatever the name, the color is just what I was looking for!  A perfect complement to the adjacent Master Bedroom with all its blue linens, while also bringing out the blue background print in our shower curtain. 

You may remember what we were working with before… It was a grayish cream color that was all on the walls in this house when we bought it.  We are steadily ticking off the rooms and adding some new colors to this place.  Here is a side by side comparison.
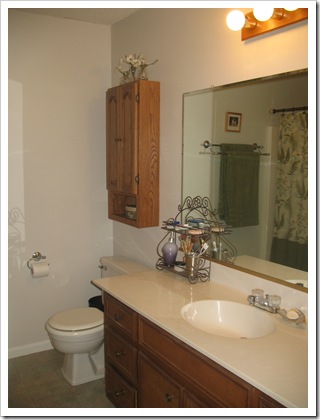
IMG_1409   IMG_4362

Painting is just one of the many steps in this bathroom makeover.  As you can see, we also have a new light fixture, faucet and wall shelf to showcase!  The faucet was a Christmas gift from Santa… Santa obviously knows what I like! :)  Isn’t she pretty?  Yeah, I’m the kind of person who gets excited about a new faucet… and then blogs about it.  And let me just say, I’ve had this beauty installed for two weeks (Thanks, Papa!)and I’m STILL excited about it!
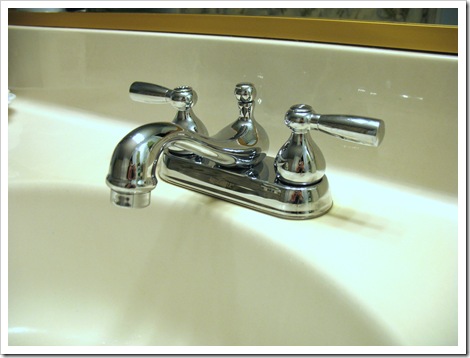
IMG_4392

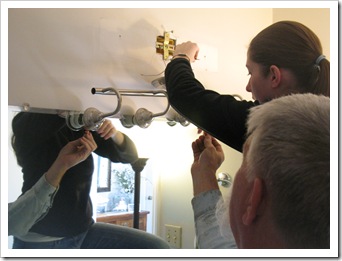
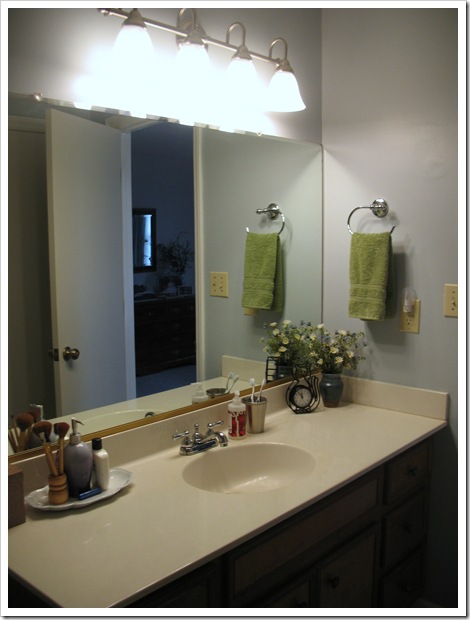
Meanwhile, this past weekend we installed our new light fixture which was a must-have for the new bathroom.  I wanted a chrome four-light fixture to match all the other hardware in here, but alas, it was not meant to be… and I had to settle for brushed nickel… maybe no one will notice? ;)  The best part is, I saved $20 by buying the fixture and the glass shades separately at Lowe’s.  Apparently they think they deserve an extra President Jackson just to pick out the shades for you and put them in the same box.  I also had a gift card to sweeten the deal, thanks John and Heather! :)

Oh, I almost forgot how “we” installed it.  I stood on the countertop and installed it, while Papa gave instructions and handed me things!  Yay, me!  If it weren’t for pesky things like the potential for electrocution and circuitry and what-not, I could be my own electrician.  Haha…
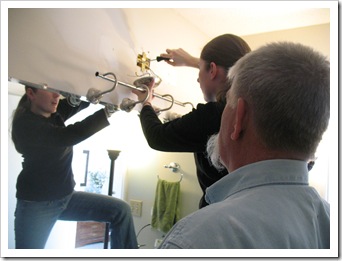
IMG_4338  IMG_4351

Voila!

IMG_4382

It looks good and it puts out a lot of light, which you all know I am fond of.  However, compared to the old light, which was one of those “oak” strip lights a la 1984, the shades on this one funnel the light down over the vanity.  That’s excellent when you are trying to locate the foreign object on your contact lens, but it makes showering a little dim.  So, next on my list is a bath fan/light combo to replace the jinky fan-only unit in the ceiling over by the shower.  They do make some lovely bath fans these days that look like elegant light fixtures.  I’m a fan.  :)  Now to convince the hubby that $88 is not too much to spend just for the convenience of a well-lit shower. 

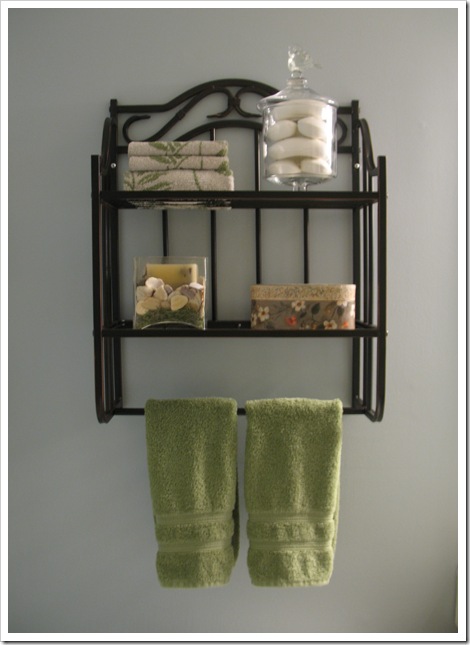
Last but not least on the “new things in my bathroom” list is our oil rubbed bronze wall shelf.  Don’t you love how trendy paint finishes sound like expensive hand-polished metals?  Yeah, me too.  Anyway, the wall shelf was another gift from Santa (he SO loves me!) to replace the “oak” wall cabinet that was a freebie from a friend.  I really enjoyed having that cabinet, but I was worried how it would look when I refinish the vanity in bombay mahogany.  So, I merely suggested that I liked this shelf and thought it would make a good replacement.  You know what happens when you tell my mother… I mean Santa… that you “like” something.  She goes and buys you a twelve place setting of it!  With all the accompanying serving bowls and platters!  I mean… she surprises you with it for Christmas!  Thanks Mama!  And then after…. ahem… three tries, and as many hours waiting for a second round of spackle to dry, I successfully installed it… by myself!  I didn’t even drop it and wake the puppy! 

And here it is, securely attached to the wall… with two anchors… that hold 100 lbs each.  Not. Going. Anywhere.  :)
IMG_4375

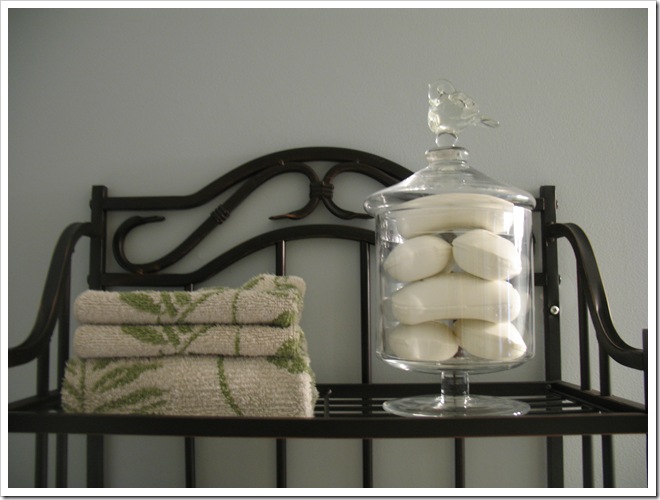
And dear readers, what is a new shelf without new accessories?  (And some borrowed from other rooms that have been invaded by puppies anyway.)  The new accessory is that cute glass canister with the darling bird on the lid.  It’s from Pottery Barn… my Love.  And ergo, it’s from Andi!  Thanks Andi and Nick for the Christmas present!  I got it to put bathroomy things like cotton balls and Q-tips in.  PB even offers some staging tips:

image

But, I don’t have any cotton balls.  And I’m pretty sure it would hold a case of Q-tips.  So, I just filled mine with bars of soap.  :)  But I forgot to emboss them with flowers and tie little pieces of string around each one.  Darn.
IMG_4380

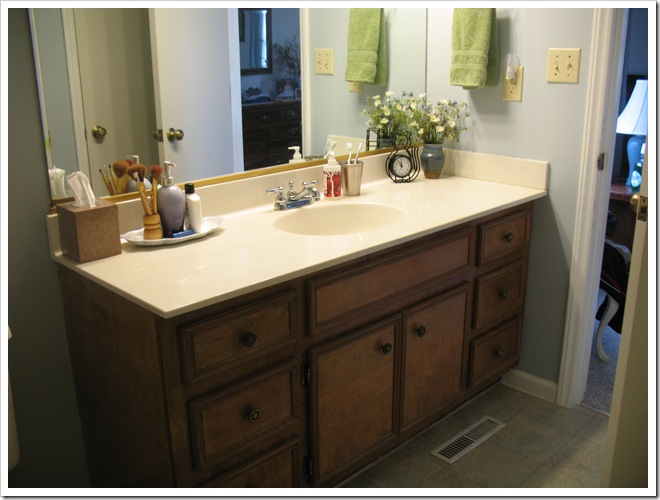
So, that brings us to the end of the “new things” tour.  Next on the ole to-do list in here is to refinish this vanity!  And install the matching mirror frame.  And I’ll probably restage the countertop.  You know, cause that’s what I do… when I’m not admiring my new faucet and jar of soap.  :)
IMG_4385

I’ll be back soon for the big reveal!  Will you?

signature

Wednesday, January 12, 2011

Good day Sunshine

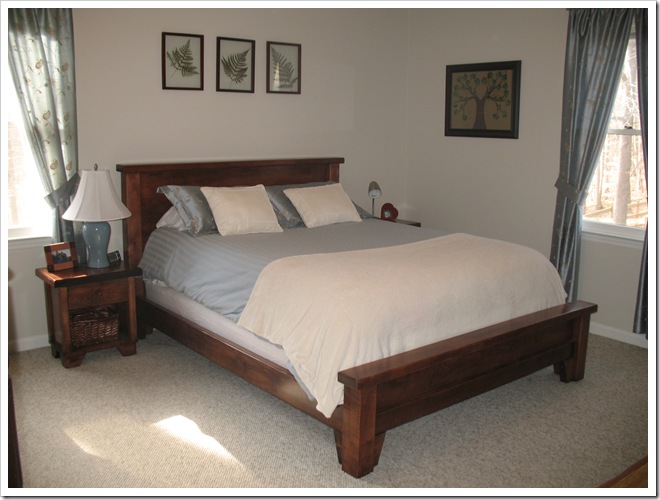
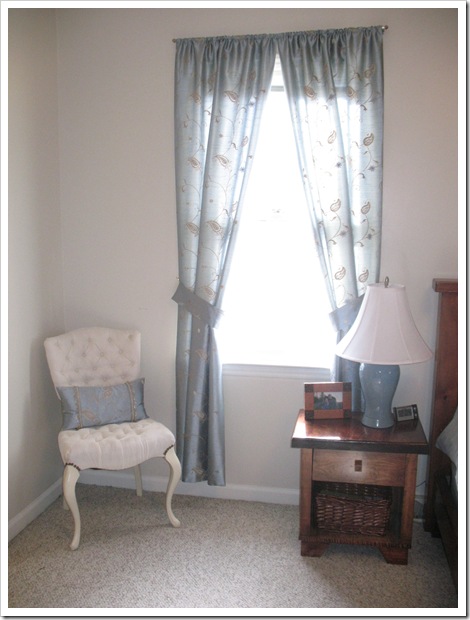
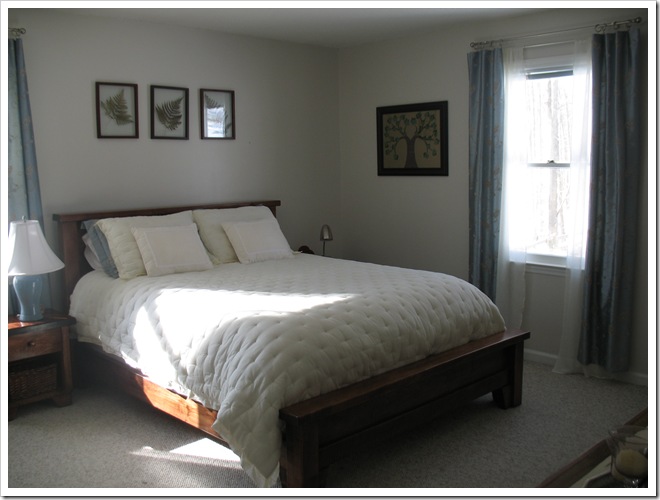
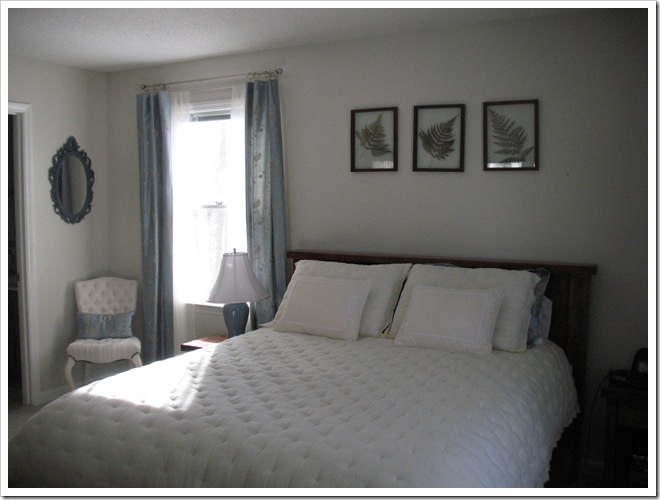
Our master bedroom is on the southern side of our house, which means it gets a lot of natural light.  Unfortunately for us, most of that light is being blocked by our curtains.  I made these curtains and tie backs when we moved in and mirrored the style that we had in our apartment.  It worked great in our apartment because our bedroom faced a parking lot, so a little more privacy was called for.  In this house, though, our bedroom is on the second floor and faces our backyard and driveway.  So, we decided to open those curtains and let the light shine in!

Here’s what we were working with before:

IMG_1063

IMG_1065

That triangle of light is just not enough!  We need more!  So, after Santa brought me new curtain rods and rings for Christmas (Thanks Santa!) I promptly got to work rearranging things.  First I had to take the small rods down in order to install the larger ones higher up on the window. 

IMG_4244

IMG_4245

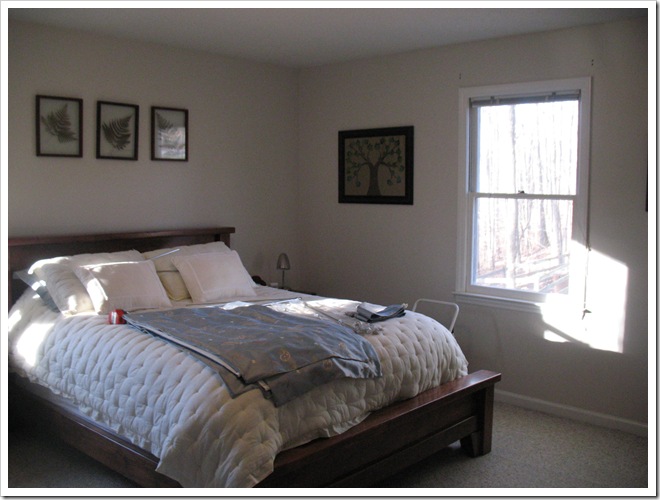
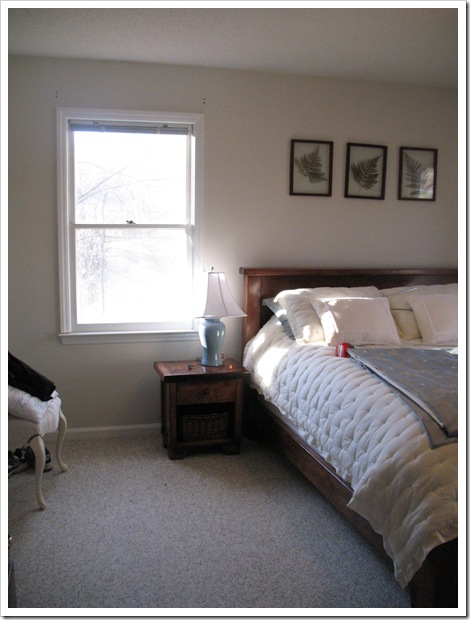
Wow, so much light!  So, after pressing out the gathers in the tops of the curtain panels, I clipped on the new rings.  Then I hung the curtains on the new rods.  Then I decided the new look was too stark with nothing to break the line between the window and the blue drapes.  So, of course, I made some sheers to go behind the drapes and hung those on the old rods.  Voila… perfectly dressed windows!

IMG_4309 IMG_4310

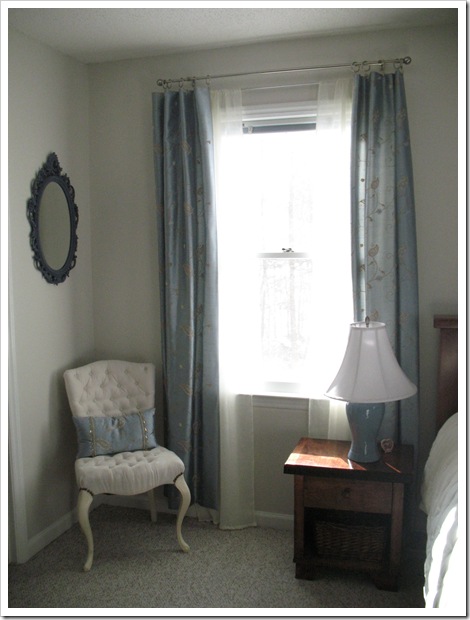
Don’t you just love how much more light they let in?  My new challenge is to lengthen the drapes to the floor (no high water curtains for me!)  I’ve been pondering this problem… I’m thinking I will add a piece to the top or the bottom (can’t decide) of either cream silk or matching blue fabric (also can’t decide) and then stitch some decorative trim over the seam so it looks intentional.  Then once the length is finished, I still have to rearrange the fullness into proper pleats and “train” them (with steam) to stay put!  Nothing like badly behaving curtains to ruin your day.  Haha!  Even unfinished, we are enjoying the new look and all the light that streams in.  What do you think?
IMG_4313

That bed looks so inviting, I might have to go take a nap in the sun.  On my plush new Pottery Barn quilt.  Heaven…

Just don’t tell the dog (or the cat) where I am… because they’ll come and steal my sunbeam… :)

signature

Monday, January 10, 2011

A place for everything…

And everything in its place!

The beginning of a new year is like a fresh start for a lot of people, myself included.  Last year, after all the Christmas goodness had been packed away, I started in on all the closets—cleaning out, repainting, and reorganizing.  This January, I have been a little distracted… by this:

IMG_4273

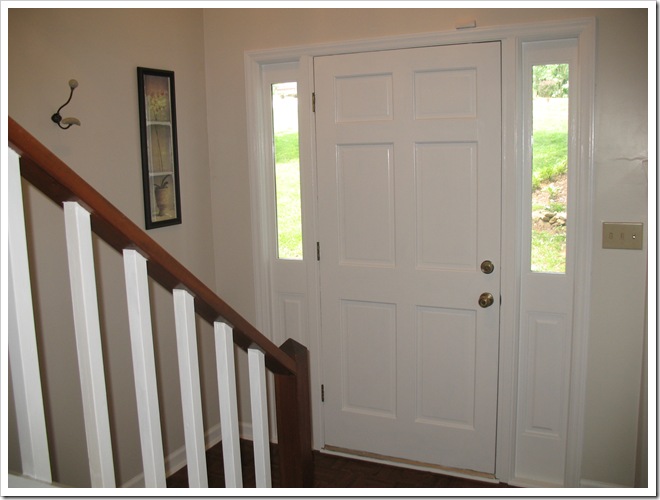
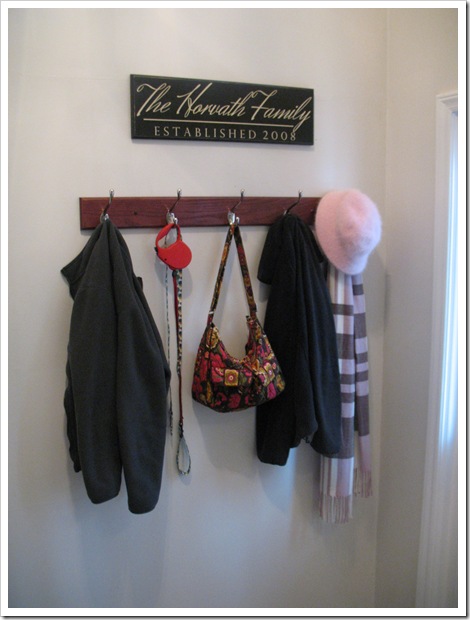
While I haven’t quite made it to the closets, yet, I have accomplished one thing on my great to-do list!  It’s something I’ve been wanting for a while… a hook rack!  The space behind our front door in the foyer is the perfect place to hang your coat and bag.  Only we had just one hook.  So no one ever used it.  Except for occasionally I would hang some random holiday decoration from it.  :)

Here is our foyer BEFORE:

IMG_8504

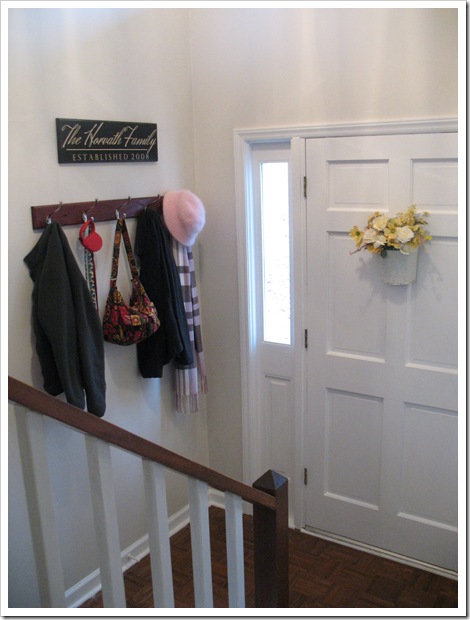
So, I bought a brand spankin’ new wooden rack with five nickel hooks for hats and coats and other hanging paraphernalia.  And after much fussing, I got it up on the wall securely!

And now, here is the accessorized AFTER:

IMG_4280 IMG_4275

There’s a place for everything… even the dog leashes.  :)  It may be a little cluttered, but at least it’s functional!  And the best part: now, when people come to visit, they no longer have to throw their coat on the floor. :) 

Hopefully I will be back soon with a mini reveal in the master bedroom as well as a progress report on the master bath updates!

Happy New Year!

signature