Tuesday, June 11, 2013

Little Pretties

A random sampling of beautiful things that make me smile…

IMG_3478     IMG_3460

IMG_3528     IMG_3128

IMG_3536     IMG_3519

IMG_3425     IMG_3534

IMG_20130326_210305_267     IMG_3532

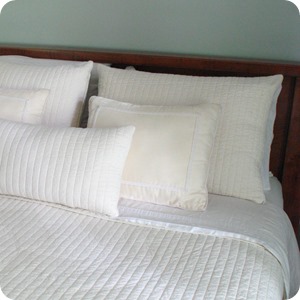
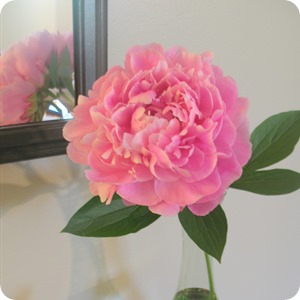
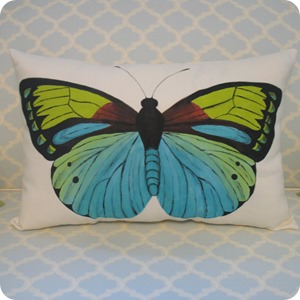
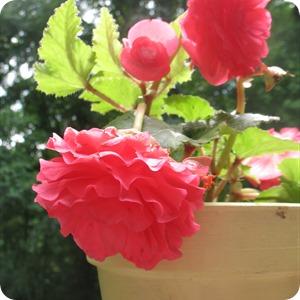
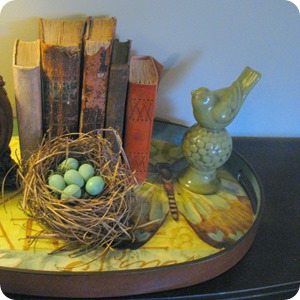
giant pink hydrangea blossoms, plush new pillows on the bed, dried rind flowers, pink peonies, fluffy pink astilbe, delicate purple and blue hydrangeas in a thrifted milk glass compote, my new butterfly pillow, a coral non-stop begonia, fuzzy kitten, and old books.

Hope you’re finding reasons to smile this week, too!

signature pink

Monday, June 10, 2013

English Garden Patio Update

I have all these little areas in my yard that have their own particular names.  We have the patio, the fairy cove, the cutest flower bed, mailbox bed, front beds, back beds, fence bed… lots of beds.  Well today we are going to talk about the English Garden brick patio.  You know, the one formerly known as the swing patio?  Well, since the swing is no more, I’ve taken to calling this the brick patio.  It’s not even big enough to be considered a patio, really, but what are you gonna do? 

Anyway, back in April when we mulched the English garden, my Mama and I decided to level the brick patio.  Little did I know that this reveal would be so delayed.  I promised to show it to you when the swing was hung back up… well that didn’t happen. :)  Ooops!

Now that we have had a chance to landscape behind the patio as planned, I am back to show you the whole before and after scenario!  Here we go!

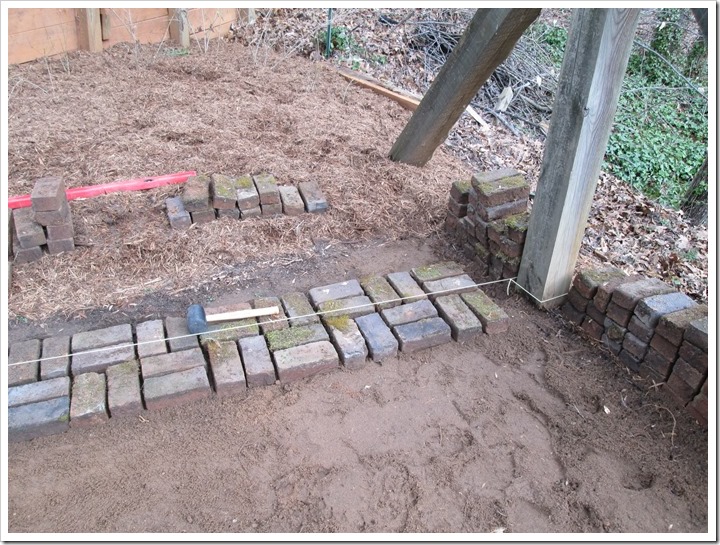
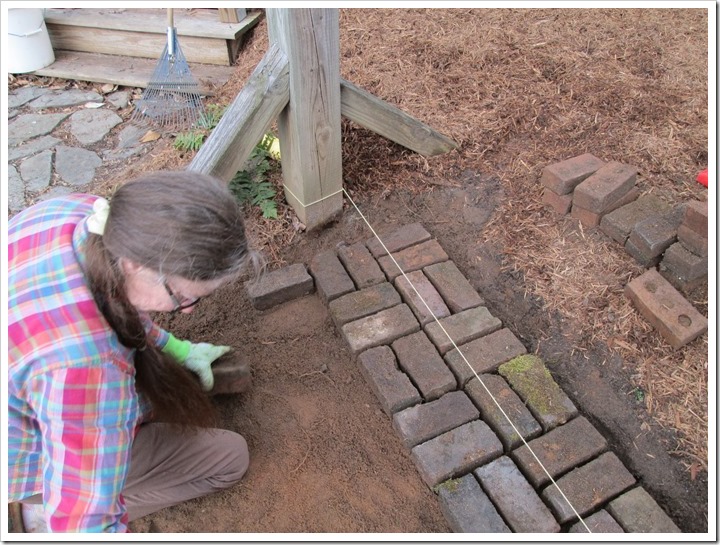
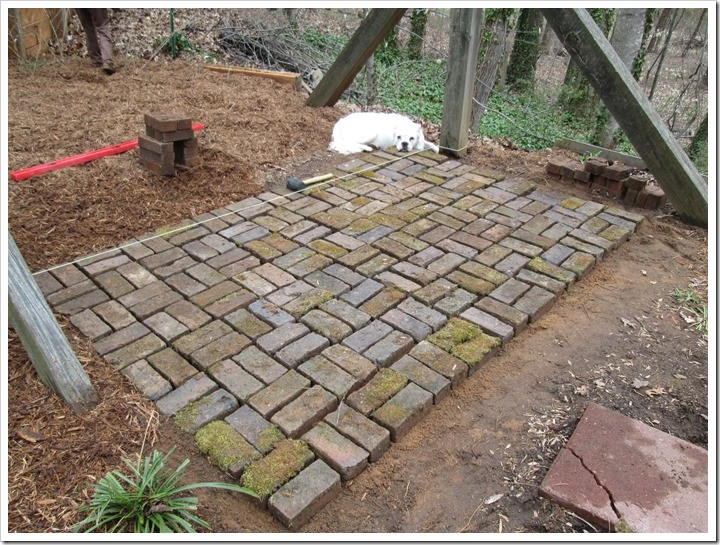
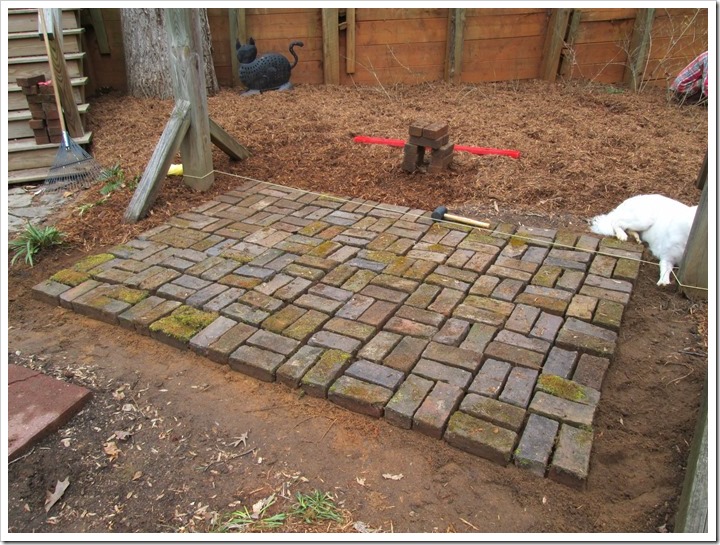
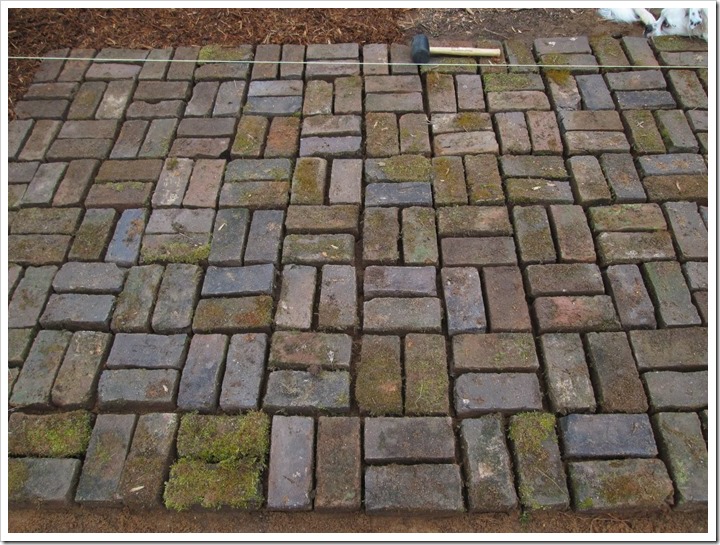
First things first, we took up all the bricks.  They are actually brick pavers with no holes in them and they are way cool.  They must be old or reclaimed pavers because they are irregular in shape and size, plus they have neat-o moss growing on them, so we were careful not to disturb it too much while we were rearranging them.  After clearing the space, we raked it all level.  It is mostly sand down here from the original installation so that part was easy.  Then we pulled a string to create a straight line for ourselves to work from. 

IMG_0346

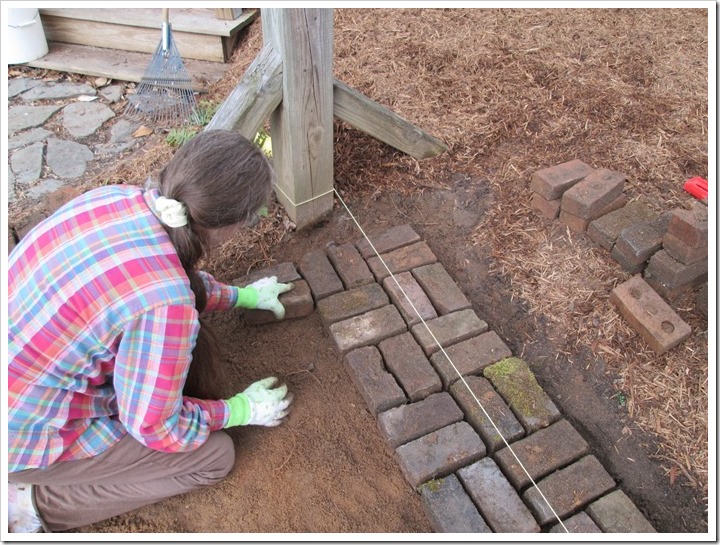
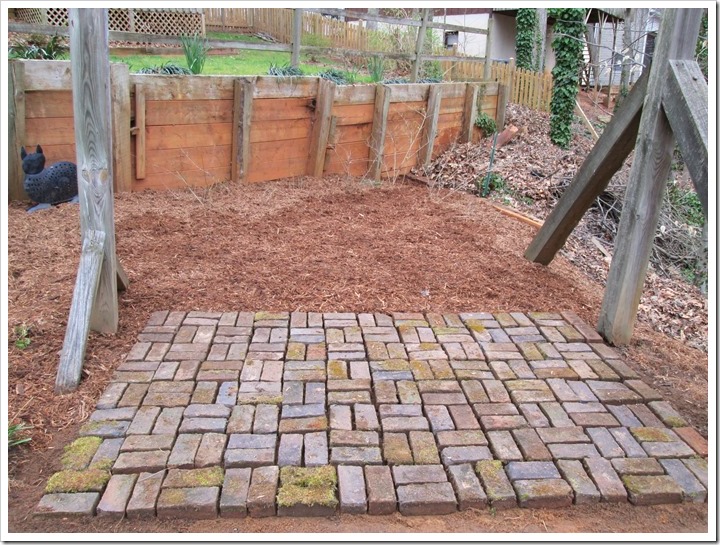
Then we proceeded to put all the pavers back evenly spaced in the same layout that they were before.  Because I liked it that way. :)

IMG_0347

IMG_0348

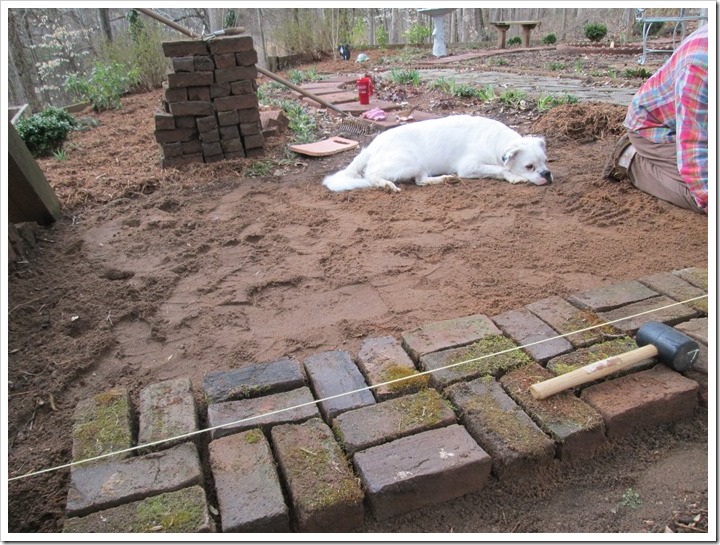
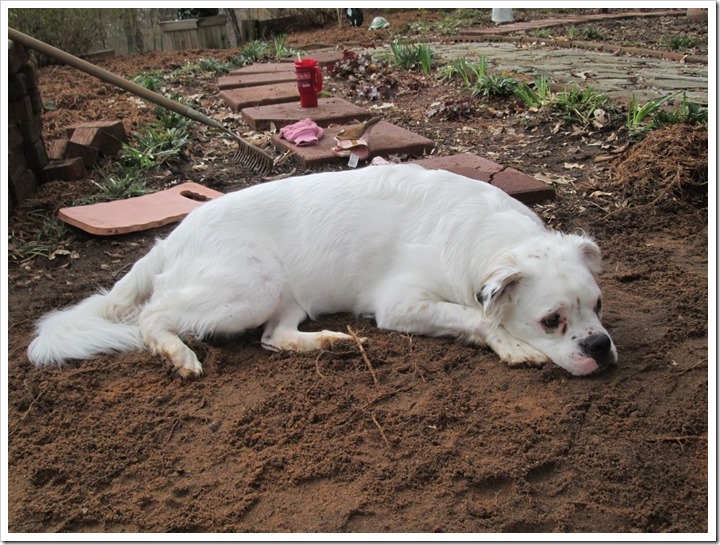
I find it is helpful to employ your puppy-dog digger, too, if you need any digging done.  Riley is a great digger and she has to be laying right where you are working so she can supervise effectively. :)

IMG_0350

IMG_0351

She is checking out our handiwork after all the pavers are down.

IMG_0353

IMG_0354

IMG_0355

All finished.  Now it needs rock dust to fill in all the cracks.

IMG_0357

We just dumped the rock dust on top and swept it into the cracks with a broom.  Then after a couple of good rains, I swept off the top of the bricks.  It also helps that the yellow bushes in back leafed out and we planted two rhododendrons on the right.

IMG_2679

Now, for the landscaping!

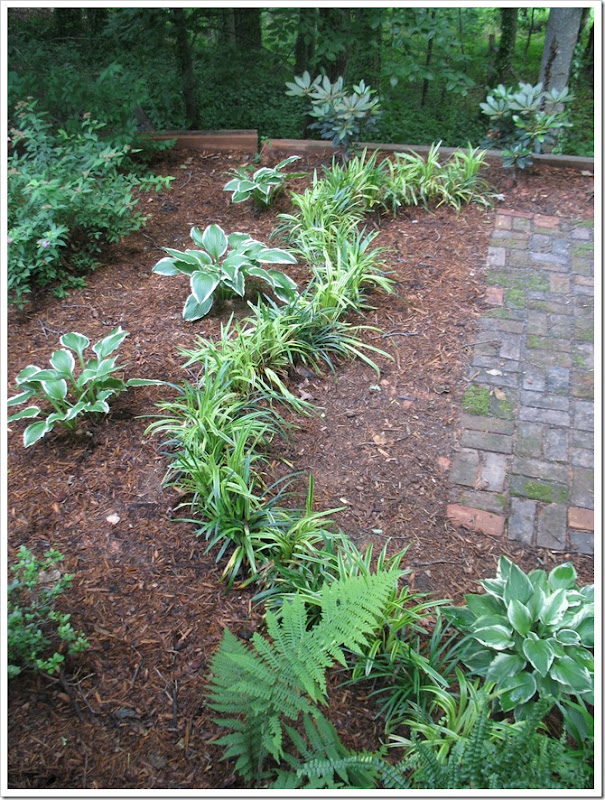
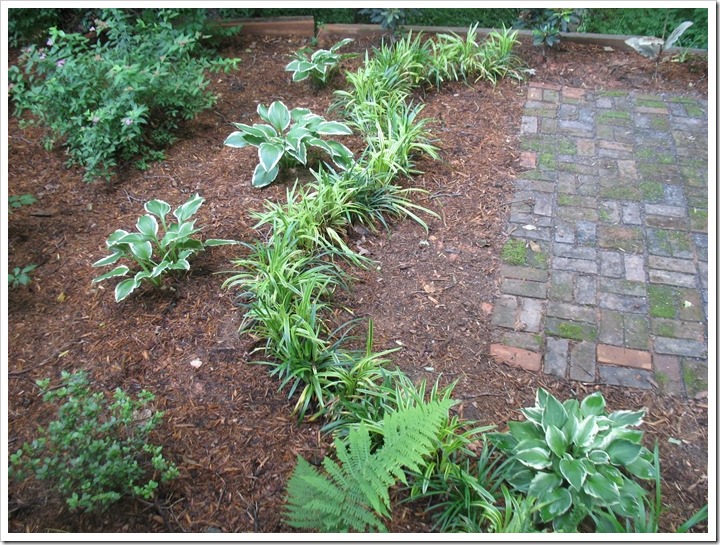
We added a continuing row of liriope in a sort of curving design behind the patio and three more hostas to fill in the space. 

IMG_3468

IMG_3469

IMG_3470

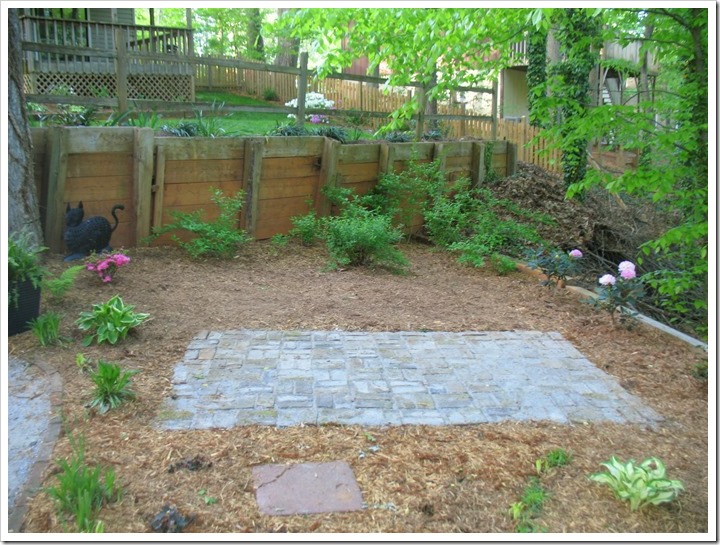
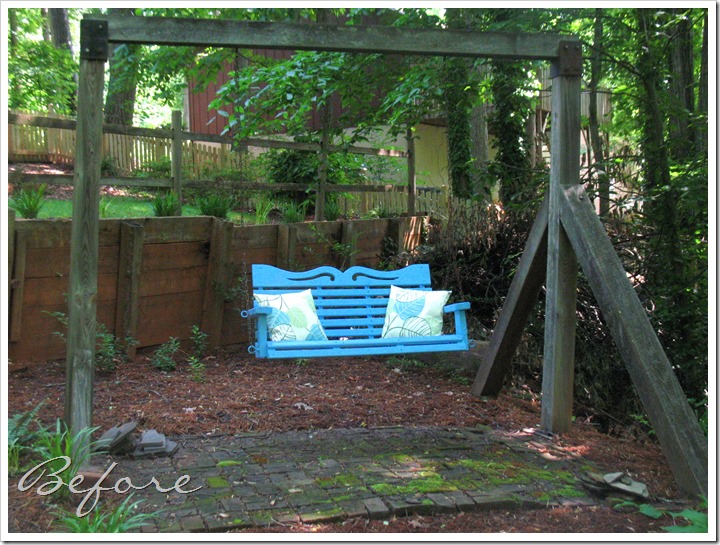
And now for that before and after comparison.  Before (from 2011) where you can see the patio caving off to the right:

IMG_5333

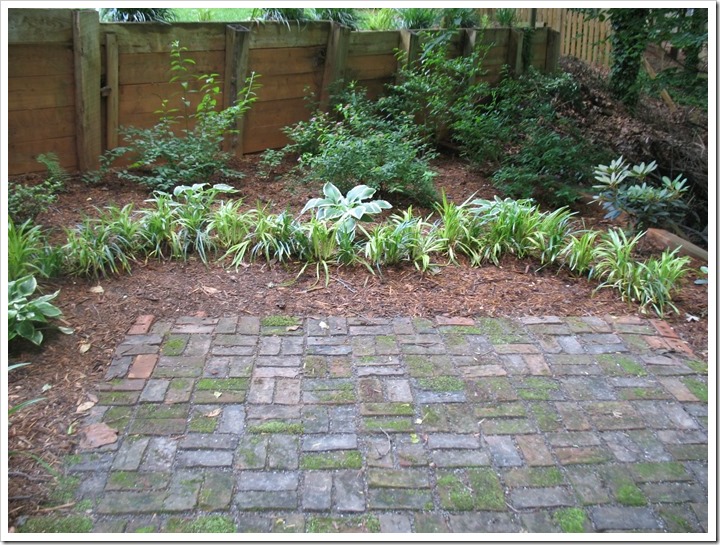
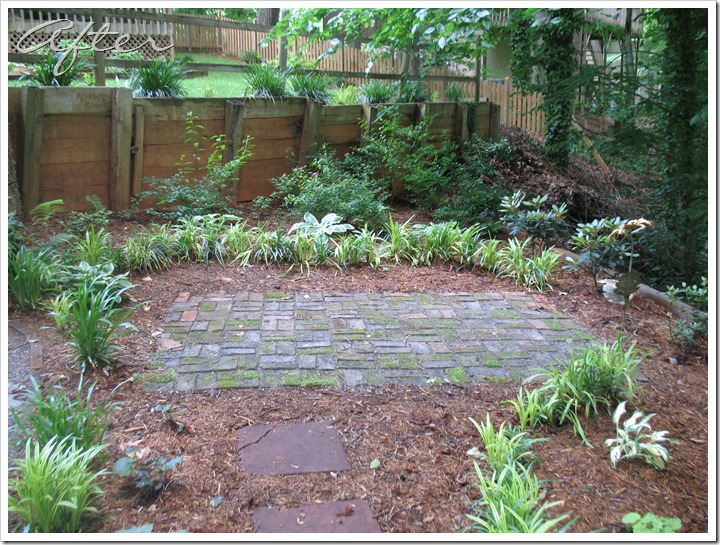
And After, now it is all level and surrounded by beautiful plants!  I am a little ashamed that this seemingly simple project has taken me so long to check off my list.  But at last, it is done!

IMG_3467

Now I just need a garden bench (like this one) to make this space useful! :)  I do have a little something else planned for the English Garden this Summer.  But, it’s been rainy so I haven’t had a chance to spray paint it yet. :)  Stay tuned!

signature pink

Saturday, June 08, 2013

Roses, Petunias and Geraniums, Oh My!

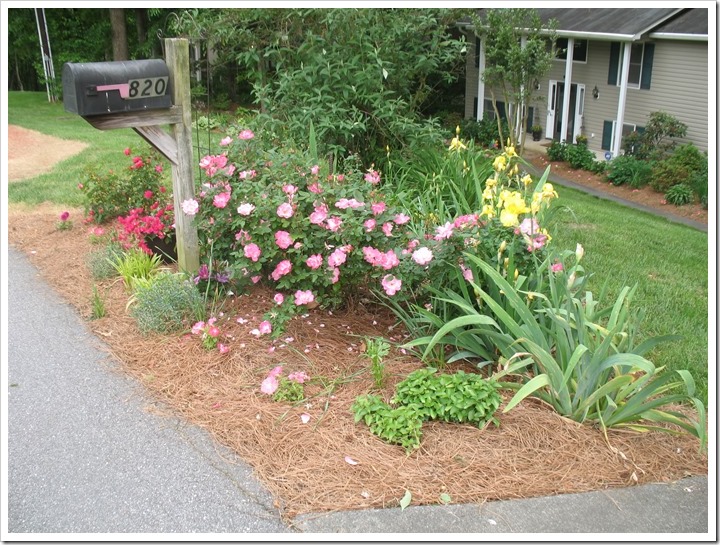
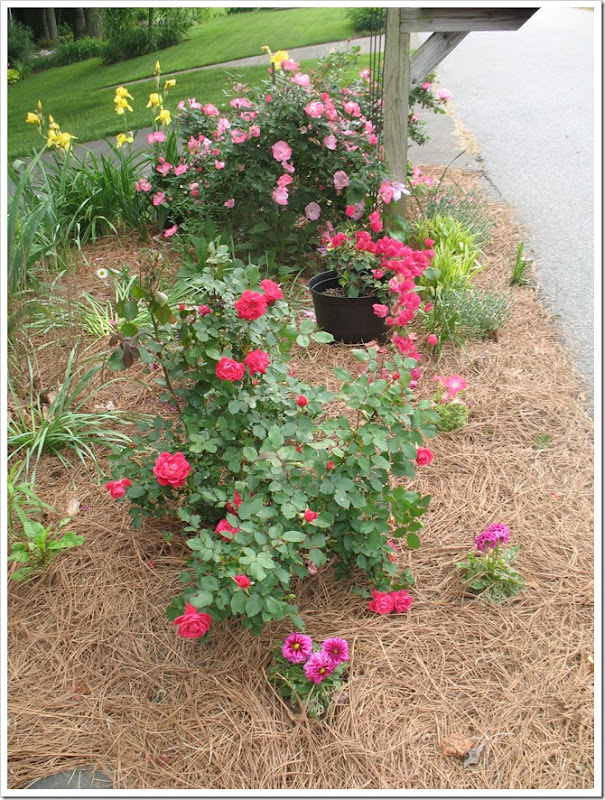
It’s finally June and the summer flowers are getting ready to put on a show!  So I figured I’d better finish up reporting on the Spring flowers.   My knockout roses have been busting out blooms and the petunias are getting bushier every week.  I have been adding some more flowers to the mailbox bed since I decided not to put tomatoes in there this year.  In front I added a row of dahlias and pink petunias.  The dahlias are slow, but the petunias are looking good. 

IMG_3022

I brought up another knockout rose from the front bed to match the other side of the mailbox.  It’s a hot pink one.

IMG_3013

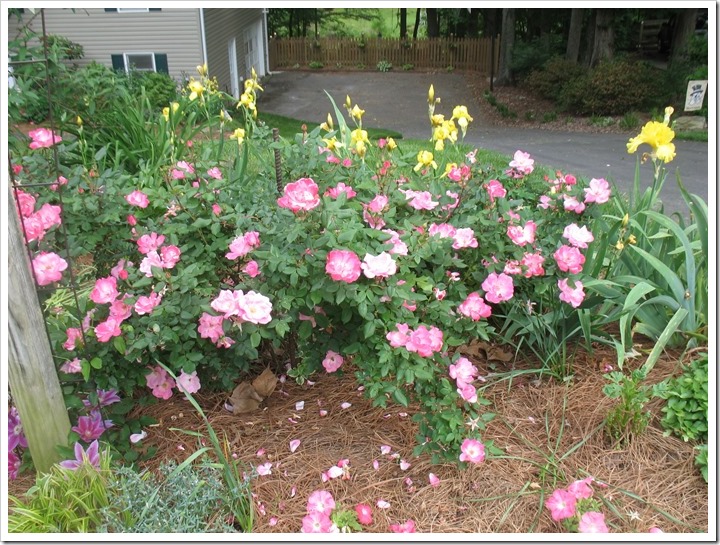
The other one is pale pink, and HUGE!  I’m going to have to trim it back.  It’s taking over!

IMG_3011

IMG_3014

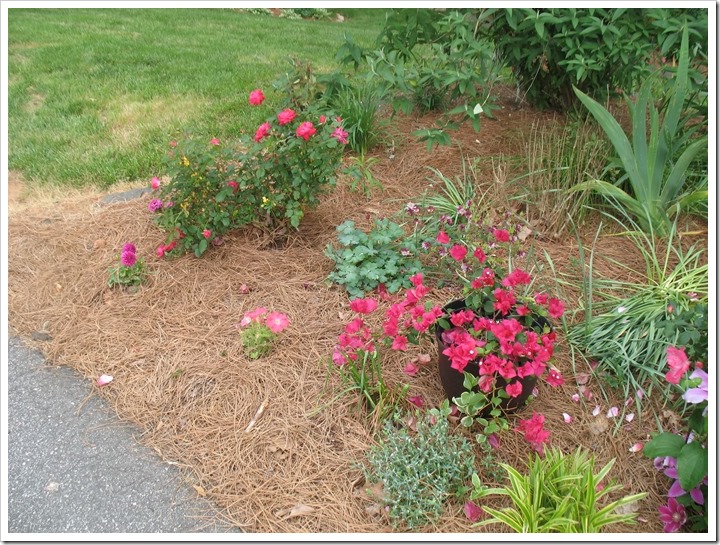
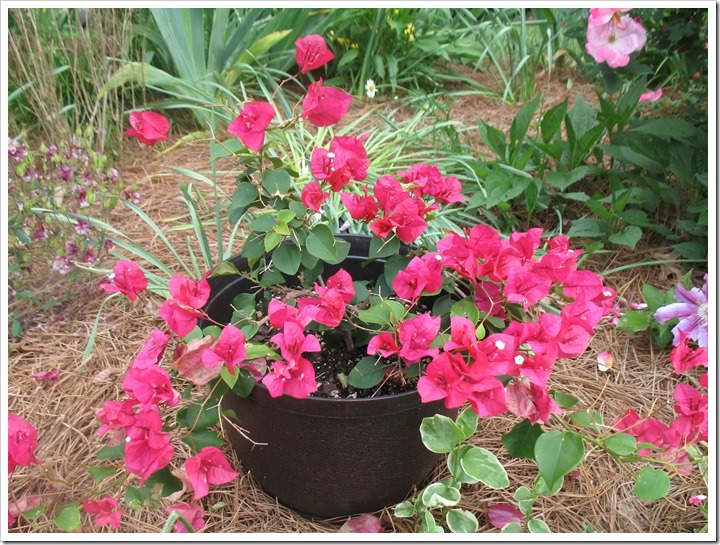
And in the center I added a potted bougainvillea.  I love this plant!  I have never had one before, but it looks so cool!  I hope it does well up here.

IMG_3016

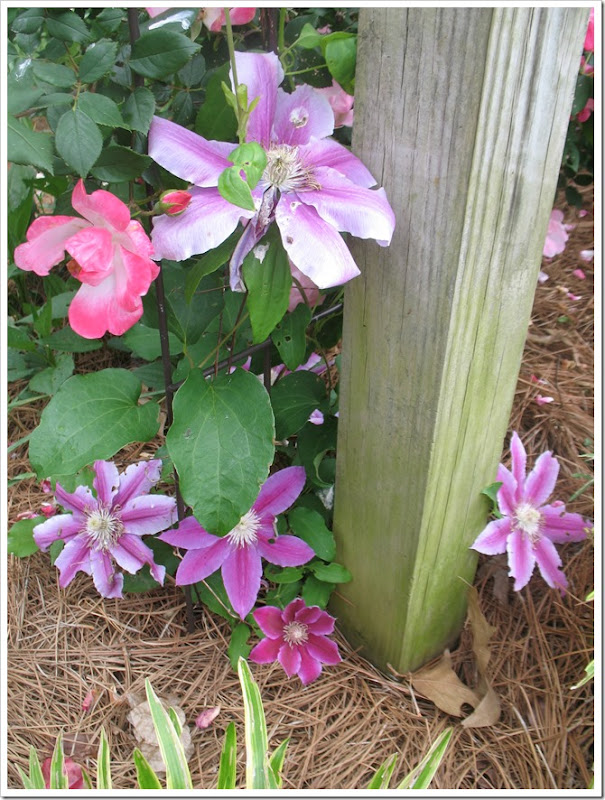
And there behind the mailbox post is my clematis, which is being overshadowed by the monster rose bush. :)  Poor thing.  It’s looking pretty, though.

IMG_3018

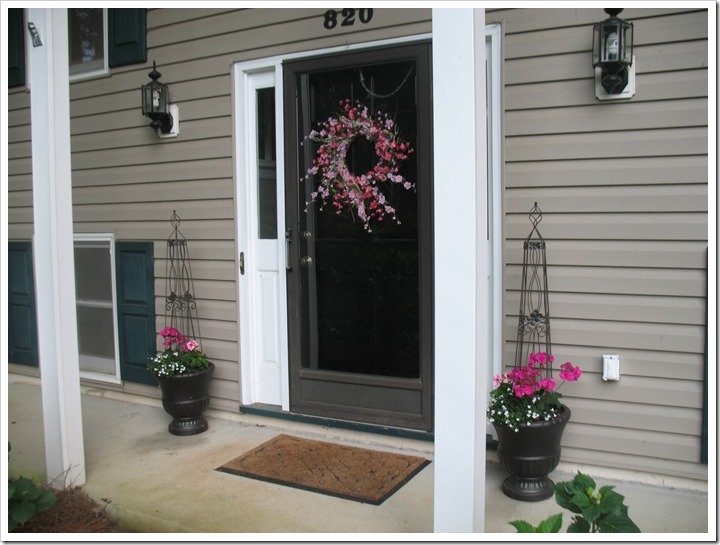
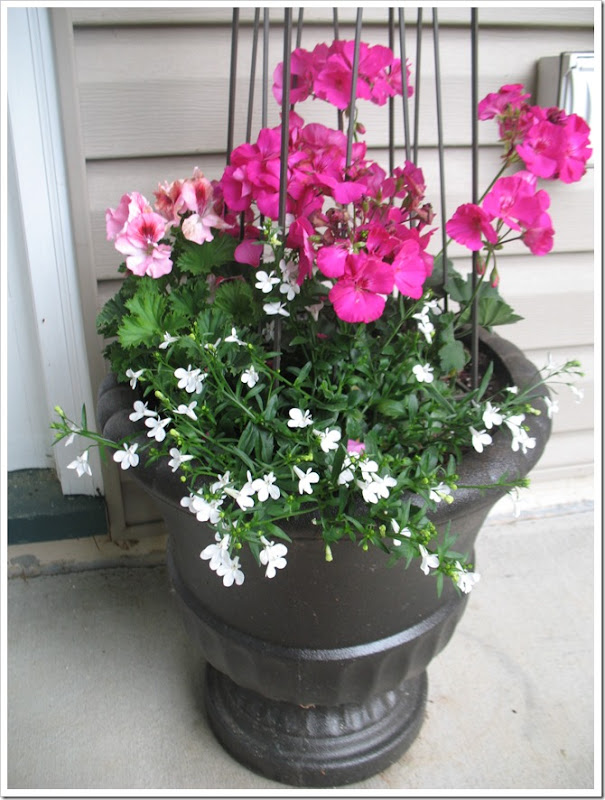
Meanwhile, I got some new plants for the porch pots, too.  I took out the yellow violas and put fuchsia and pink geraniums and some white lobelia in its place.  They are very pretty, but I’m thinking about moving them to the deck where they might actually see the light of day…

IMG_3107

IMG_3112

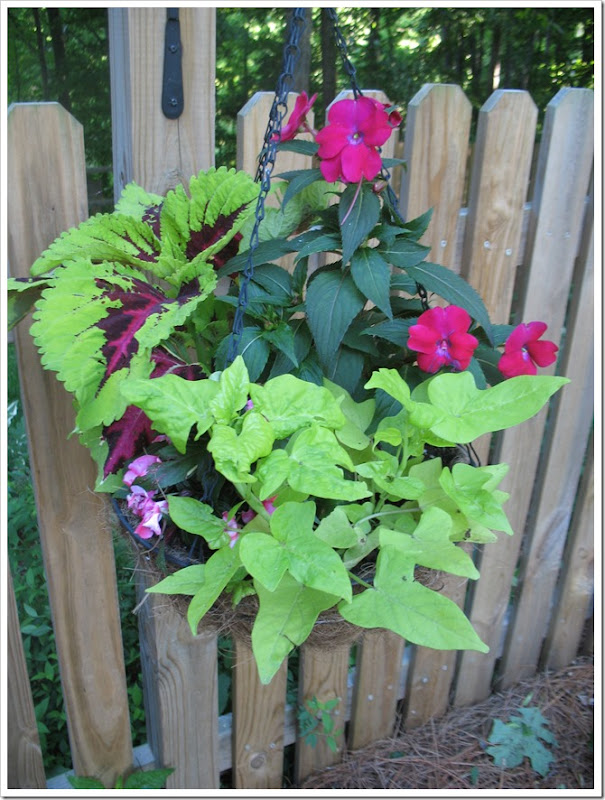
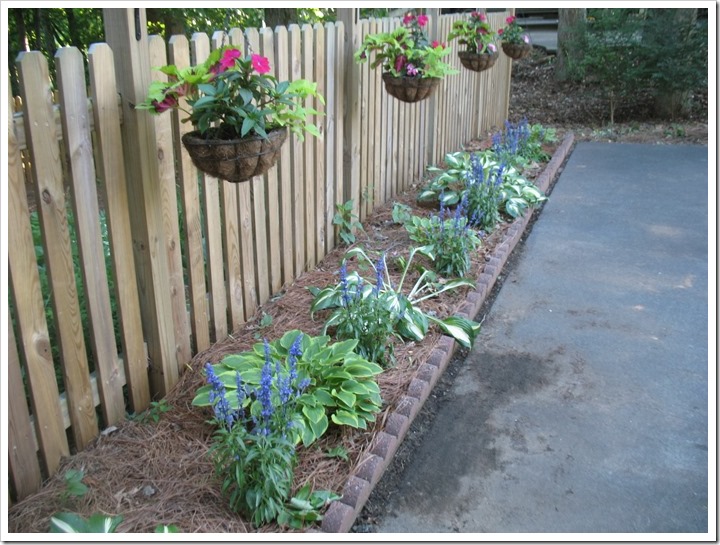
In other container updates, my fence baskets are flourishing!  I didn’t remember how small they were until I looked back at the original pictures, but they are so tall and bushy now!  And the sweet potato vine is really taking off.  Yay!

IMG_3190

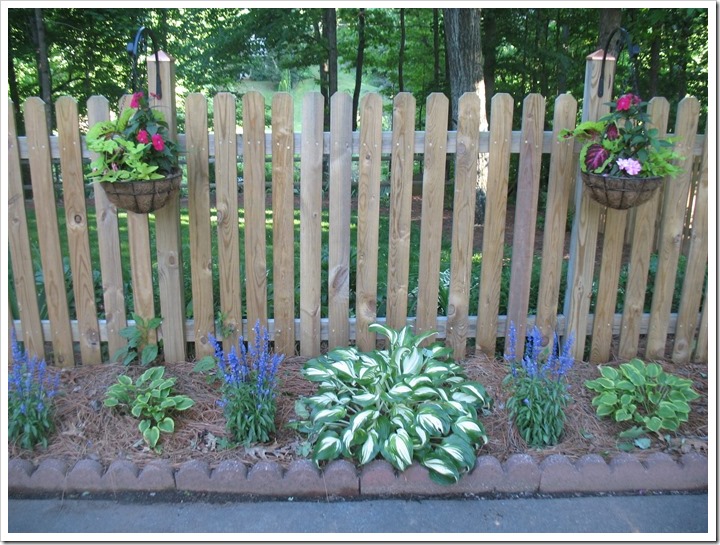
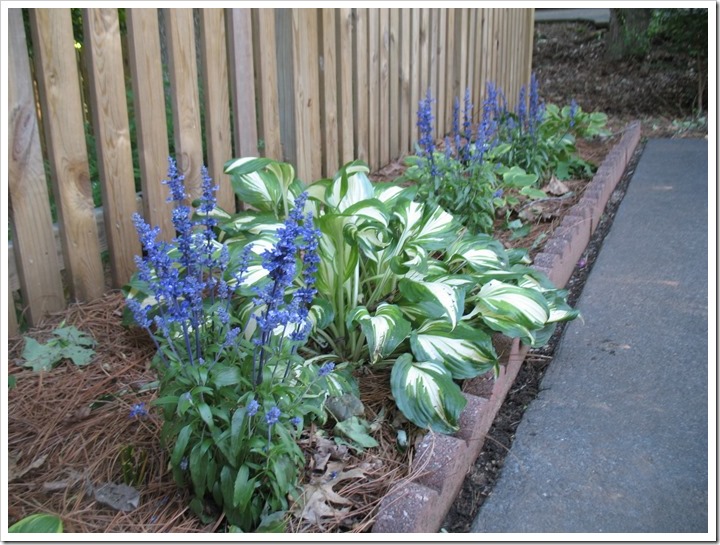
We also added blue salvia plants in front of the fence.  They are so pretty!

IMG_3184

IMG_3186

IMG_3189

I am loving all my summer blooms!  The hydrangeas are about to bust out and there are a few lilies and astilbe starting to bloom in the back.  Plus I have an update from the English garden coming soon!  Stay tuned!

signature pink

Wednesday, June 05, 2013

Pretty Summer Pillows

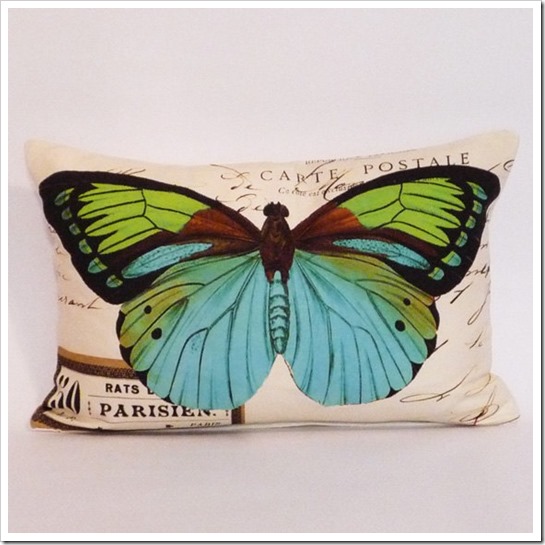
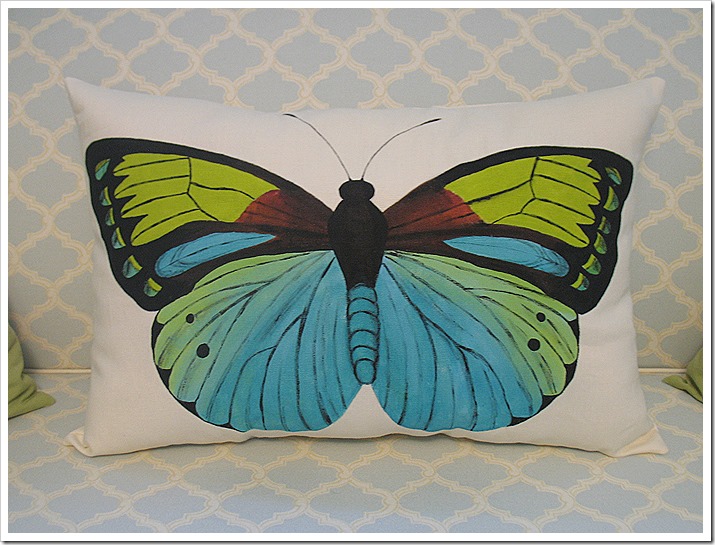
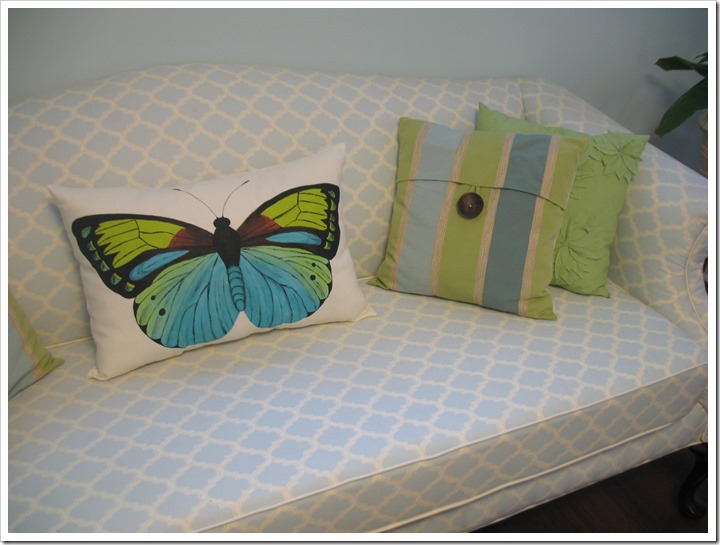
I have been busy in the sewing room making some pretty new pillows to share!  The first one is a butterfly hand-painted on cream linen.  I first saw this pillow two years ago on etsy.  As soon as I saw it, I put it on my wish list because I knew it would be perfect for the den.  Eventually I realized I was never going to pay $40 for a pillow and then it became unavailable so I was forced to take action.  Fortunately I had saved a picture of the pillow, so I decided to make my own!  Here’s the inspiration:

il_570xN.264381228

Gorgeous, no?  I scaled up the image to fit my pillow size and printed out just the butterfly part.  I bought some cream linen and traced the design on to the fabric.  I used acrylic paint even though fabric paint would be have been better, but I didn’t have any.  I don’t intend to wash it, so the acrylic should be fine for my purposes.  It only took me a couple of hours to paint it and then another half hour to sew it into a pillow!

IMG_3425

It looks just like the picture, right?  Except for all that postmark-y stuff in the background.

IMG_3422

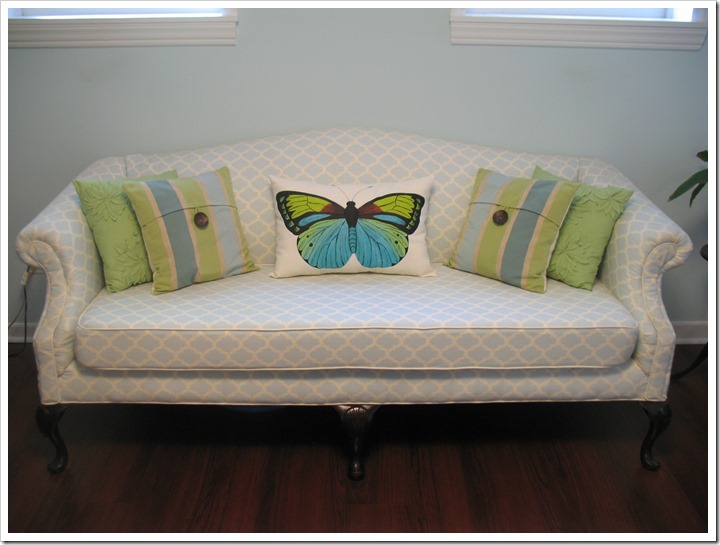
It’s currently living it up on the den couch with all its pillow pals. :)  Yay!  And all it cost me was the price of the linen which was around $6 or so.  :)  Score!

IMG_3420

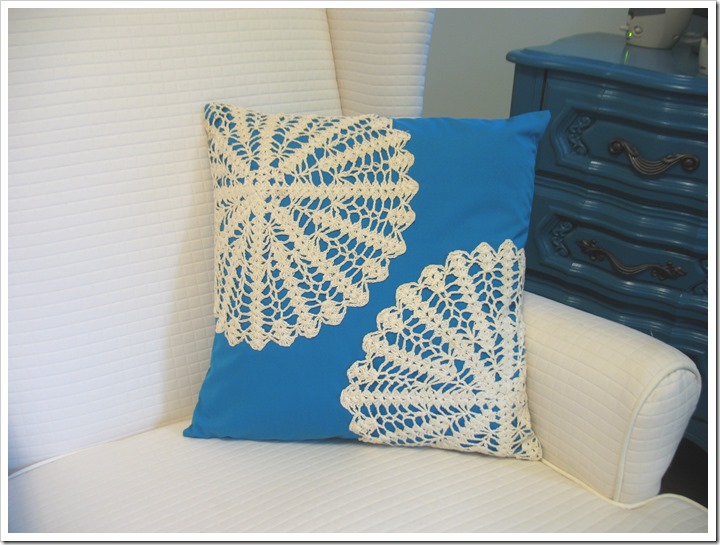
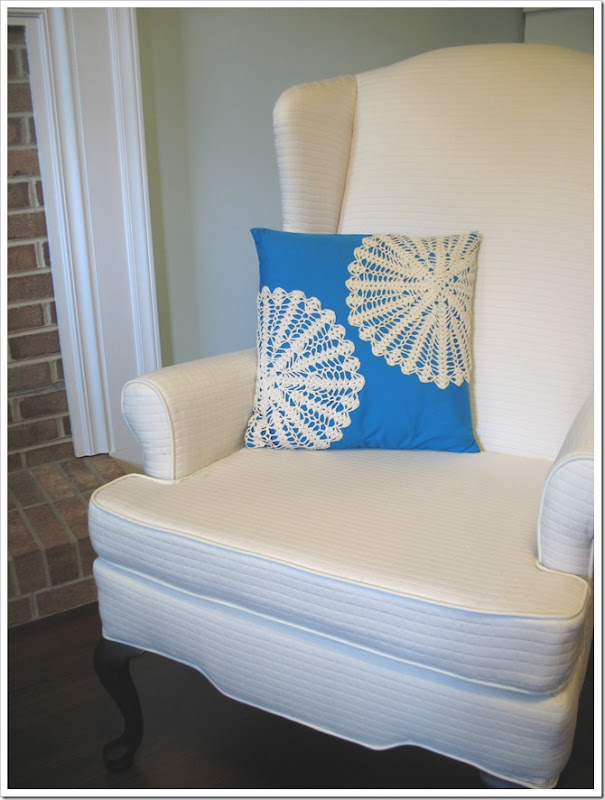
In other pillow making news, I made a couple of doily covered pillows for my sister-in-law, Laura last week.  While they were waiting to be gift-wrapped, I had to sneak a photo op of them in the cream wingback chairs. :)  They looked right at home next to the turquoise dresser:

IMG_3296

This was another easy pillow project.  The doilies were passed down to Laura from her grandmother so we decided to reuse them on a pillow.  I just arranged them on a square of turquoise cotton and stitched them on.  I used a machine stitch in the center down the straight lines and then hand stitched all the way around the scalloped edge to keep them from lifting.  Then I sewed an envelope closure in the back and stuck a pillow form inside. 

IMG_3300

There you have it:  a couple of do-it-yourself pillows that look like you bought them on etsy!  :) 

signature pink

Tuesday, June 04, 2013

A New Antique Chair

Yesterday we said goodbye to our beloved denim chair and now that we have dried our eyes, we are able to welcome the new fabulous antique chair!

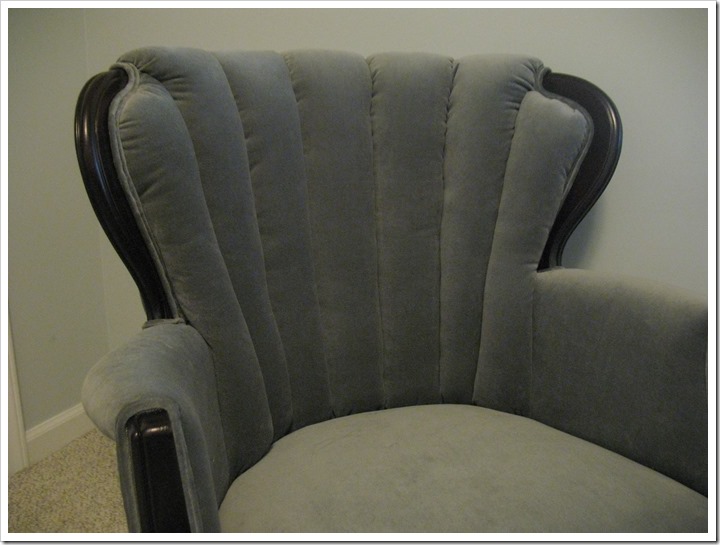
This chair, as I said yesterday, came from my grandfather; he was saving it for someone who would love it and show it the attention it deserved.  Mama and I love it!  She brought it home and lived with it for a while before we decided that it would look perfect in my office if it was recovered in a nice gray velvet.  I admit, I am velvet obsessed!  Is it obvious that I don’t have children?!  Anyway this is my last velvet project until my retirement.  Haha!  No, I’m serious!  I told Mama there was a moratorium on velvet!  :)

We finally found some affordable velvet in the perfect color gray (to coordinate with my wall color and general black/gray-ness of the office decor.  Haha!  Can you decorate around computer equipment?  Why sure!  Once we got the fabric, I gave Mama a head start on the chair.  She got a lot accomplished before she needed my help.  :)

In its former life it was brownish-orange corduroy… please stop following my blog if I ever upholster anything in corduroy.  Yuck.
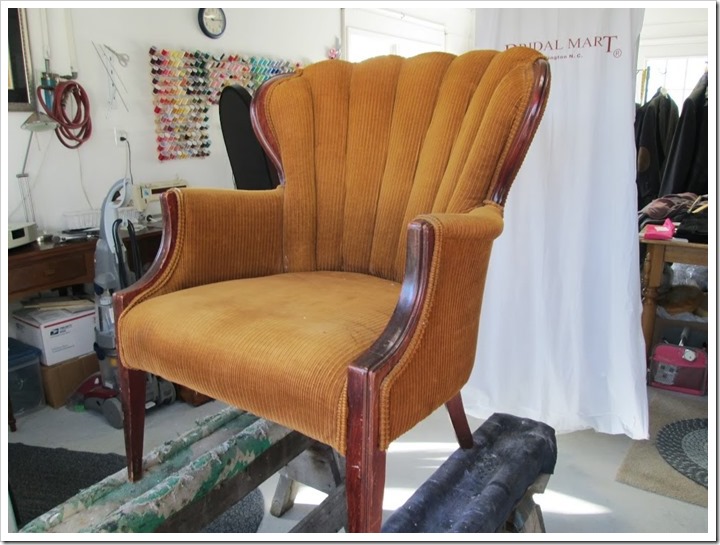
IMG_0098

Once Mama started tearing it down, she discovered that before it was orange it was cream floral!
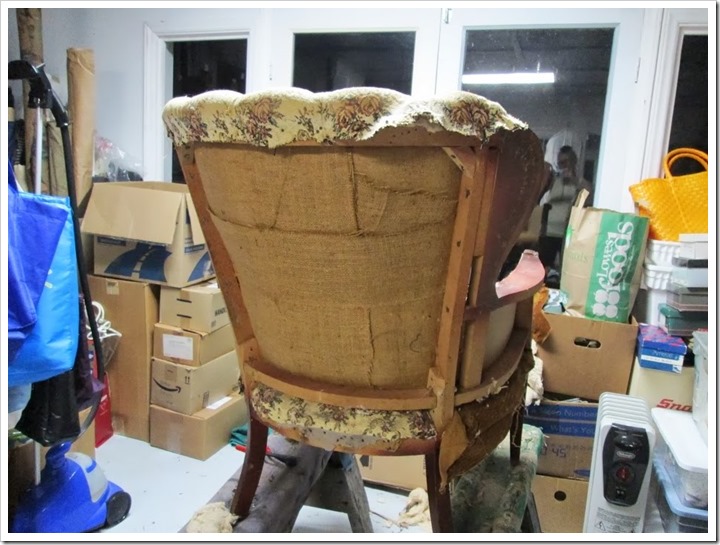
IMG_0110

After tearing it down and restaining all the exposed woodwork Bombay Mahogany (the only color as far as I’m concerned) she began adding new batting to the seat and new webbing to the back.  Old chairs are never comfortable so we built this one up with new materials so it would be extra plush!
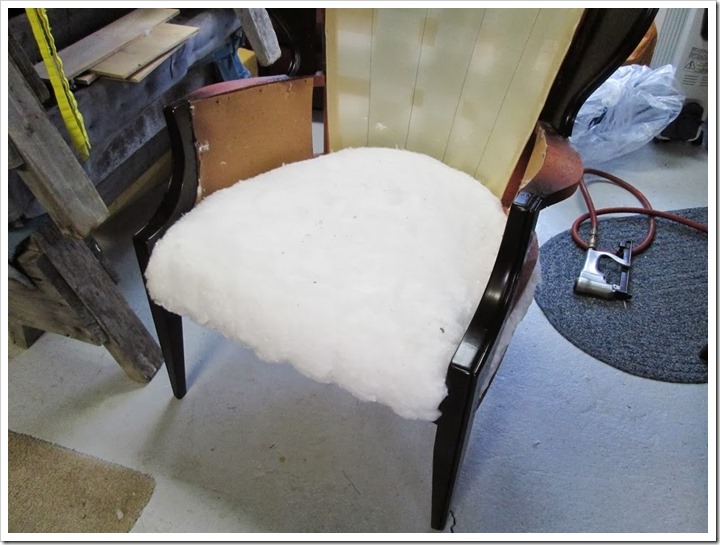
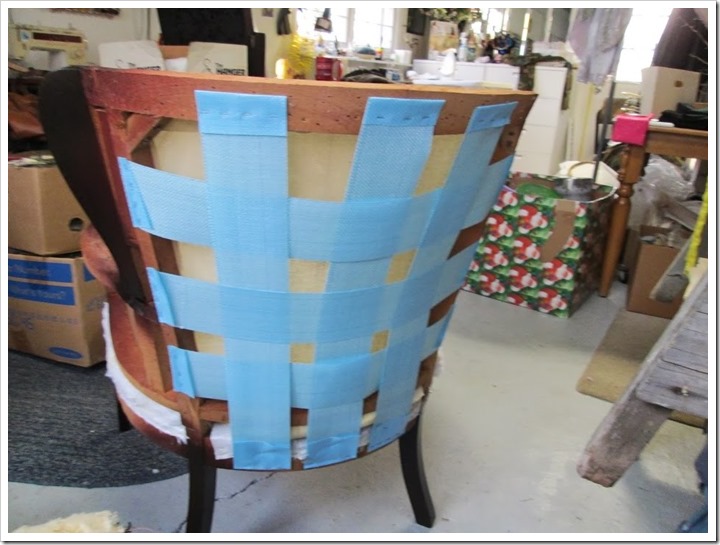
IMG_0226

IMG_0225

Next, she used the old fabric pieces to cut new ones and re-stapled them in the appropriate spot.  My Mama knows her way around an upholstery project.  Me = clueless.  But I help pull out staples and pull on the fabric when it needs to be tight and generally tell her when things are crooked or lumpy and need to be redone.  :)  Slave driver.
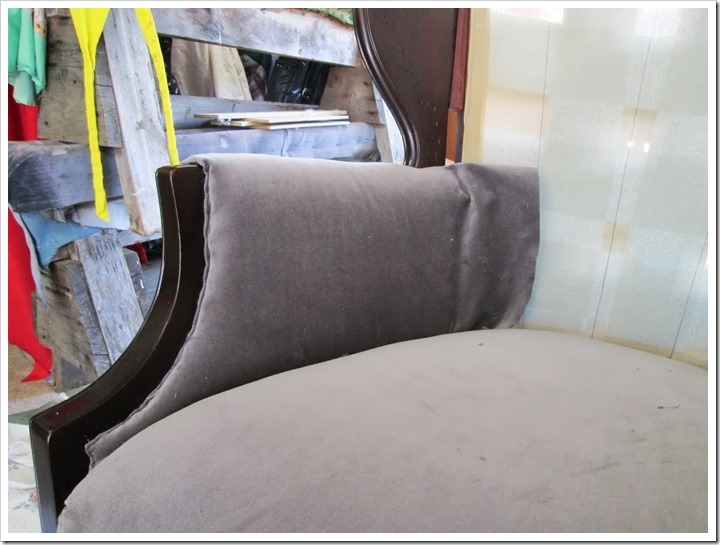
IMG_0231

IMG_0248

The back had all new batting rolled into shape and stuffed tightly into each section of the tufted back.  Then I stitched down the seam of each section through the upholstery layers into the back webbing so everything was nice and tight. 
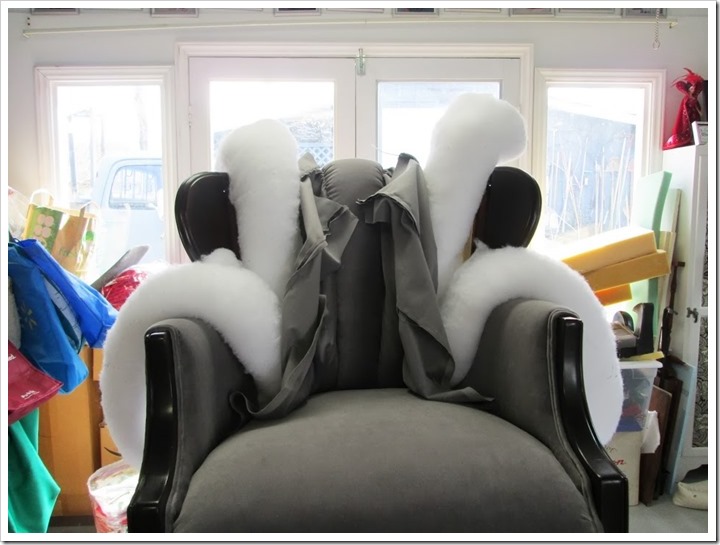
IMG_0252

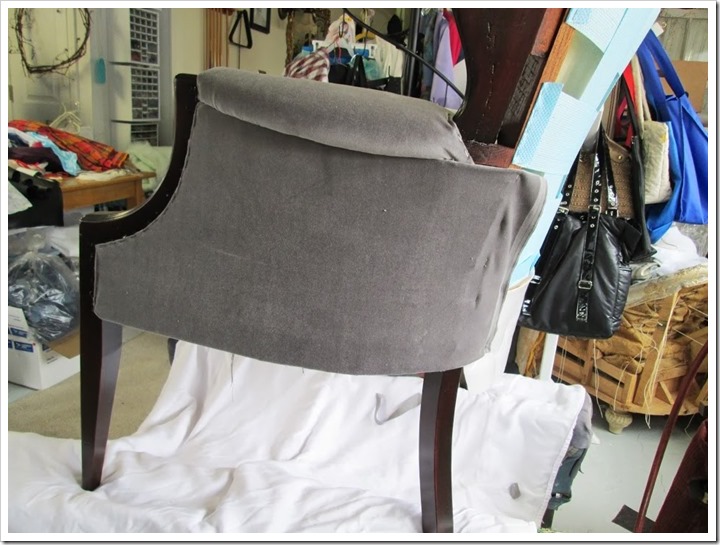
At the top of the back, the fabric had to be gathered in and stapled just so.  The edges around the “wings” also had to be gathered in around the plump stuffing.  It was touchy… more reasons not to use velvet.  Sorry Mama! :)
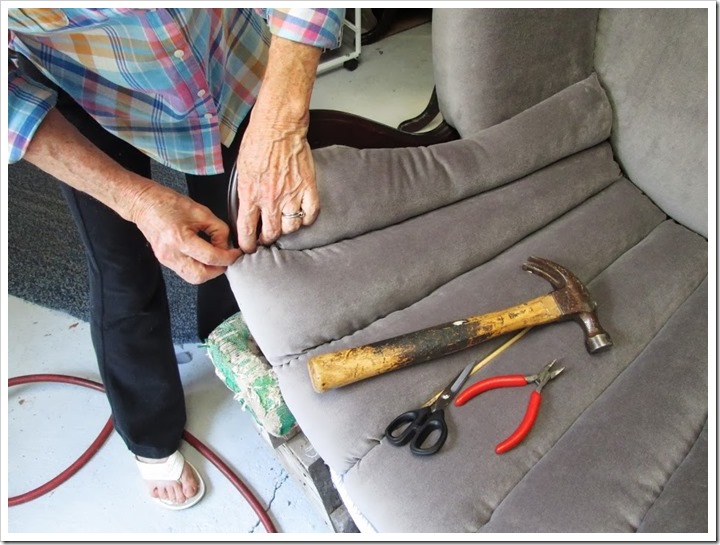
IMG_0494

All the exposed edges on the front and wings were finished off with double welt cording. 
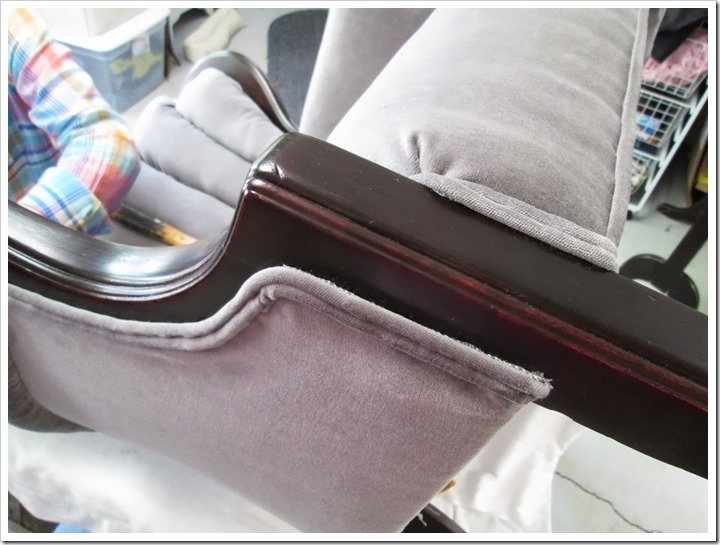
IMG_0497

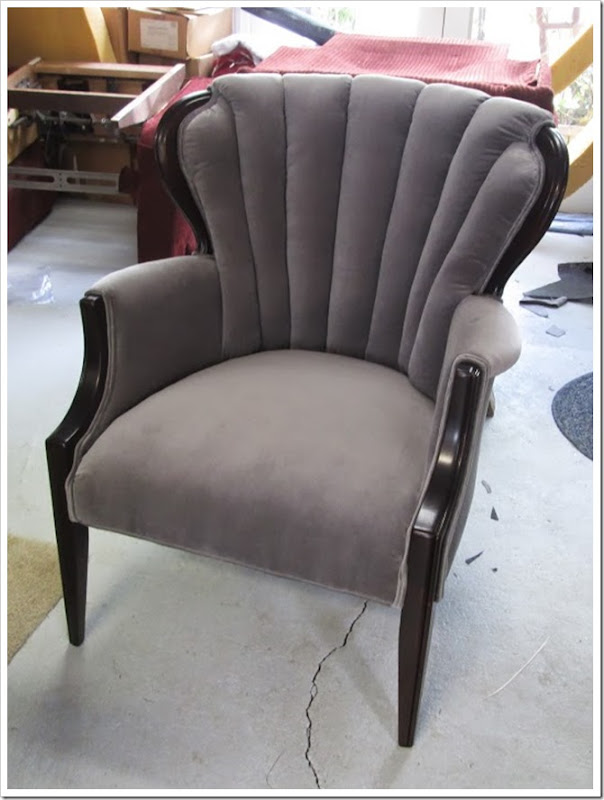
And voila!  We’re finished:

IMG_0499

I wrapped it up and carefully loaded it into the back of my car and brought it home with me that evening! 

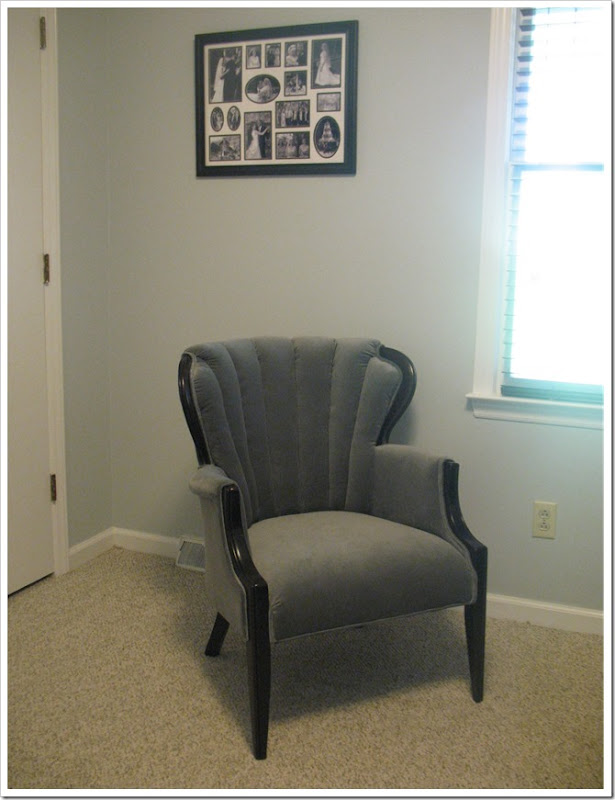
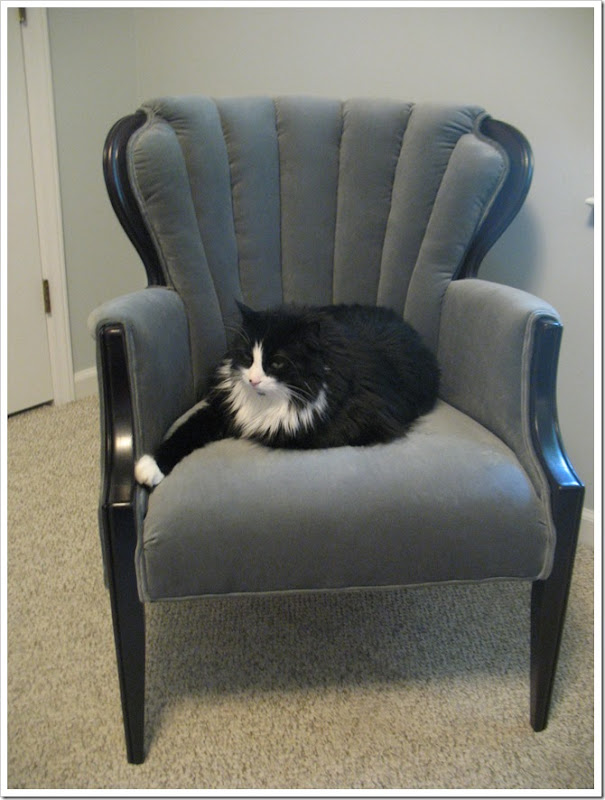
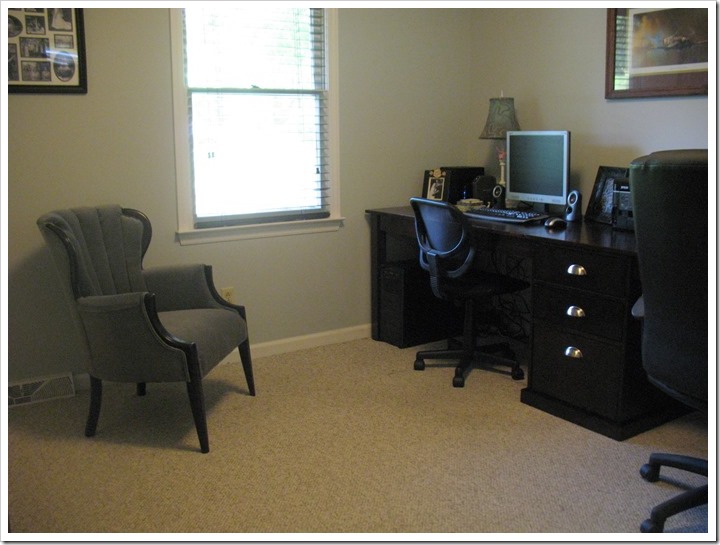
Here it is in its new home.  The dark stain on the chair matches the desk perfectly.  The wood is really a rich, dark brown, but it looks black in this picture.
IMG_3438

IMG_3445

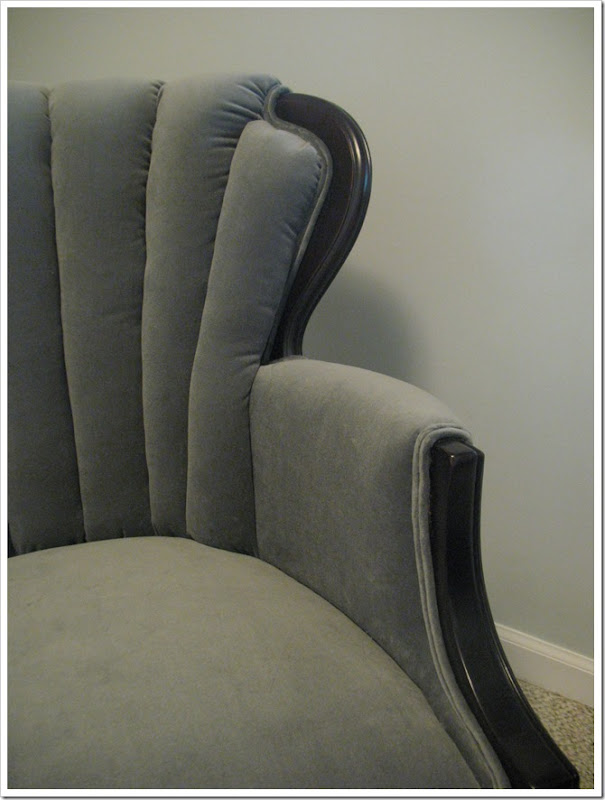
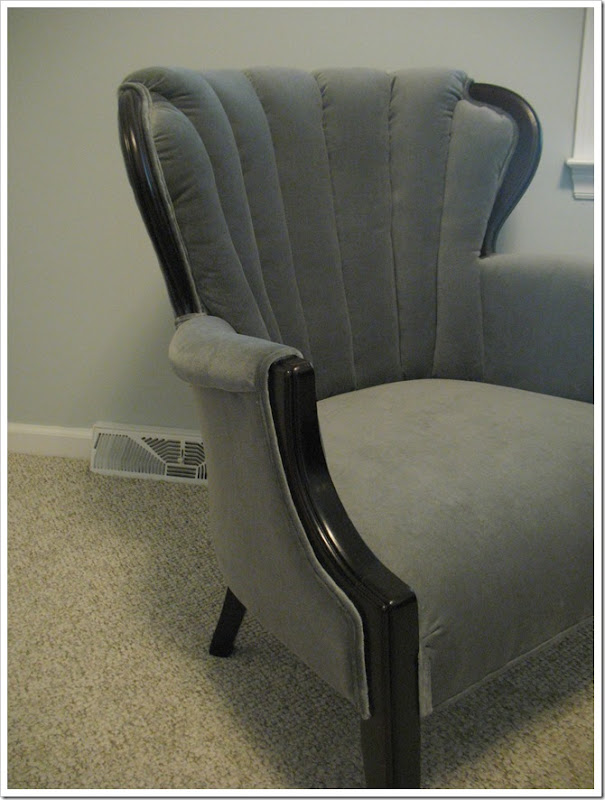
I love all its curves and the shiny finish!  Ahh, it’s gorgeous!
IMG_3435

IMG_3436

IMG_3437

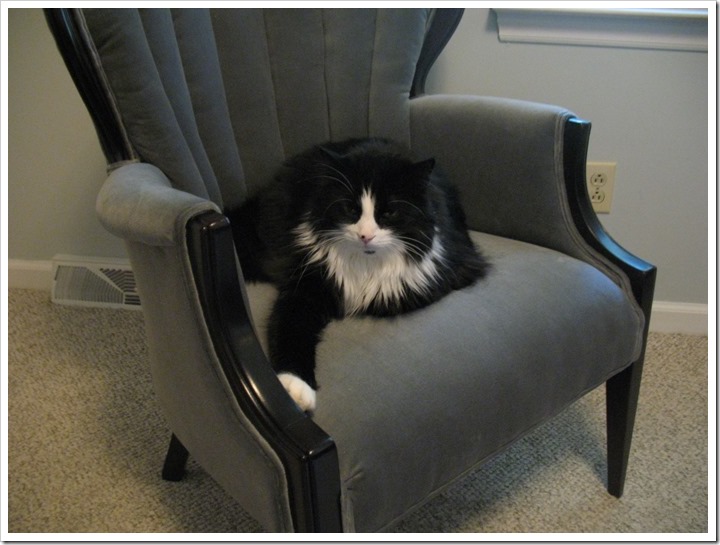
And of course, it wasn’t in the house five minutes before Bandit had climbed up to test it out.
IMG_3401

It is Bandit-approved. :)

IMG_3412

I will miss the denim chair, but this one is so perfectly suited for the office! Love it!  I’m still deciding if it needs a little pillow friend or perhaps a tiny side table?  We’ll see…

signature pink