Sunday, September 30, 2012

Beautiful New Floors!

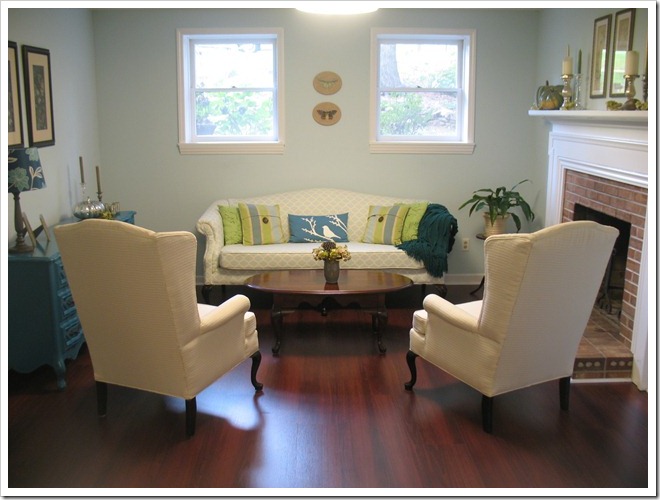
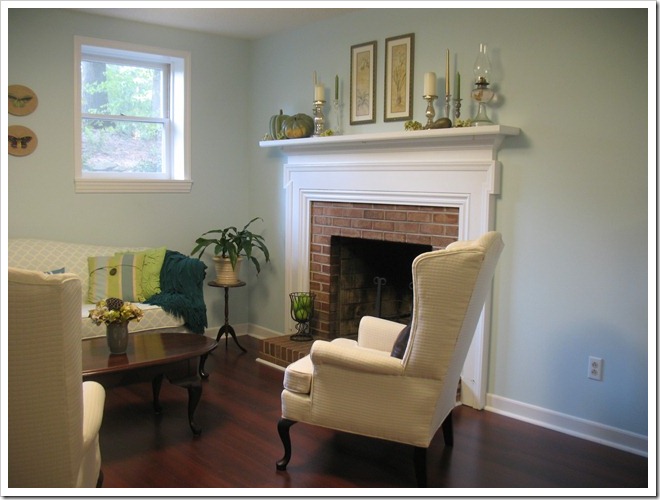
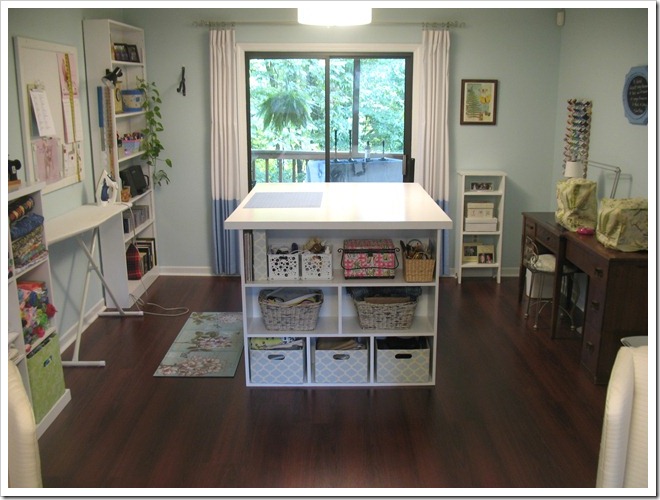
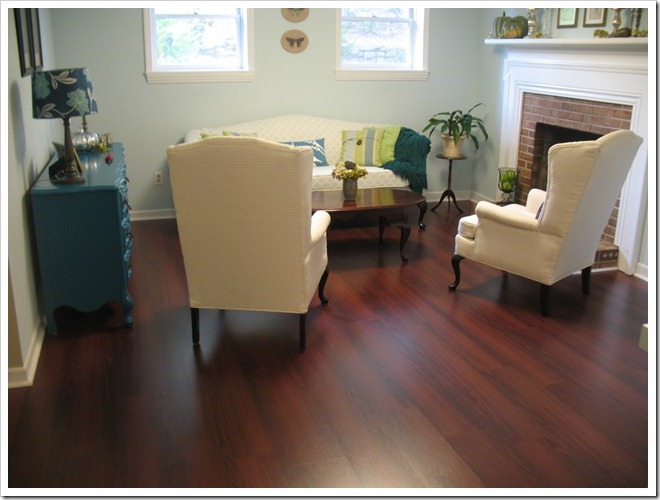
Last week was my birthday so this past weekend my family came and helped install my birthday present! :)  I told you were were getting new floors for the den a few weeks ago.  And now three weeks later, here is the final result! 

IMG_1306

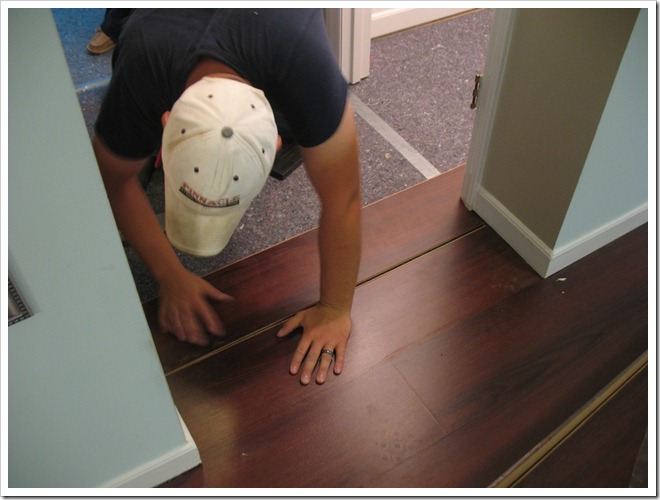
Before I jump to the after pictures, I just want to highlight the installation process so you can appreciate the hard work involved (Thanks Josh!).  First things first, we tore up the carpet and foam underlayment.  Some glue scraping and vacuuming came next.  Then the floors sat all lonely and empty for a while.  Then Mr. Laminate Installer Extraordinaire (AKA my brother-in-law Josh) arrived!

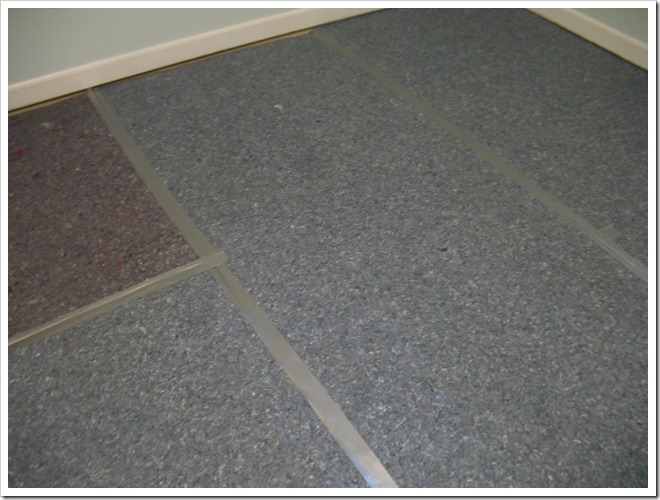
He showed us how to lay out the new underlayment and tape the seams (with duck tape).  I was qualified to help with this step.  You always want to run your underlayment perpendicular to the flooring so the seams don’t coincide.  We decided to run the flooring parallel to the longest wall even though that meant it would run crosswise in the hallway.  Oh well. :)

IMG_1266

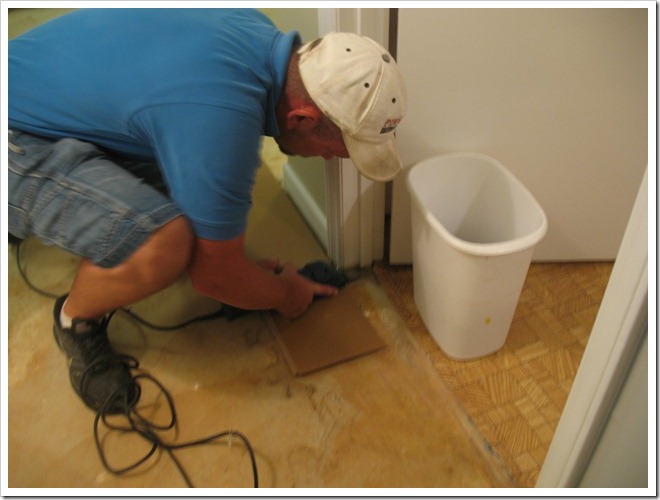
While we laid out the underlayment, Josh cut off all the door trim moldings with a fancy saw.  This way the flooring can slip under the trim and look perfect!

IMG_1263

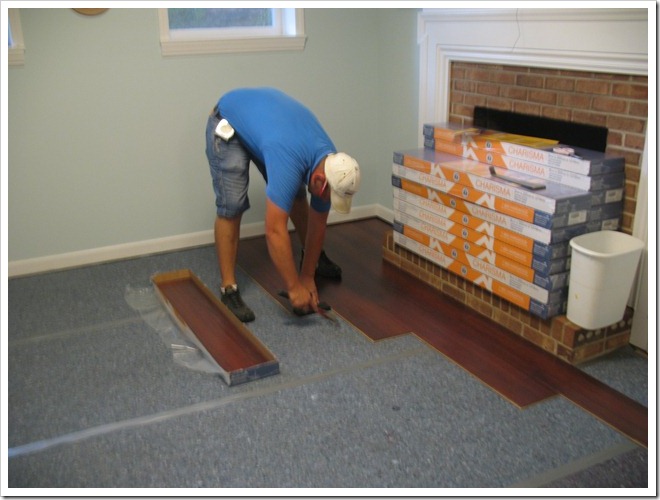
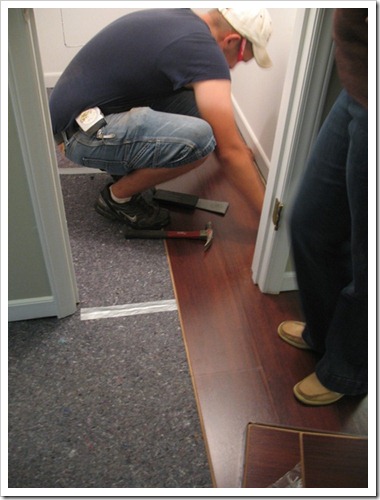
Then it’s time to lay out the flooring, beginning in a corner and running out from there.  This is a floating, click-together floor so you use a nifty little tapping block to secure each piece into the groove left by the first one.  Josh made it look easy, but I didn’t get to help with this step. :)

IMG_1269

Proceed laying pieces until you reach a wall or doorway at which point you have to cut things to fit exactly right.  Skill required. :)

IMG_1288

He did a lovely job cutting out for all the doorways and trim. 

IMG_1291

I love how the wood runs under the door and into the closet.  Seamless (ish). :) 

IMG_1296

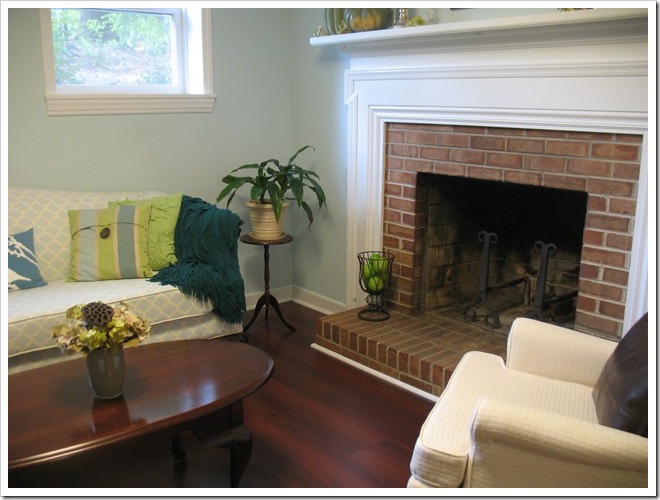
And when he was all done with the flooring, he quickly cut and installed shoe molding around the room to cover the seam between floor and baseboard.  The only place we broke the rules a smidge was around the fireplace.  You are technically supposed to cut a groove into the brick/mortar of the hearth and slip the wood into the groove so it looks seamless.  I really didn’t want to rent a saw to cut this, so we opted to use quarter round here, too, even though it is “not recommended”.  Whatever.  The white trim sticks out here so I’m thinking I might get the shoe molding to match the floors for this part.  Or I’ll paint it.  Haven’t really decided if it’s that important yet.  :)  Anyway, after the shoe molding went down, we vacuumed (some more) and then mopped before bringing all the furniture back in. 

IMG_1330

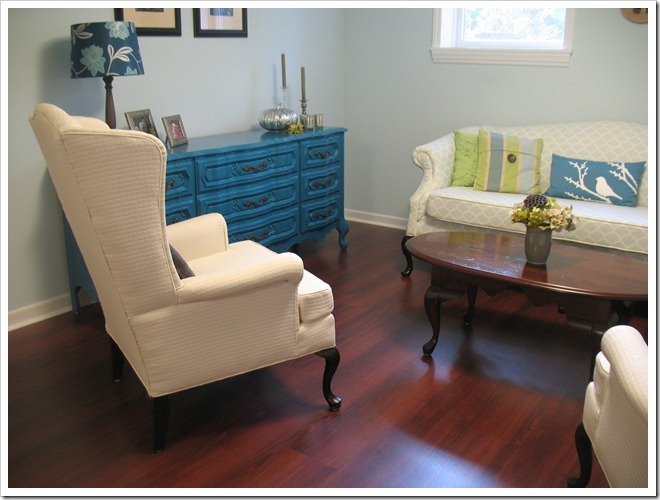
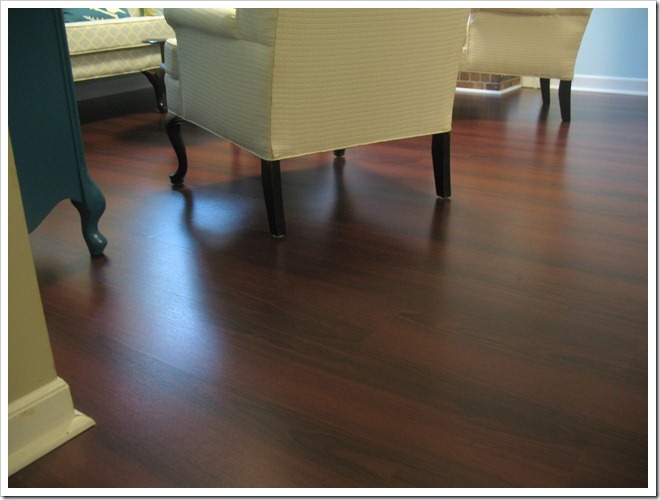
Luckily I had a bunch of helpers on hand to move furniture.  :) Hooray!  Everything looks awesome with the new floors. 

IMG_1326

I spent the past day and a half reorganizing all my stuff and decorating for fall!  And vacuuming… and mopping.. haha!

IMG_1312

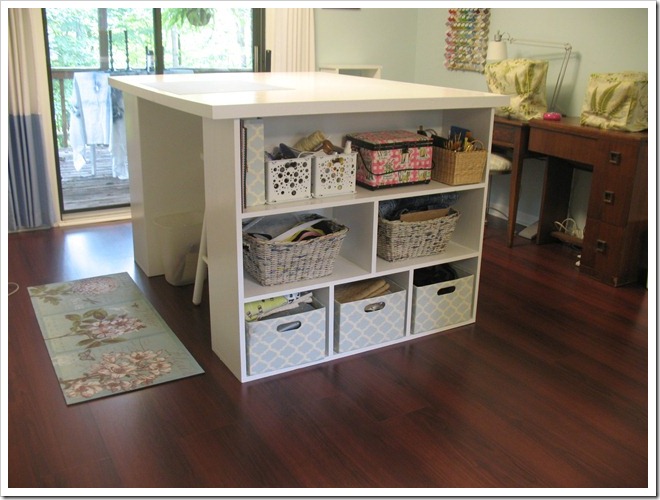
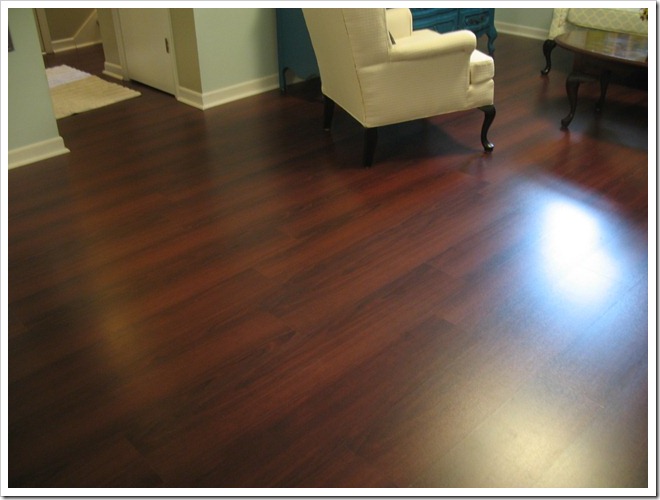
Here’s the other side of the den in a never-before-seen perspective.  I was totally standing on the coffee table for this shot.  :)  But see how nice the floors look from this angle?!!  The pretty little rug was a birthday gift from Mama.  It’s a nice anti-fatigue mat from Lowes.  It’s nice and cushy where I stand for cutting and ironing.

IMG_1342

IMG_1322

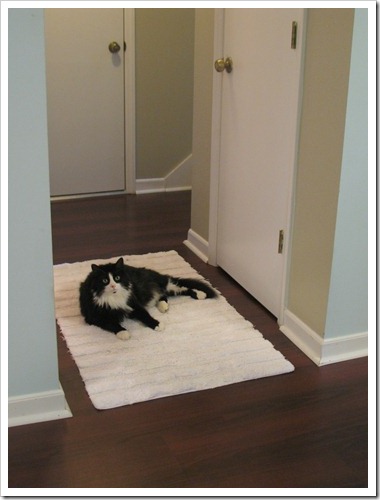
The floors are really easy to clean but incredibly hard to keep clean.  The dark stain shows every speck of everything… and in this house, that’s a lot of things.  Especially pet hair.  Guess I’m gonna get to be good friends with my Dyson.  :)  I am planning to get a runner for the hallway in an effort to stop some of the dirt from spreading.  I threw this one down from the laundry room.  Luckily Bandit seems to like a rug here… maybe he’ll just lay there instead of on my cutting table or couch. :)  Maybe?

IMG_1355

Since Bandit has the best view of the new floors, I’m gonna let him take you on a brief tour… 

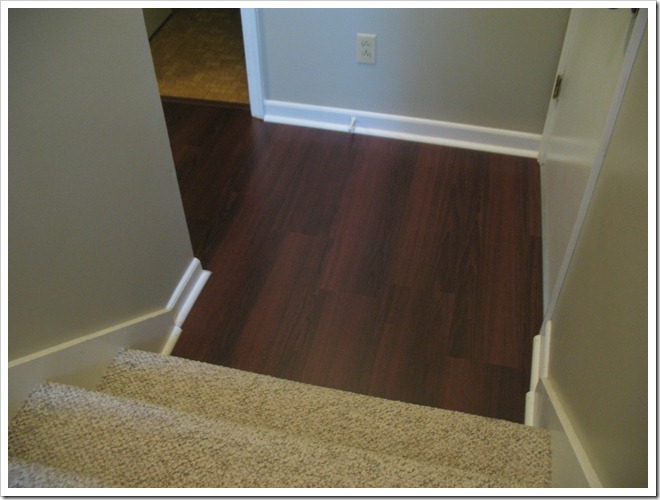
Let’s begin in the foyer where you trip people on the way down the stairs to get your dinner served to you!

IMG_1360

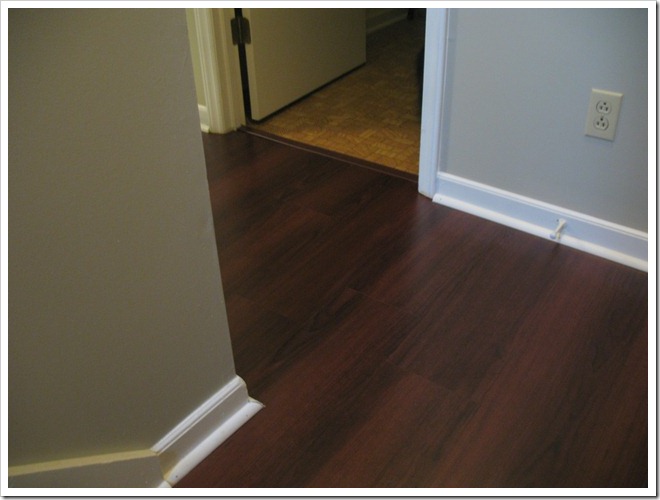
Around the corner… gosh, it’s so clean it’s ridiculous!  I need to make a mess!

IMG_1361

And past the laundry room (unless it’s dinner time in which case you stop there first) into the den.

IMG_1368

Then you jump up on the table and get situated right in Sarah’s sewing spot.  Keep an eye on the stairs in case someone comes down with food…

IMG_1373

Ack!  Too much glare, just scooch over and sit on the other side where she’s laid out her next project.  Much better. 

IMG_1371

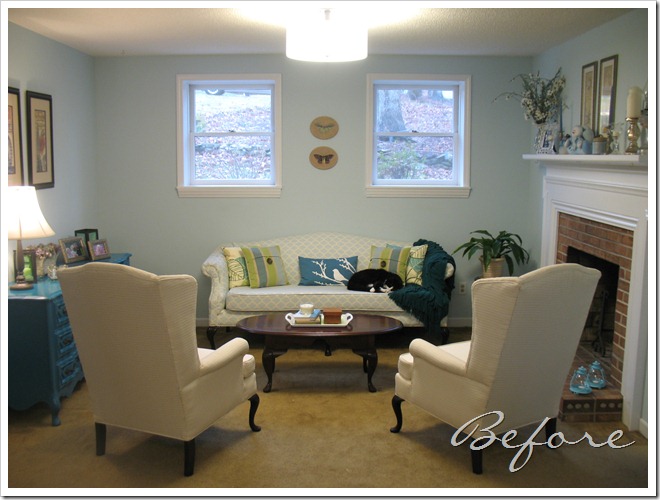
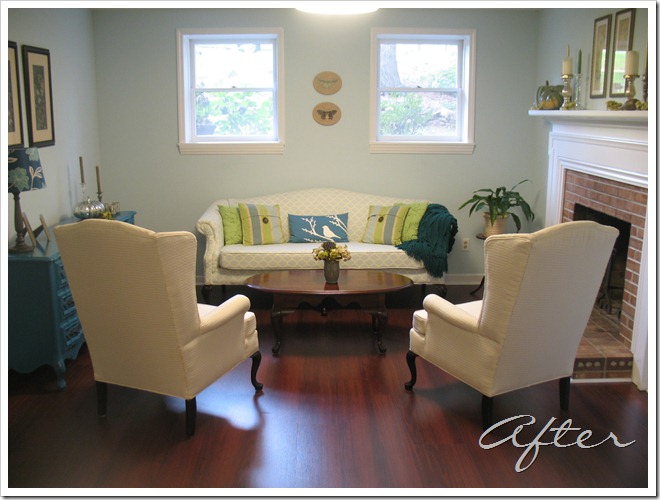
I’m glad to see Bandit enjoys gazing at the new floors. I know I do.  Now you know you want a before and after comparison!!

IMG_9412

IMG_1306

Now to find a rug! :)

signature

P.S.  Fall Mantel Decorating post will be coming soon! :)

P.P.S.  Thanks to Josh especially, but also Hannah, Mama and Michael for all their help in installing the new floors.  I am so excited!  And I love vacuuming! haha!

Monday, September 24, 2012

A Creepy Silver, Black & Purple Halloween Mantel

Well, it’s that time of year again… stores are filling up with Christmas decorations, it must be almost Halloween!  “Almost Halloween” to me means September!  So this past weekend I got a running start on the extensive decorations for our 16th Annual Halloween Costume Party.  My parents are hosting the party again this year, so I have to start decorating early.  Sorry Papa! :)
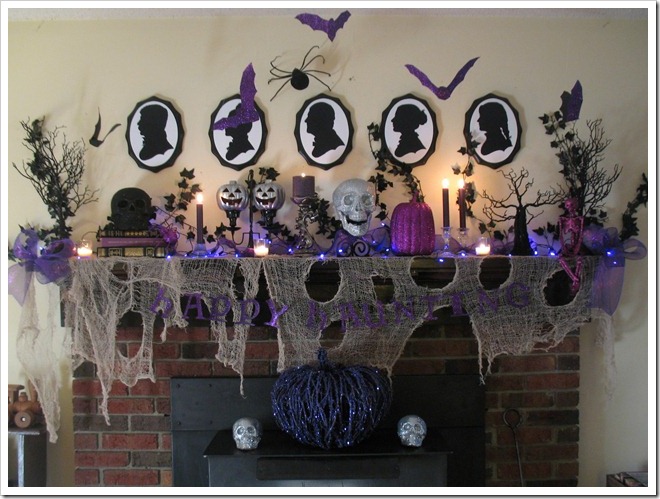
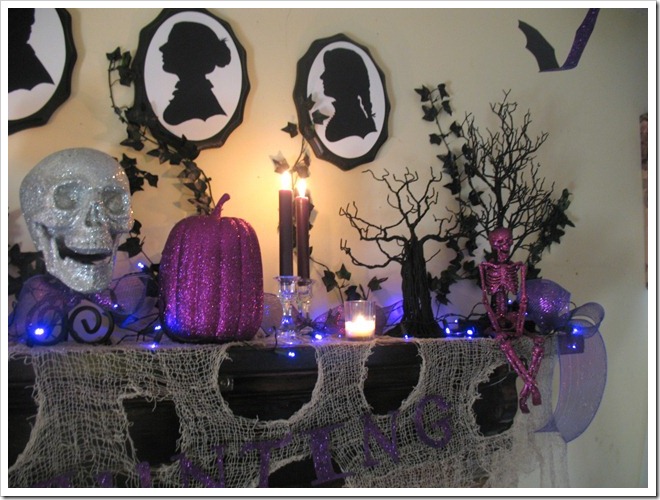
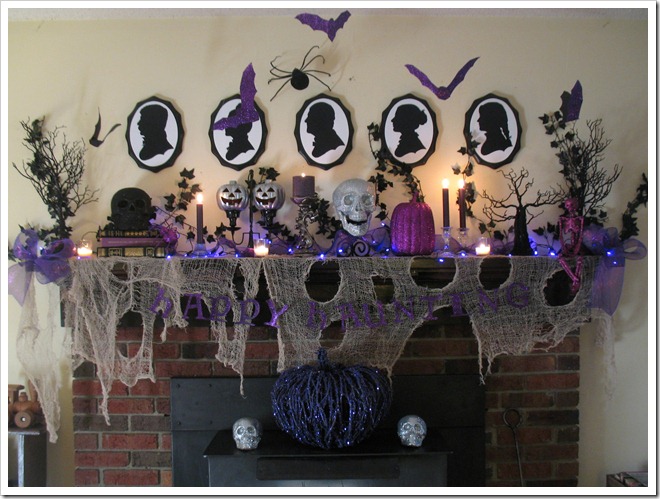
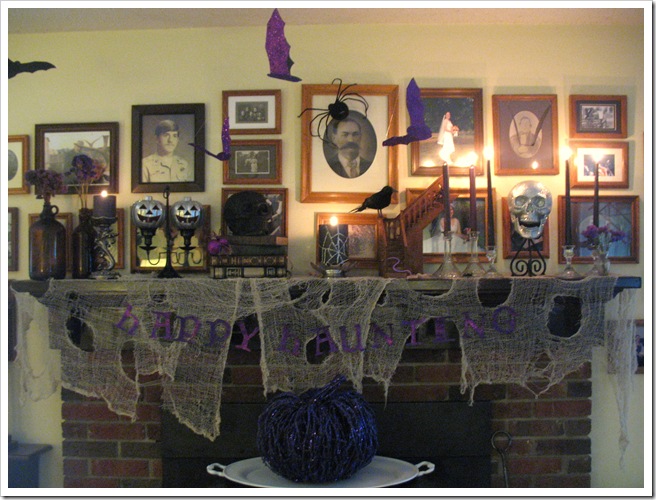
I almost always start with the mantel because it’s my favorite!  And I love to cram as much as possible up on that little ledge.  We are keeping up the purple and black theme from last year with a few additions and some tweaking.  SO. MUCH. FUN…
IMG_1170

I started by clearing the wall and hanging the family silhouettes over the mantel.  Next came some spooky black ivy clinging to the wall behind the surround.  And on top I strung some creepy cloth and a purple garland that reads “Happy Haunting”.  

IMG_1187

Each end is accented with a spooky glittery tree from Michael’s and a smaller one from Kohl’s. I love these!

IMG_1194

IMG_1173

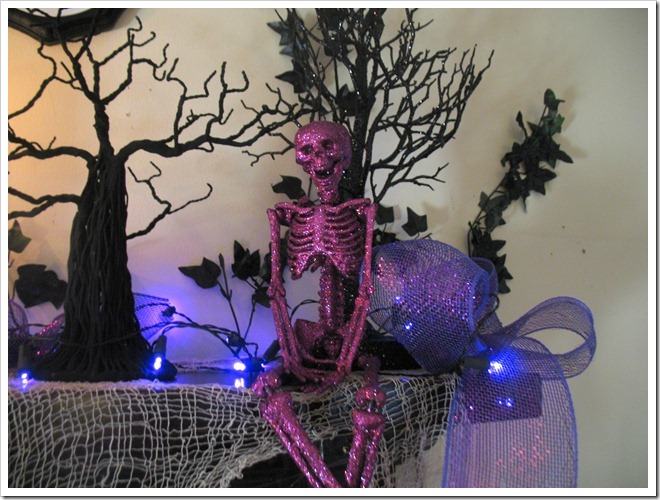
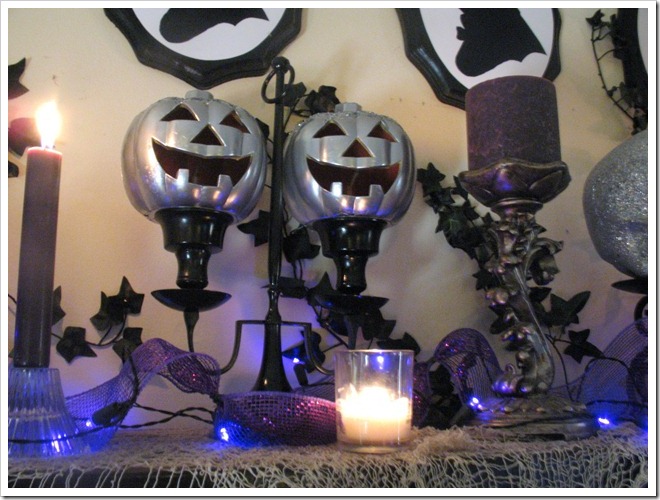
A variety of candles, skulls and pumpkins in every glittering shade came next.  A couple spiders and a purple skeleton round out the display. This year I added some purple glitter ribbon that we got at AC Moore twined in between all the accessories and also tied in loops on the ends.  And on top of that I put two strings of LED purple lights.

IMG_1203

IMG_1178

To finish the scene purple glittery bats are swooping down from the ceiling.  and on the stove top is a giant glittery purple pumpkin from Home Goods.  I love how the look came together.  Except for one thing: I later went back and took down the ivy directly behind the trees because it blocks the space between the branches and makes the trees look far less spooky.  I also added a raven on top of the giant pumpkin.  It’s better now, but it was too dark to take new pictures by the time I finished.  Just use your imaginations. :)

IMG_1170

Okay just for fun, here’s a look at last year’s mantel display. 

IMG_7840

I like that white tray!  I must go find that and add to my décor.  :)  After seeing last year’s picture, I think I prefer the lightness of this year’s look.  All those framed pictures were looking a bit cluttered, right?

I can’t wait to post some more party décor.  I have the rest of the living room decorations in purple and black all planned, so I’ll be back soon to share the details!  I’m getting excited!!

Blackbird

If you are itching for more inspiration, check out last year’s banister décor, front porch, cemetery, parlor decor, and the party wrap-up post.  Or visit my halloween page for all the details from our past parties! 

signature

P.S.  My new floors for the den are being installed on Saturday!!!  Stay tuned for the after pics! :)

P.P.S.  I’m linking up to the Fall Mantels link party at Centsational Girl.  Check it out!

fall-mantel-party-centsational-girl

Halloween Mantels

Monday, September 17, 2012

A Baby Boy Bambi Nursery

Back in July I shared the owl baby shower that we had for my sister, Hannah.  Her little one has finally arrived and I am back to share the details of her nursery with you.

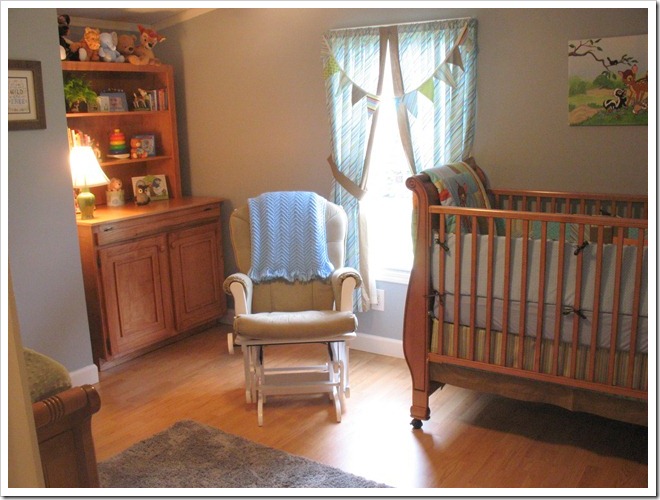
Hannah and her husband love the outdoors so they decided to do a Bambi themed nursery.  It was nearly impossible to find cute Bambi bedding so we decided to make our own.  The cotton prints for the bedding were the jumping off point for the room.

IMG_1137

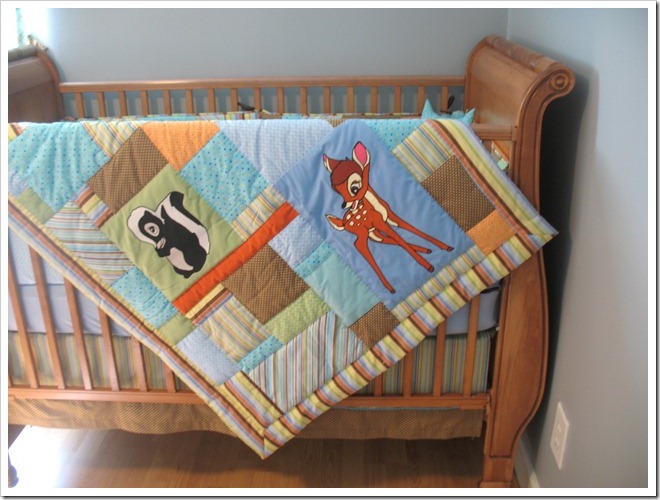
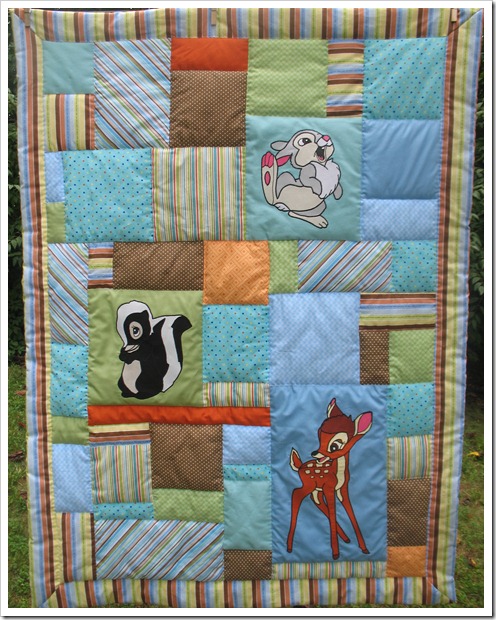
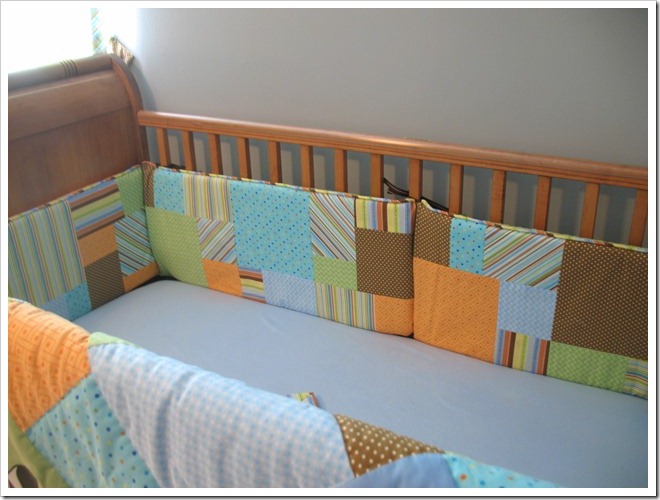
I designed the bumper pads and the quilt with random sized patchwork pieces.  Since we couldn’t find Bambi fabric, I appliqued three of the characters on the quilt to bring in the theme.

IMG_1116

Here’s a full view of the quilt.  I pieced it and Mama hand quilted it for Hannah and her baby.

IMG_0712

The bumper pads are all different with random patchwork designs in orange, brown, blue, and green prints.

IMG_1118

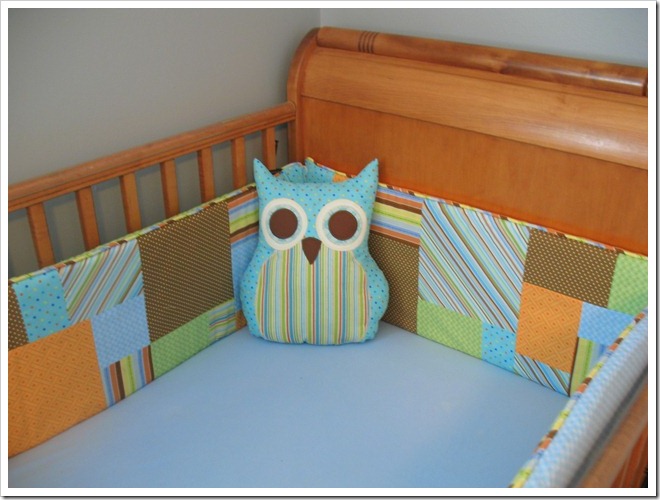
Here’s the owl pillow that I made for the shower.

IMG_1077

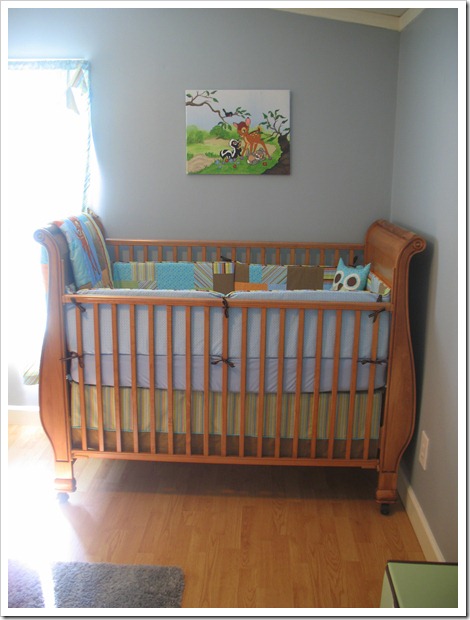
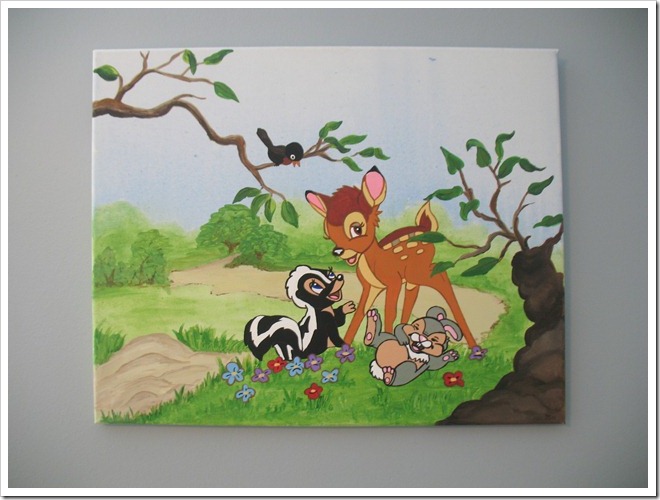
A Bambi painting hangs over the crib.

IMG_1073

The picture is from a Bambi children’s book and I just enlarged it and transferred the design to canvas before painting it. 

IMG_1075

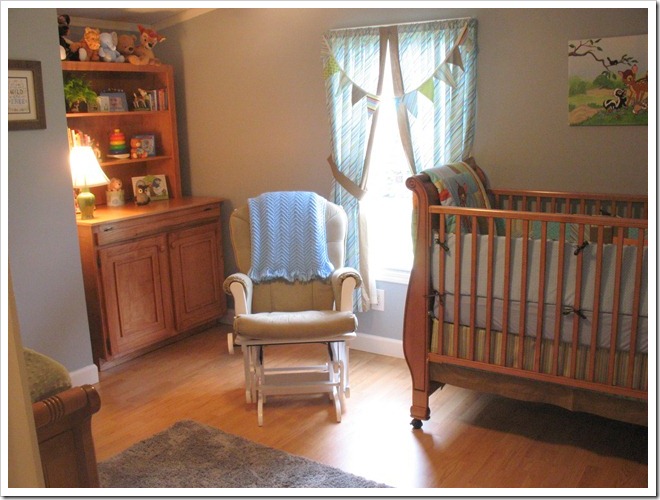
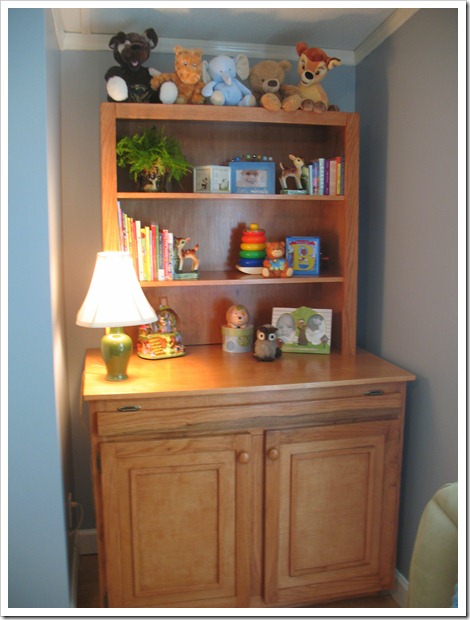
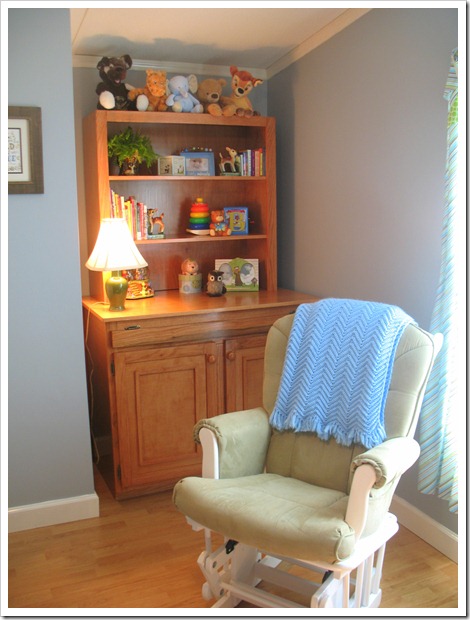
Across the room in the little nook is a custom cabinet and bookcase that my Papa built for his grandson.  The cabinet opens to reveal six pull out drawers for clothes or toys or whatever.

IMG_1082

Hannah was kind enough to let me style it for her when I went to visit last weekend. :) 

IMG_1086

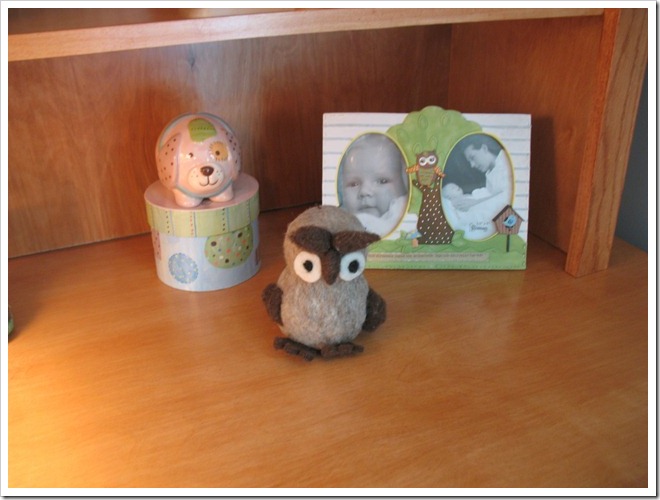
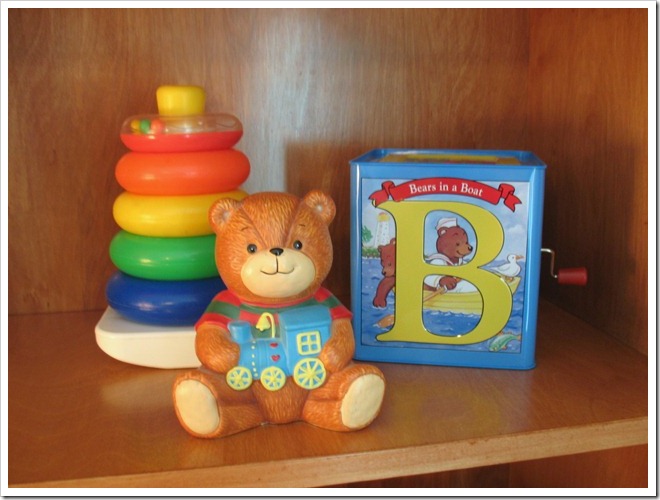
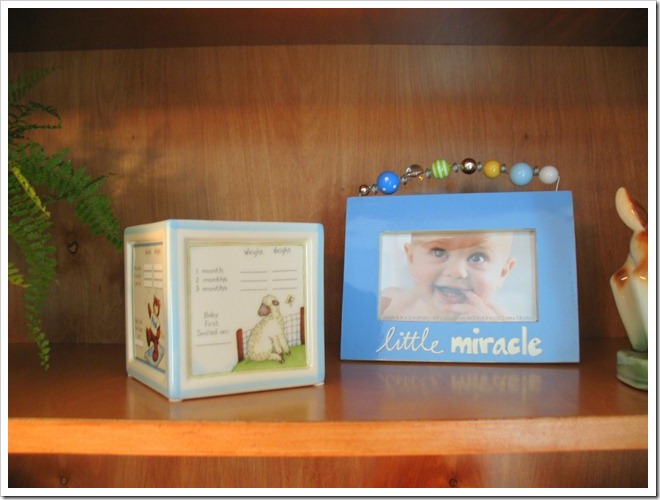
She had so many cute accessories and frames.  They are still displaying the stock photos they came with, but we’ll pop in some cute pictures of the new guy really soon!

IMG_1107

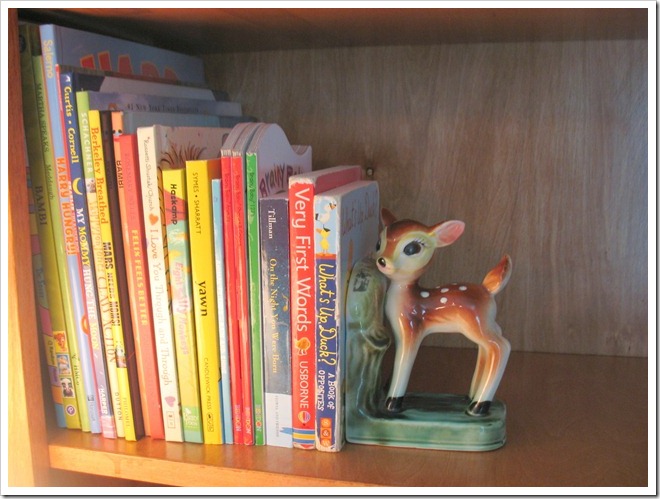
These vintage deer bookends are so adorable!

IMG_1099

IMG_1101

IMG_1105

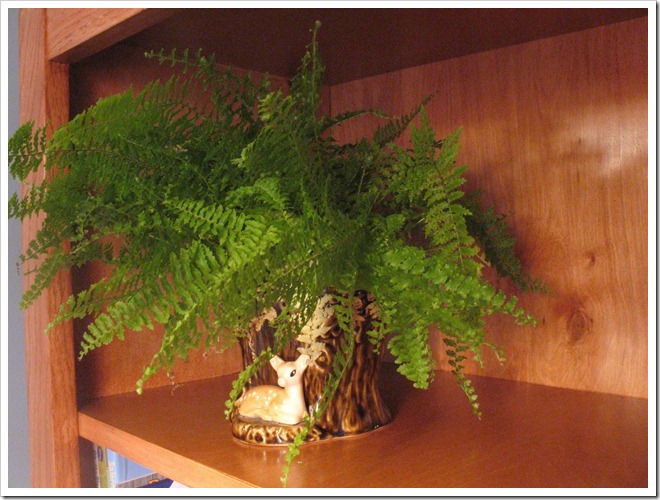
This little tree stump planter with baby deer came from a local thrift store.  I just cleaned it up and stuck a little fern in it.  Love!

IMG_1142

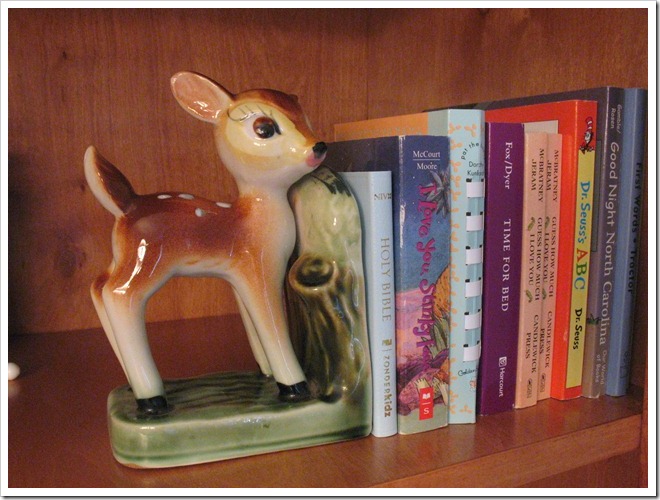
Here’s the other baby deer bookend with a bunch of tiny books.  Cute!

IMG_1143

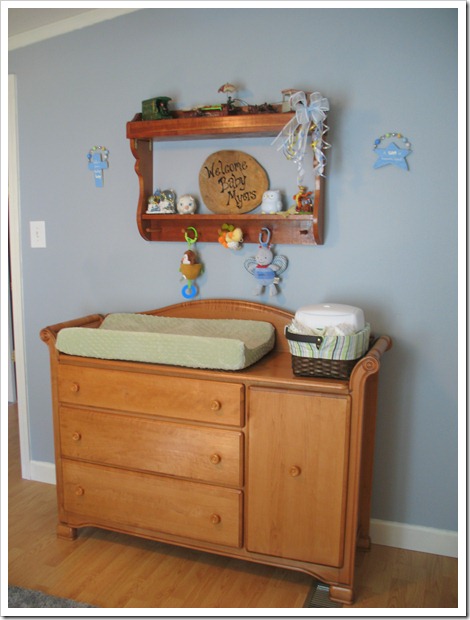
And on the last wall is the changing table and dresser. The wall shelf was built by my brother for us when we were in high school.  I have a larger matching one in our guest room.

IMG_1091

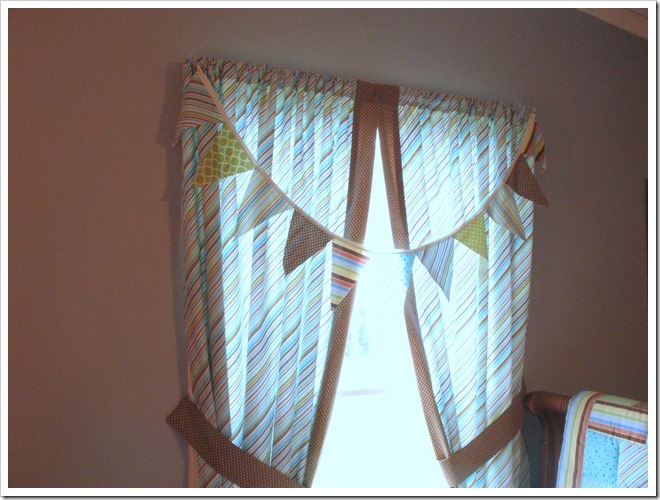
Mama made the curtains for the room and Hannah topped them with a banner that I made for the shower.

IMG_1139

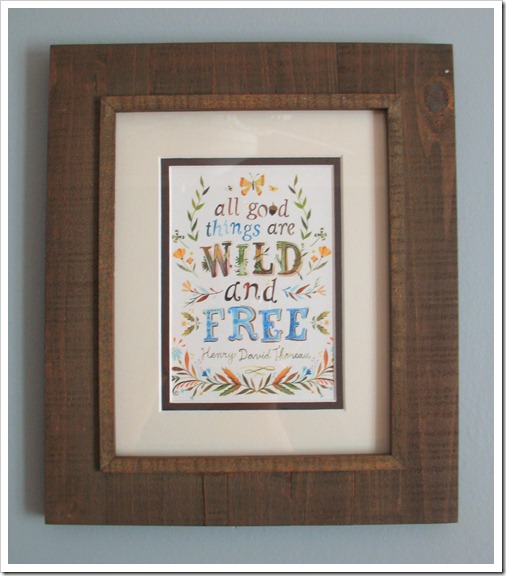
I also gave her a framed print with a cute quote.  I think it is very appropriate for little boys, “All good things are wild and free.”  I’m sure if I actually had little boys I would think, “All good things are calm and neat.”  :)  The frame is from Michael’s and I love this collection that looks like rustic barn wood.

IMG_1095

So that’s the tour!  I am so excited with how this nursery came together.  I hope Hannah’s little man enjoys it as much as me!

IMG_1137

signature