Thursday, March 24, 2011

…Eat a Cupcake

See how this post was supposed to be about a new shelf I put in the kitchen… but it’s turning into a story about a cupcake?  Why does that always happen to me? ;)

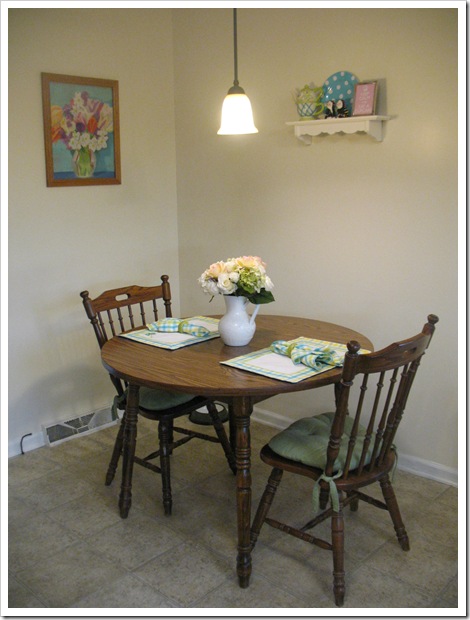
I was Goodwill hopping the other day when I spied this cutey little shelf for $3.50!! Woot!  I’ve been looking for a nice shelf to hang over the kitchen table that I could decorate with plates and teapots and cute kitchen things.  This one, while a bit smaller than the one in my imagination, was a great price and in perfect condition!  When I got it home, I hung it on the wall behind the kitchen table… a sad and neglected little corner which is usually just a landing spot for purse, lunchbox, mail, cat toys, etc. :)  While it still functions as such, at least it has a bit more pizzazz after my little addition:

   IMG_4900

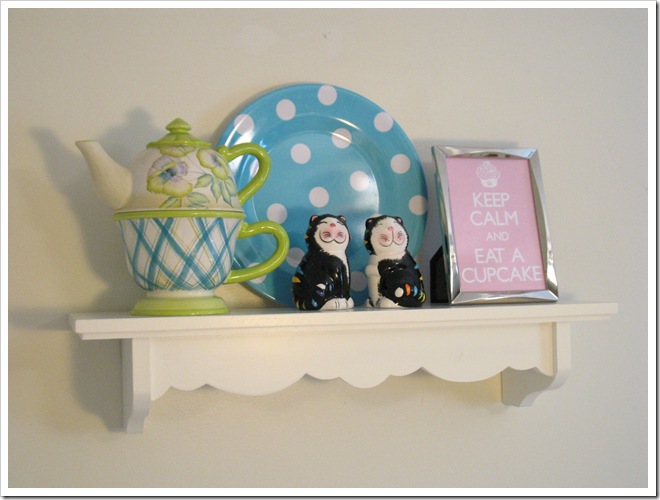
I moved the flower picture to the opposite wall to accommodate the new shelf.  And of course after I hung the shelf, I ran around looking for cute things to put on it.  The teapot was number one, since I’d been imagining it up there for a while, then I found a blue polka dot plate.  After that I had to get creative…  so I framed up a little quote.  It’s a take off those “Keep Calm and Carry On” posters you see everywhere.  But why “carry on” when you could just eat a cupcake?  Then the little kitty cat salt and pepper shakers joined the fun to round out the display.  This is mind-blowing stuff, I know. ;)
IMG_4857 

Just a little bit more cute for my kitchen. :)

Hope you enjoyed the update!  I’ll be back with more fun from the Horvath House, namely— A Fence For Riley, and Spring garden pics!

signature

Sunday, March 20, 2011

Welcome Spring!

Spring has sprung… finally!  Hope the warm weather and sunshine are reaching out and touching your neck of the woods, too!

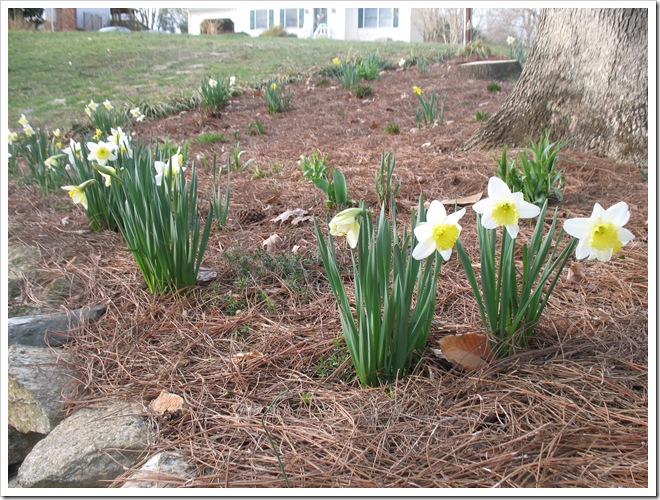
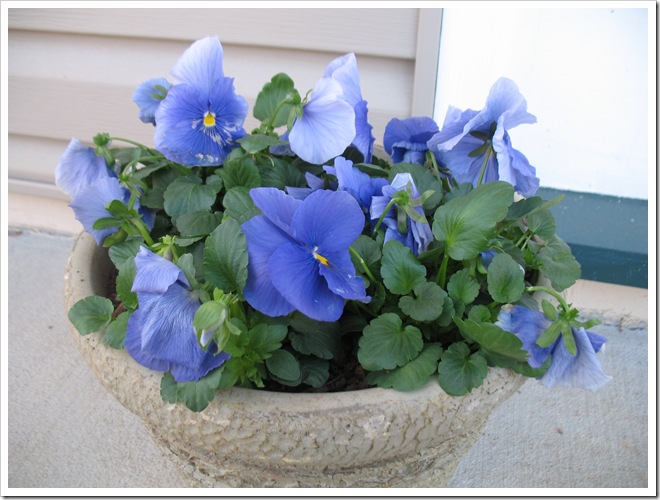
Just wanted to share the first blooms of the season from our yard:

IMG_4865  

Happy Spring!

I’ll be back, hopefully soon, with a couple of cute updates in the kitchen! :) I’ll give you a hint… it involves cupcakes! ;) 

See you then…

signature

Thursday, March 10, 2011

Step by Step

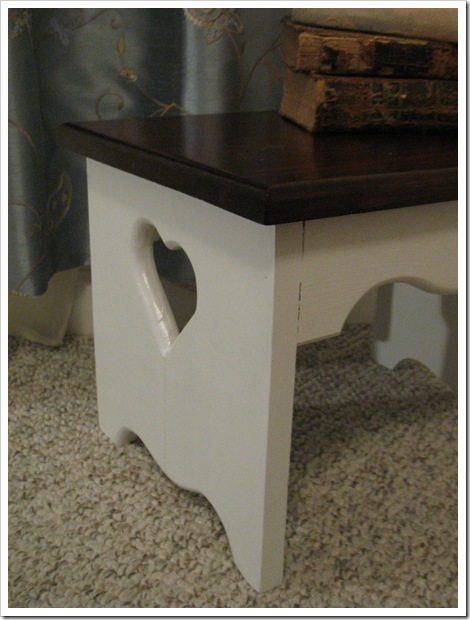
I recently acquired this cute little stepstool.  (i.e. My father filched it for me from a friend who was cleaning out their garage.)  With hand carved hearts on each end.  Just my style… ;)  I decided it would be the perfect stepstool for my closet.  For when I’m trying to get something off the top shelf and I don’t feel like dragging my desk chair all the way down the hall.  :)

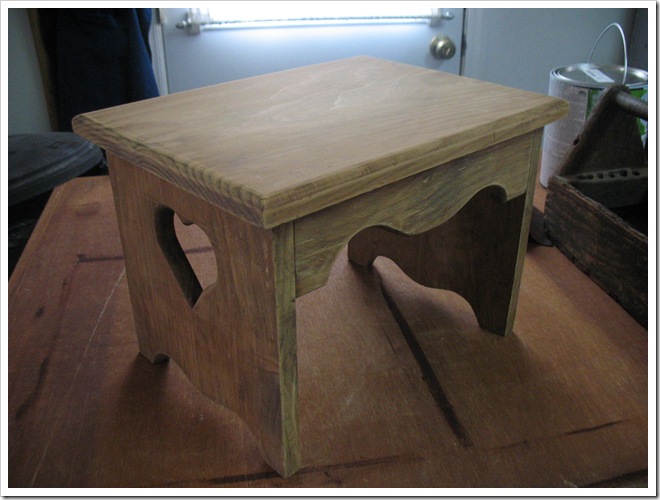
Here’s what it looked like before I got my hands on it.  Well actually I put my hands on it to put it on the table there.  And I put my hands on it when I sanded the “Home Sweet Home” off the top.  So, this is what it looked like after I got my hands on it, but before I got my paintbrush on it:

IMG_4636

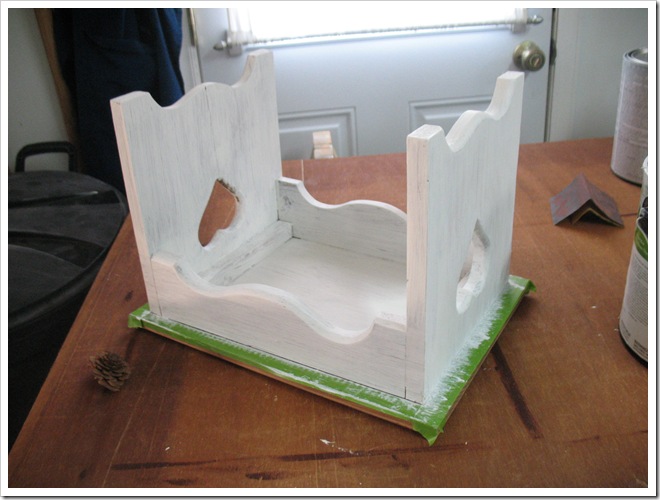
Here’s what it looked like after I got some primer on it.  Just the bottom part.

IMG_4704

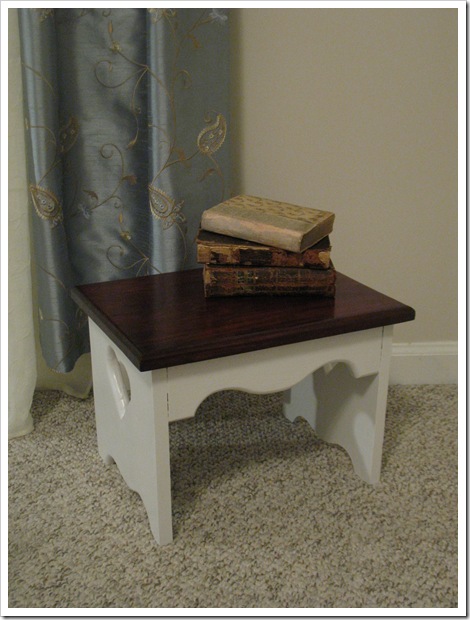
And here’s what it looked like after I got two coats of semi-gloss paint on the bottom, and one coat of stain and two coats of poly on the top:

IMG_4876

Cute! 

Doesn’t everything look fancy with some old books piled on top? 

Y’all know that’s what I’m using this stepstool for, right?  Display place for my very old books.

IMG_4891

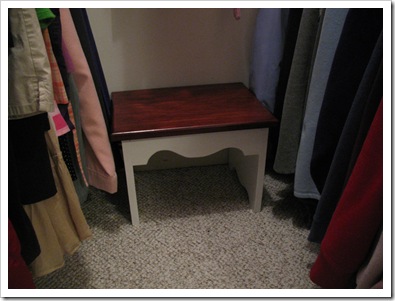
Okay, for all you reality lovers out there, here’s where it actually lives.  At the back of my closet, ready to springboard me to the top shelf in my search for winter boots, fancy shoes, or handbags.  :)  Yay!

IMG_4894

If you need me, I’ll be in the closet, needlessly reorganizing my top shelf just so I can try out my cute new stepstool!

signature

Wednesday, March 02, 2011

Spring Spruce-up (Outdoors!)

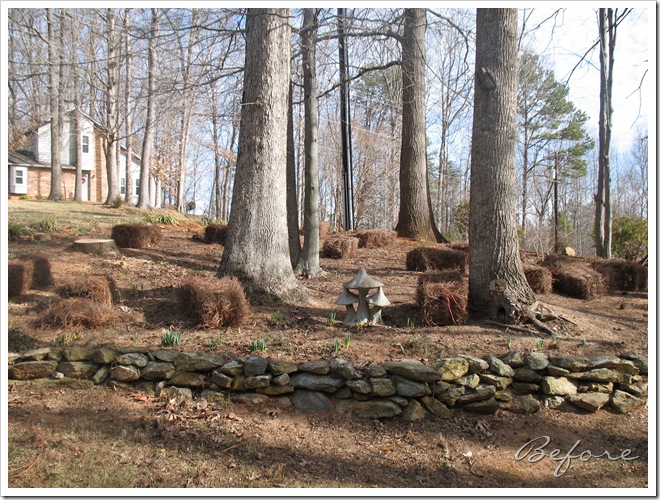
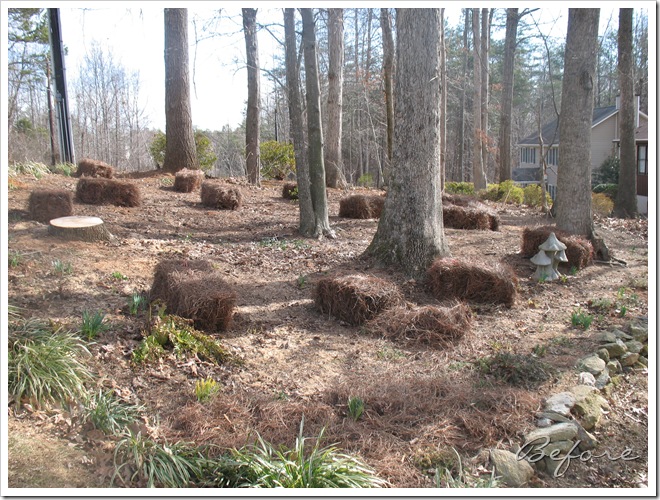
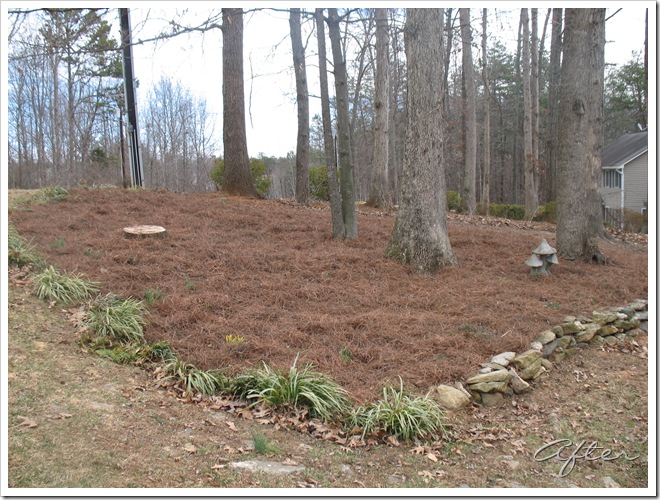
Lately we’ve been having some beautiful weather with warmer Spring temps.  That’s perfect weather for yard work!  The last two weekends found me spreading pine needles in the front yard.  After living here for 2 1/2 years, we’ve finally gotten around to putting fresh pine needles on the huge flower bed in the front yard.  Shame.

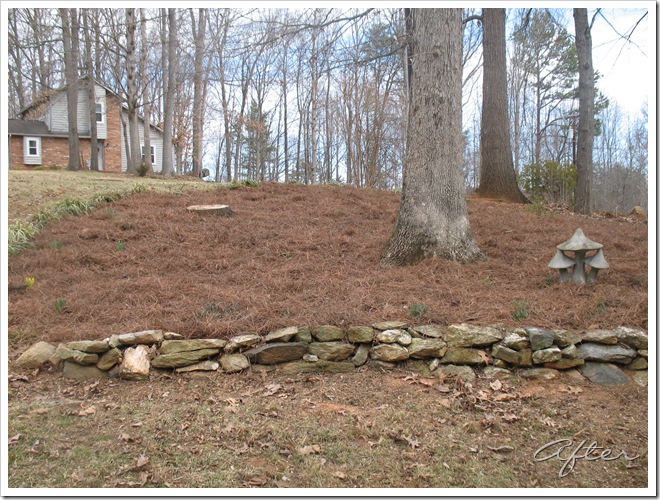
First I had to rake all the old “mulch” off the soil.  “Mulch” being dried leaves, old pine needles, a bazillion acorns, gum balls, sticks and debris that had been left to pile up over the past 3 years.  Whew!  After I finally got it mostly cleared, we brought in fresh pine bales.  Here’s a look at the transformation:

IMG_4650 IMG_4652

IMG_4651

IMG_4653

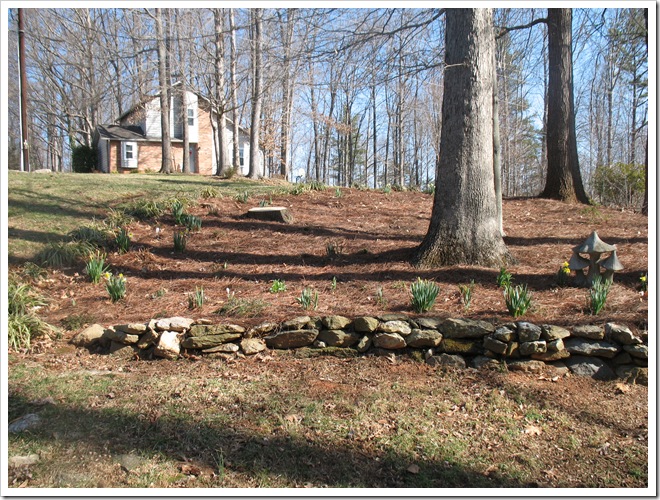
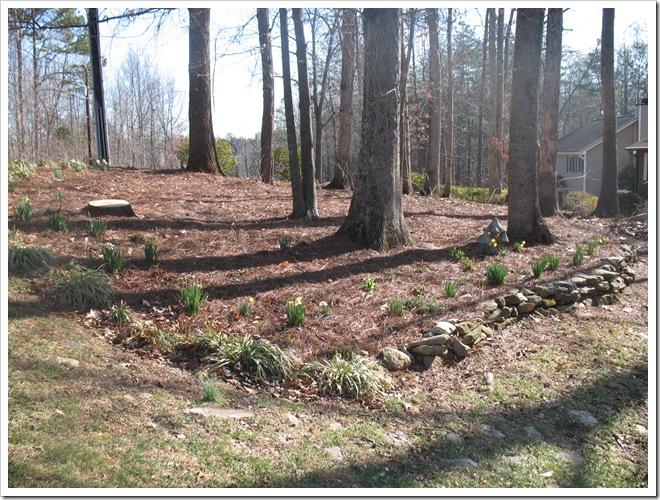
Very nice and clean looking. Now I just have to get to work trimming all the liriope and we’ll be set.  Here’s what it looks like today with some of the daffodils up!

IMG_4752

IMG_4754

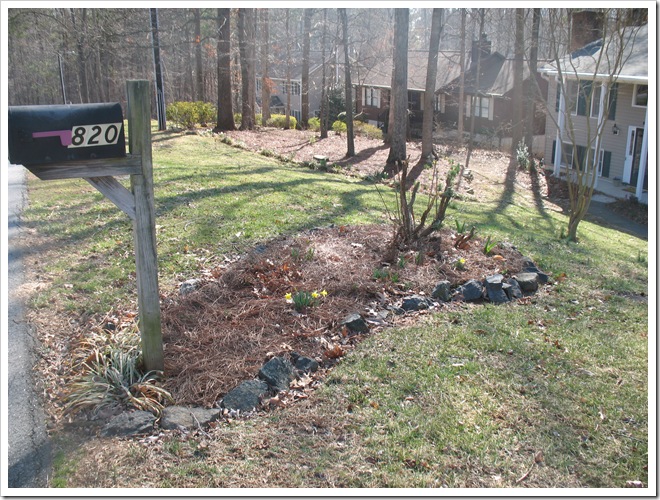
I had a few pine bales leftover so I spruced around the mailbox bed while I was at it.  This poor flower bed has been neglected.  It has never been mulched, until now!  We have plans in the future to expand and reshape it, but for now a little spruce was a welcome change:

IMG_4756

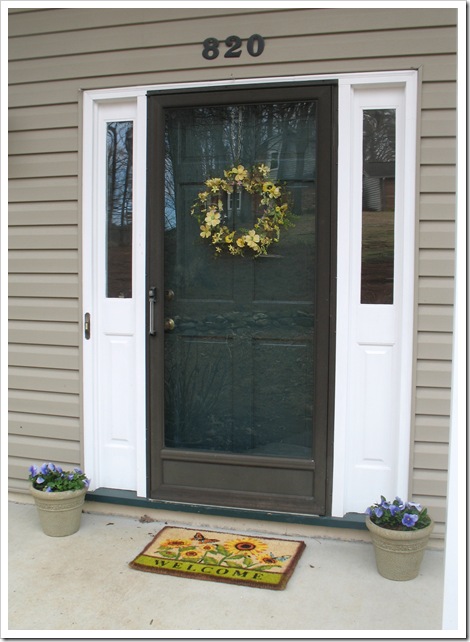
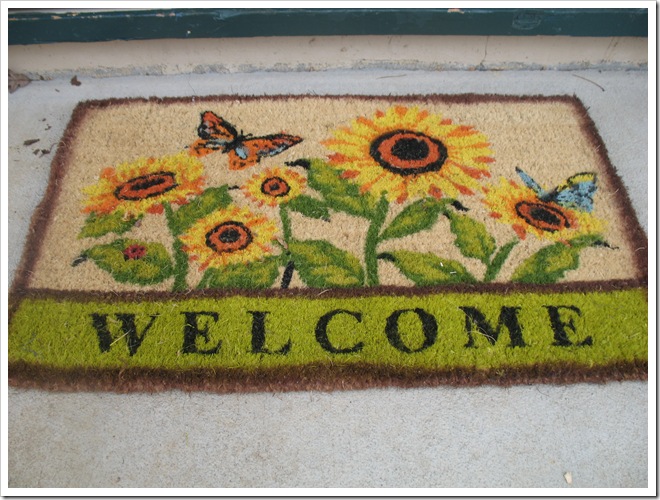
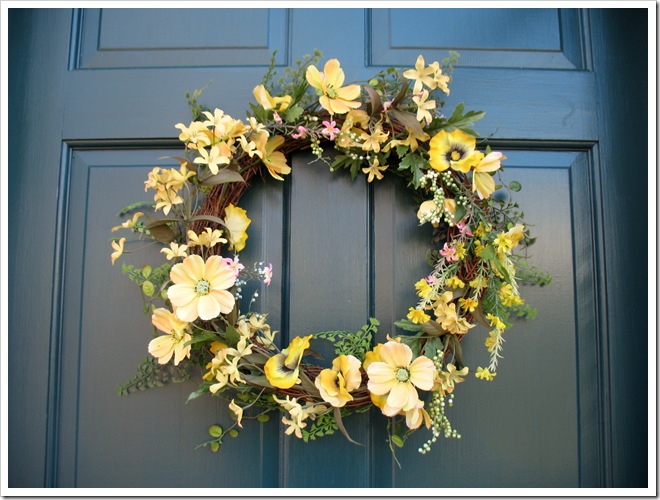
I’ve added a few more Spring touches to the front of the house, too—a new welcome mat to replace our worn out one, a matching wreath (that I whipped up using everything yellow I could find!) and some blue pansies!  I can’t wait for Spring!

IMG_4654

IMG_4656

IMG_4763    IMG_4767

How are you sprucing for Spring?

 image FreeSpringClipArt

signature