Wednesday, October 29, 2014

Skeleton Costume Trophies

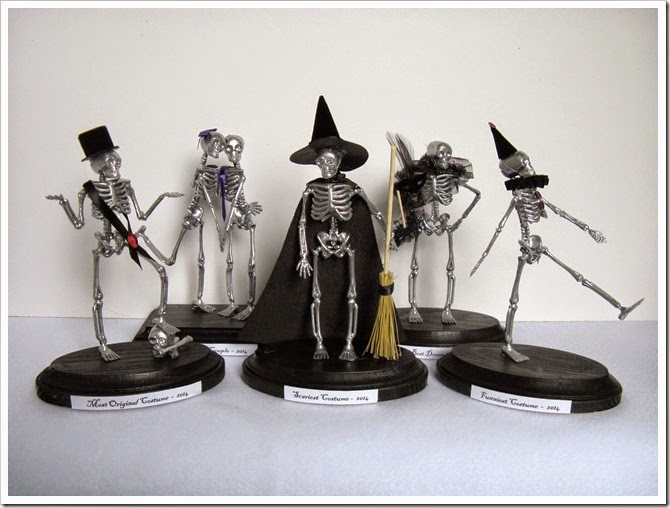
It’s only two days to Halloween!!  Which means we better be finishing up our Halloween party decorations and prizes.  This year I finally got around to making a set of those cute skeleton trophies that you can find in stores and on Pinterest.  They are so easy, cheap and most importantly, fun to make!  And fun to receive I hope! :)

IMG_0318

Basically you buy these tiny skeleton garlands from the Dollar store and spray paint them gold and mount on a trophy base in a specific pose.  Add a title for the prize and you are done.  I decided to spray mine silver because I don’t think gold is a Halloween color and also because I didn’t have any gold spray paint.  :)  I bought little oval wood cutouts from Michael’s to stand my figures on.  Note:  these are 20 cents cheaper at Joann’s.  Coulda saved a dollar!! :)  Plus they have round ones in case that is more your jive.  Mine are all oval except the couple’s award because I thought they needed more room, but really they would fit on the oval, too. :)

I started by painting the bases black with gloss craft paint.  While those were drying, I sprayed the front and back of my skeletons with silver spray paint.  Then I had to decide what awards I was going to give.  This year I am awarding the Best Dressed, Cutest Couple, Scariest, Funniest, and Most Original costumes.  I could have gone on and on but everyone can’t get a prize! :)

There is a lot of inspiration for these trophy poses online, so I used those as my guide and picked poses and props and costume details that would be colorful and fun.  My favorites were the ones with lots of personality and colorful accessories.  You can easily break the plastic skeletons and repose them and glue them into place.  Most tutorials suggest you use a wooden dowel as a support to stand your skeleton.  I found all you had to do was hot glue the hip joints and he would stand right up.  That way there is no ugly stick in his back. :)

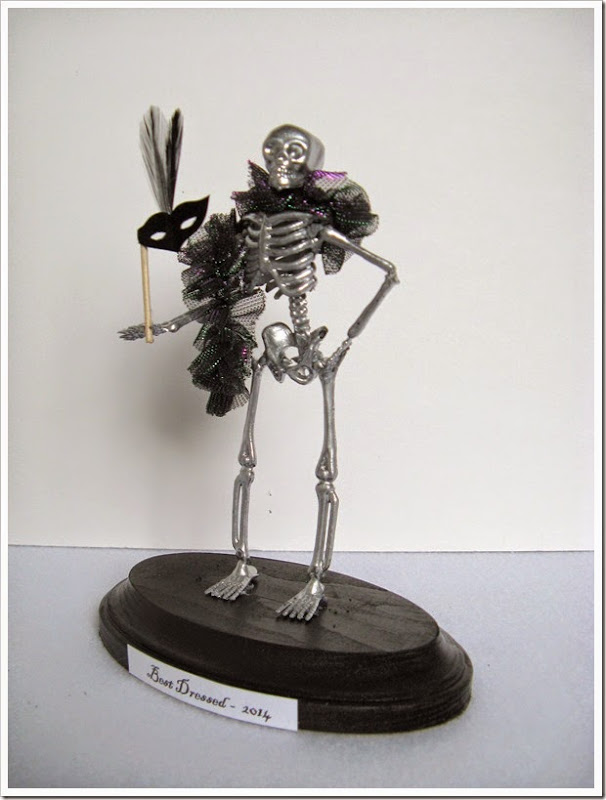
For Best Dressed (which is a superlative I regular award  in my party recaps) I posed my skeleton with a tiny black mask with a feather and a shiny purple and black boa.  The mask is cut from black velvet flocked scrapbook paper and glued to a toothpick.  The boa I made with a tiny strip of mesh gathered up and twisted around the skeleton neck and shoulder.  She is clearly rocking that boa!  I broke her elbow and glued her hand to her hip.  Just reinforce any joints you break with more glue.  Then I glued her hips in place and glued the feet to the base.  I printed a little banner with her superlative and glued it on the front.  Voila!

IMG_0327

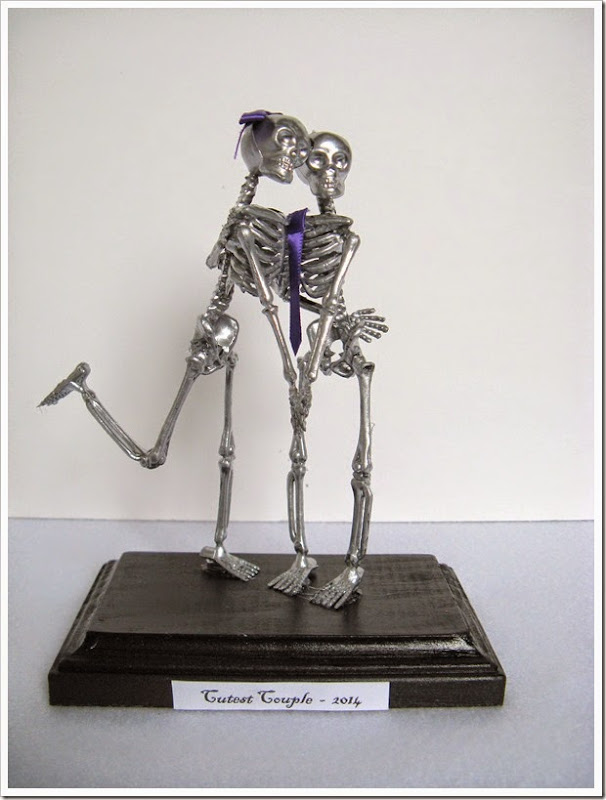
Cutest couple was the most fun to pose.  I found so many good ideas for this one.  But isn’t this just the sweetest?  They have their arms around each others backs and hands together in front.  Her leg is kicked up behind and their heads are just touching.  Awww!  To unify their look I accessorized them with a purple bow for her and a matching purple necktie for him.  So cute!

IMG_0320

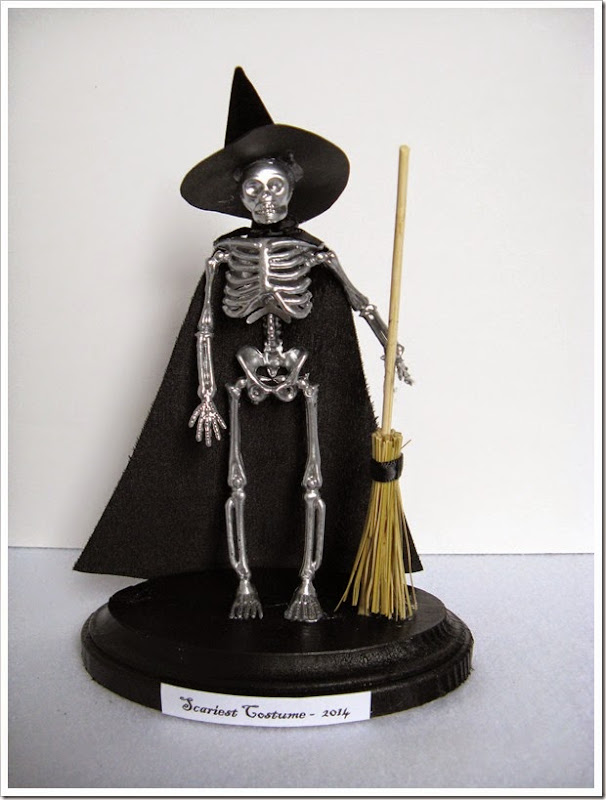
The Scariest Costume award has donned a witch costume complete with tiny pointed hat and cape and even a little wooden broom.  The hat is made from the velvet flocked paper and glued together.  The cape is just a piece of fabric with a ribbon glued to the top and tied around his neck.  The broom is a wooden skewer with some straw from an actual broom bundled and glued on the bottom.  Not the scariest pose, but this was my first one and I was afraid to break stuff.  I got over that! :)

IMG_0334

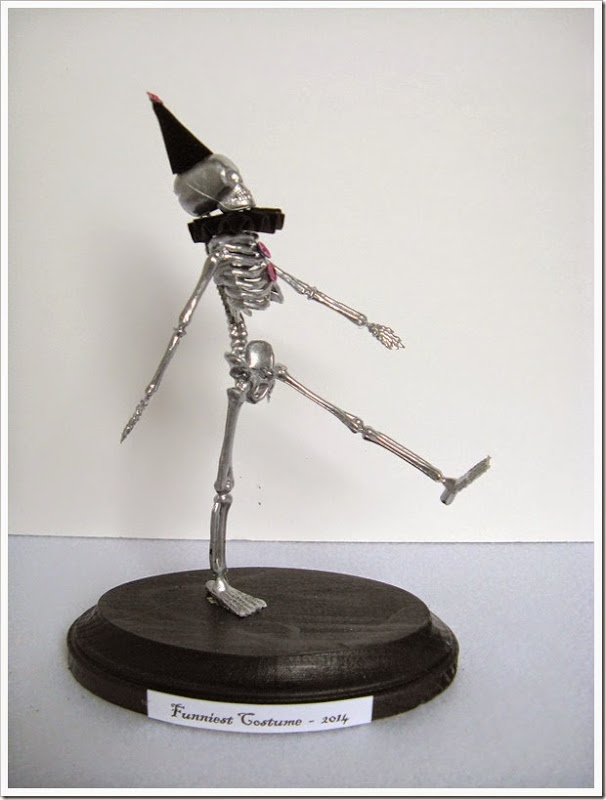
The Funniest Costume guy is sporting a tiny black pointed hat and a matching pleated ruff.  He has hot pink buttons on his chest and one on his hat.  He is the master of silly walks.  :)  He’s funny and he knows it!

IMG_0333

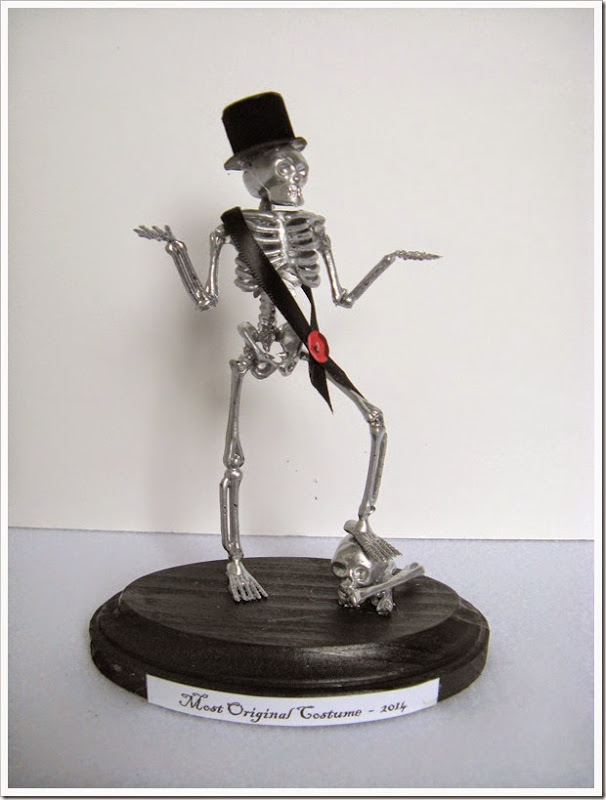
For the Most Original costume, I was at a loss for what to do.  It’s got to be original, right?  So I made him a sash and a top hat.  He’s shrugging nonchalantly about his original costume, but he’s clearly top of the pack because he’s propping up his foot with a fellow skeleton’s head.

IMG_0322

I had so much fun with these, I’m already coming up with great ideas for next year.  And to ensure I don’t forget them:  Best Execution, which will be for the costume that is the most well-executed.  And the trophy will be getting the best execution.  Firing squad?  Guillotine?  Then, Cutest Costume with an adorable tutu and wings perhaps?  And luckily, I have 367 days to come up with some more! 

Stay tuned for more details from this weekend’s soiree.  Have a Happy Halloween!

signature 1

For more Halloween inspiration check out our party recaps of yore: 2013, 2012, 2011, and 2010.

Tuesday, October 28, 2014

A New Lawn

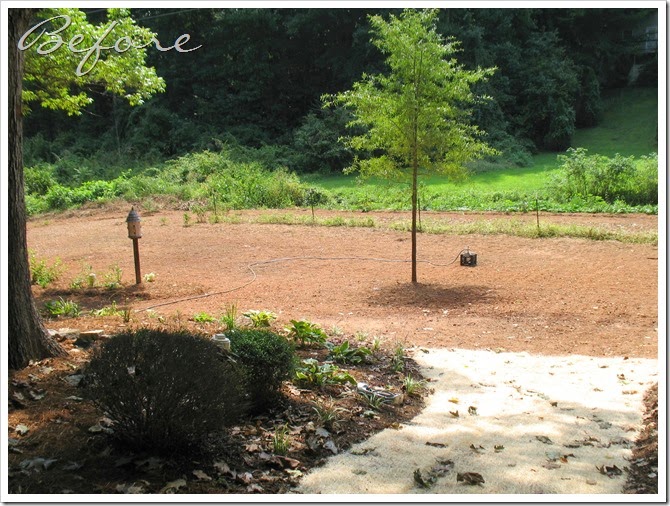
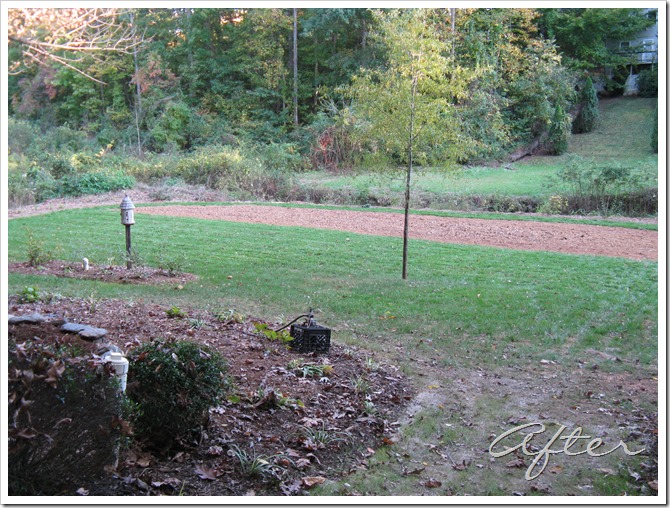
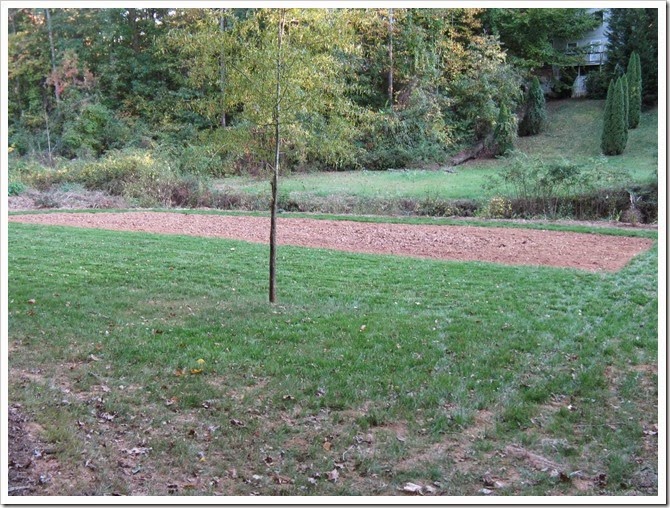
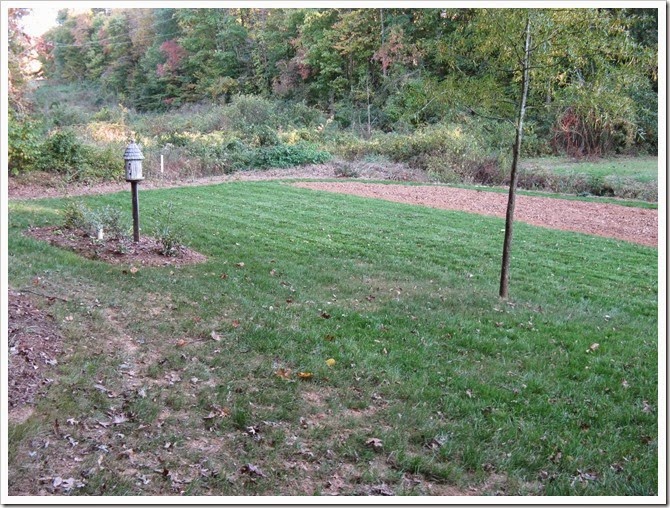
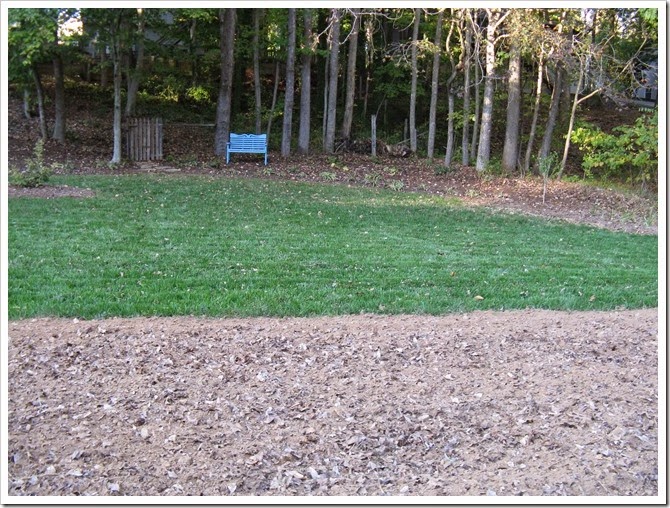
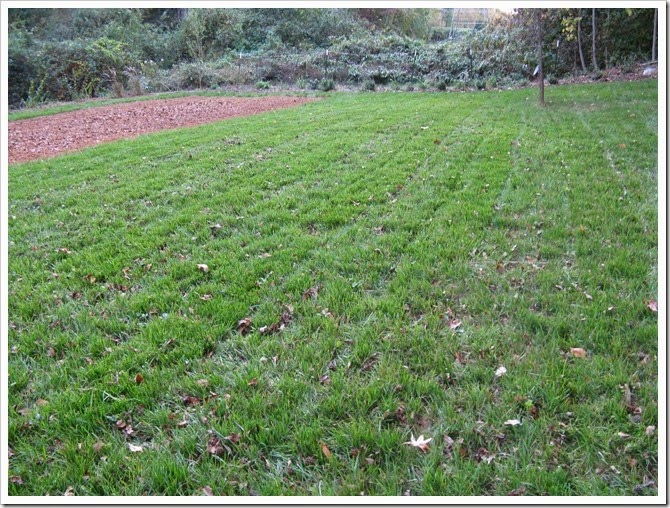
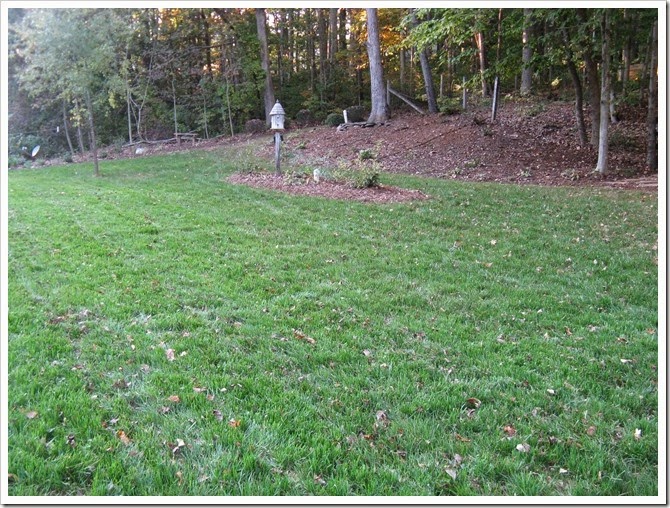
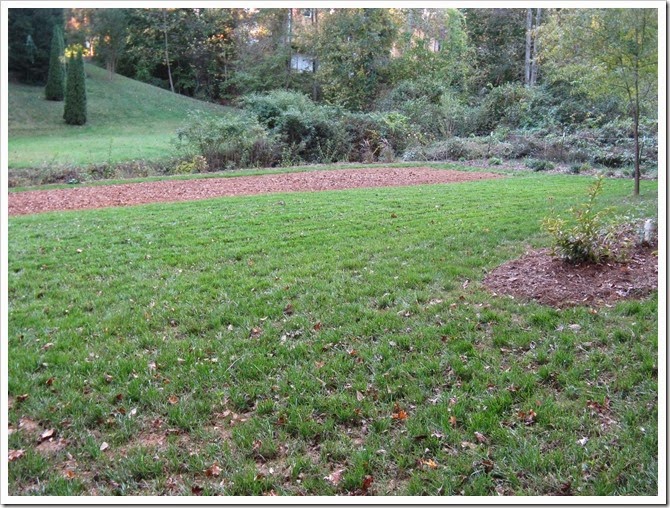
We spent the summer clearing and cultivating our new garden lot at the back of our property.  Once Fall came around, it was time to plant grass for our new lawn!  We envisioned a big yard for throwing the frisbee, playing catch with Riley and having friends over for a firepit or cornhole.  Now that the grass has come in, that’s exactly what we have!

We planted in early September and after reseeding a bit in early October, check out the transformation:

IMG_7313

IMG_0284

The edges are still a little patchy, but I’ll give them some TLC come Spring and hopefully they will rebound and look as good as the center section.

IMG_0285

IMG_0287

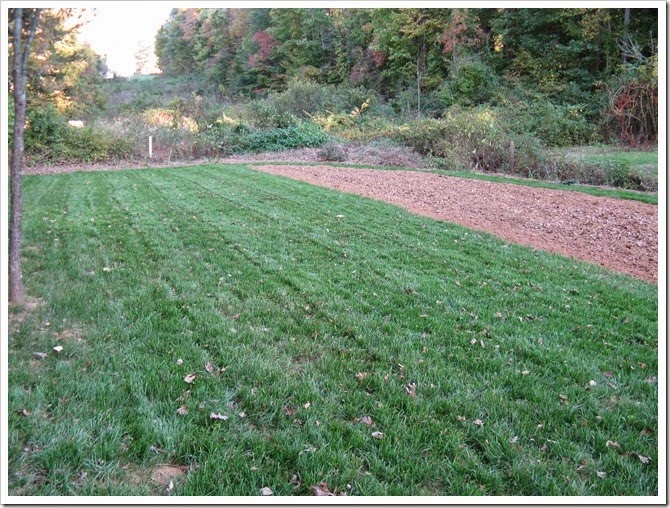
I love mowing down here because it’s all in straight lines! :)

IMG_0291

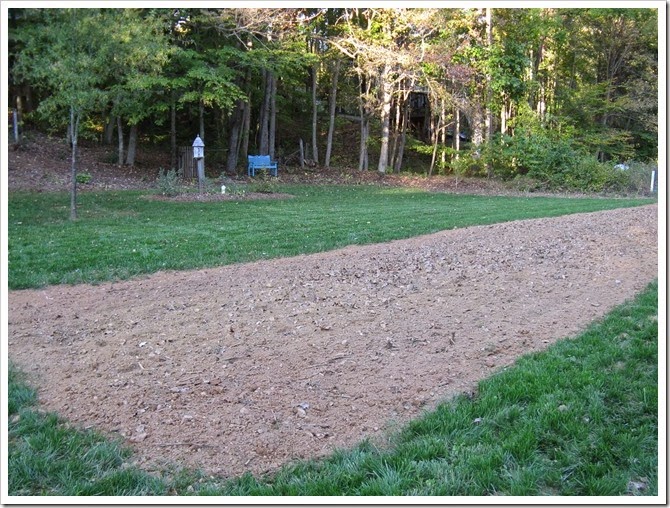
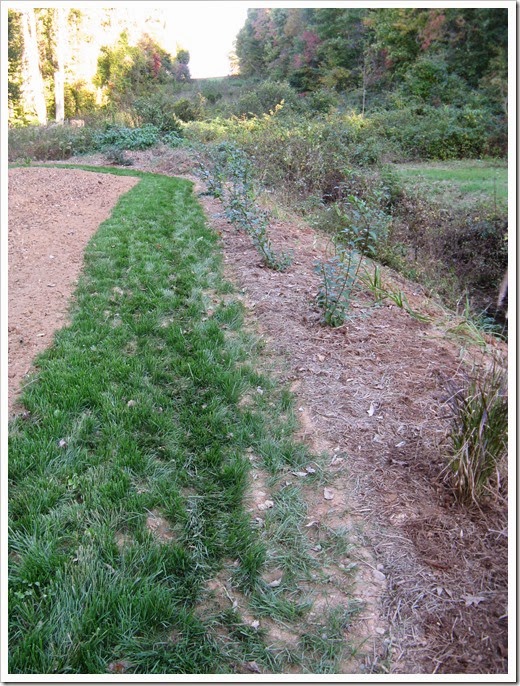
Mama was here last weekend to till the garden and plant rye for the winter.  It’s all pretty now framed by green grass!

IMG_0295

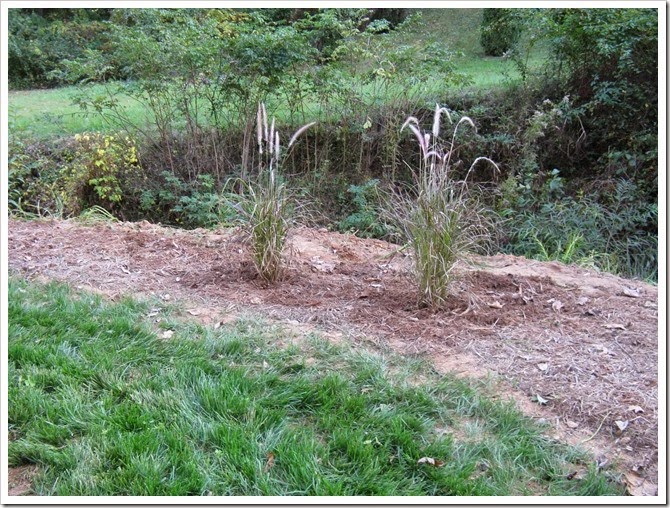
We also planted a couple of purple fountain grasses on the creekbank bed.

IMG_0292

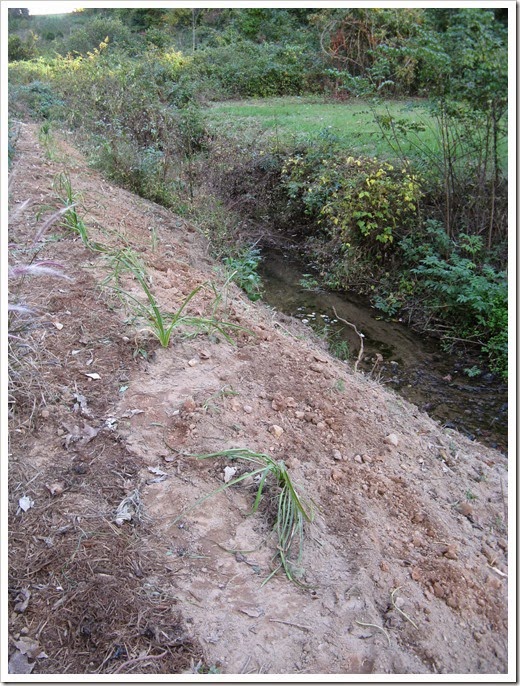
And Mama did some more clearing on the actual bank.  We have plans to fill this in with non-weed specimens next year! :)

IMG_0293

IMG_0297

IMG_0298

So pretty, I want to play frisbee!!!  It’s really nice not to have a mud yard anymore.  Riley loves to come romp around down here (with supervision since there is no fence around it) and she can do so without getting all muddy now!  Yay puppy play zone!

IMG_0302

IMG_0301

So there you have it, a new yard! :)

IMG_0303

Now back to Halloween projects!  Only 3 days til Halloween!  Eek!

signature 1

Tuesday, October 14, 2014

A Black and White Raven Themed Halloween Mantel

Hey! Long time no see!  I’m back and I have a Halloween mantel to share!  Yippee, Halloween time is here!   

I’ve been busy at my parents’ house in a decorating frenzy over the past weekend. I set to work decorating every square inch that I could get my hands on.  I still have a lot of things to add, but most of those will go on at the last minute.  :)

First things first, my favorite, the Halloween mantel.

IMG_20141012_153632_094

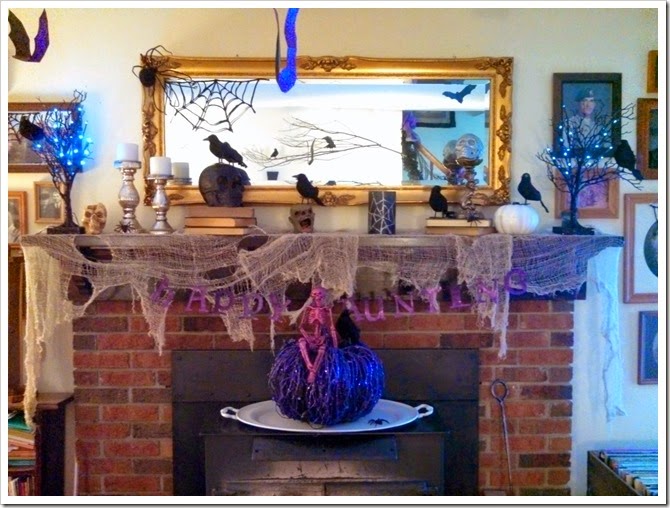
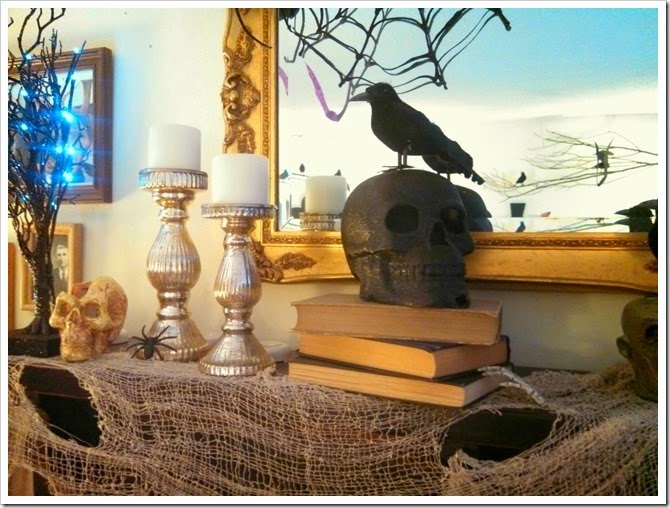
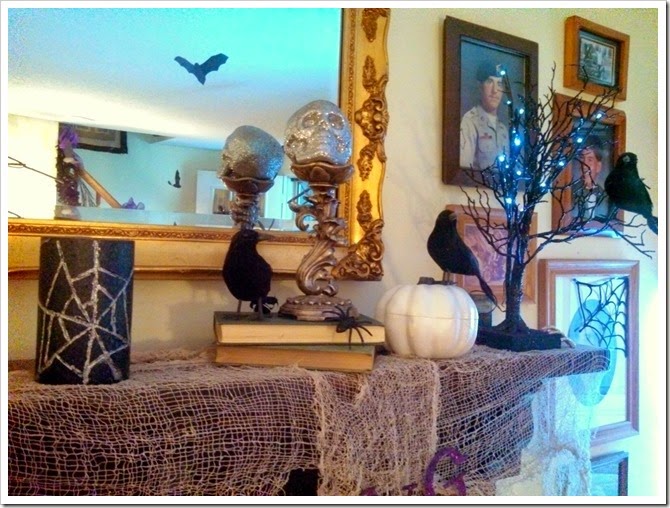
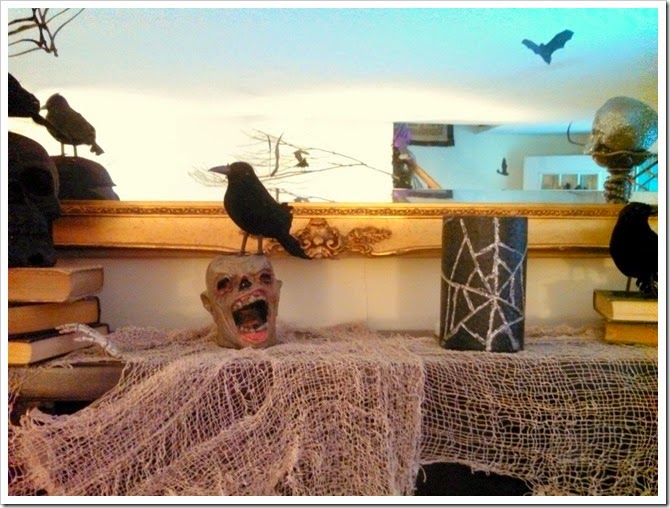
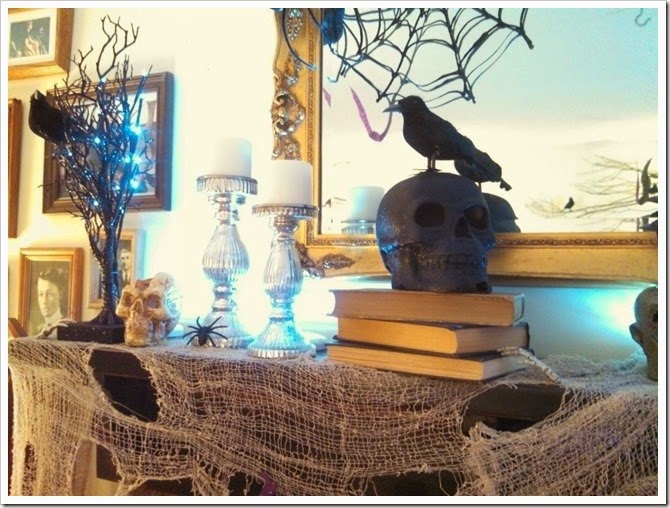
I used basically the same scheme as last year but I decided to limit myself to black and white this year with a couple of purple glittery things thrown in, as usual.  The living room is a purple and black theme so I have to coordinate.  I also wanted to incorporate a raven theme, so I went to the Dollar Tree and bought a bunch more ravens, we have so many now! :)  It’s an infestation… I love it!

I started with creepy cloth on the whole thing and my spooky lighted trees on either end.  Then I filled in with stacks of books turned with the pages out to keep the neutral theme.  I added some silver candlesticks and white candles, a white pumpkin, black and silver skulls and a flock of ravens perched on every surface. 

I love how the neutral book pages tie in with the gold mirror. 

IMG_20141012_153651_483

IMG_20141012_153702_895

IMG_20141012_153712_255

My mom added these puck lights behind all the décor to uplight it with a ghostly glow!  I love it! I’ll be adding votive candles to the display for the party, too.

IMG_20141012_153811_358

IMG_20141012_153820_016

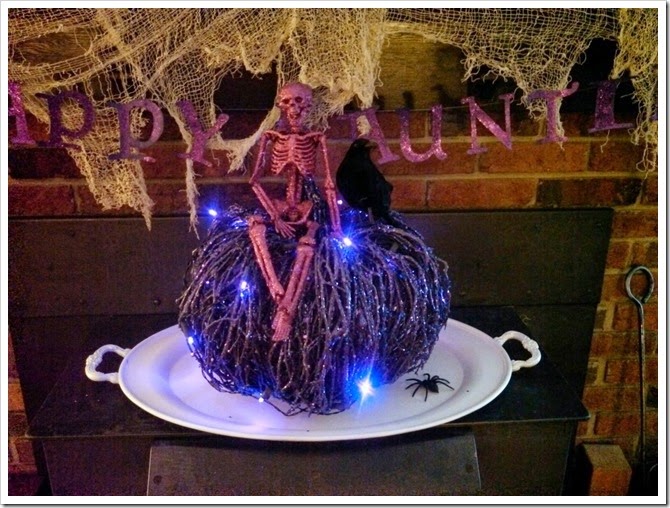
On the stove, I finished off the scene with our giant purple pumpkin and a purple skeleton perched on top.  He must be buddies with that crow, too. :)  I wrapped the pumpkin in purple LED lights for a little glow.

IMG_20141012_153828_137

Our party is starting earlier this year so there will be more daylight and everything will be more visible.  The added ambient lighting will come in later when darkness falls. 

Since we are in here, I will show you the stairway decorations and the bookcase, which continue the purple and black theme.

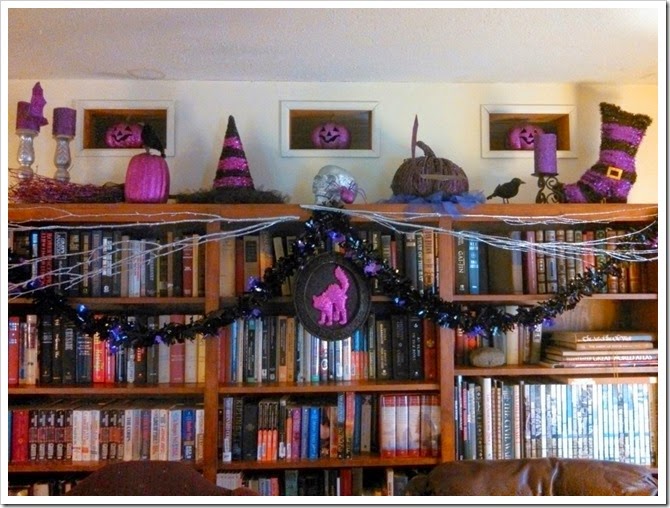
The bookcase is almost the same as last year, but I added these silver branches to the front and switched up the stuff on top.  The buffet table goes in front, and it will complement the scene. 

IMG_20141012_153640_877

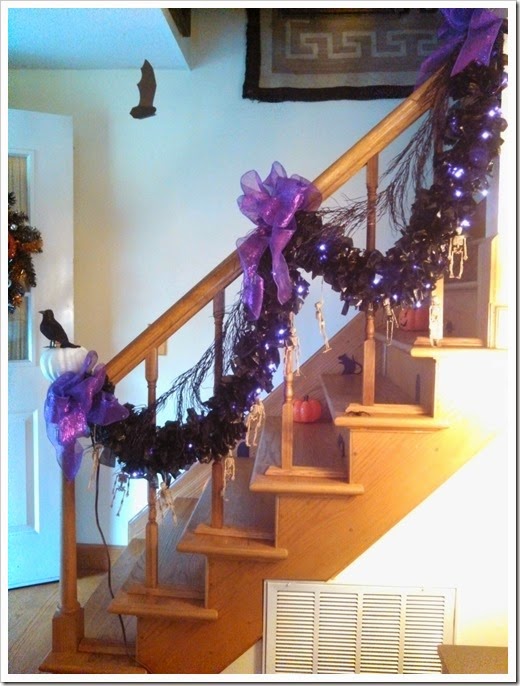
The stairwell is the same as last year.  I made the garland out of garbage bag strips tied on a length of twine.  I still love it!

IMG_20141012_153855_134

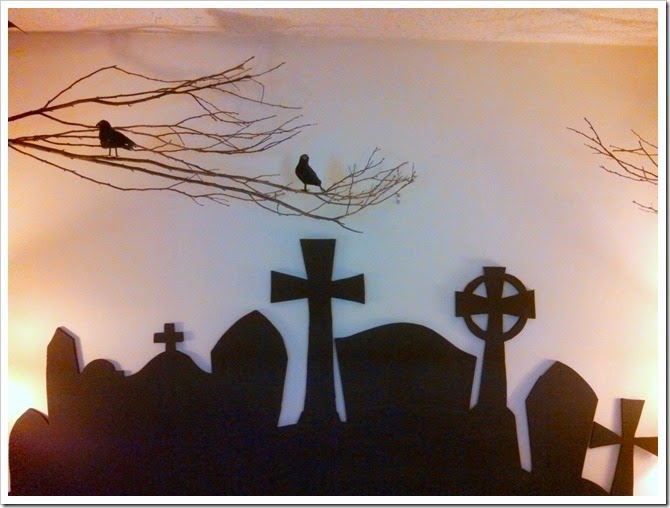
And on the wall behind the couch is our graveyard scene and spooky branches hanging above.  It’s the best!  I still have to add bats to the walls, but we are almost done in this room!

IMG_20141012_154048_116

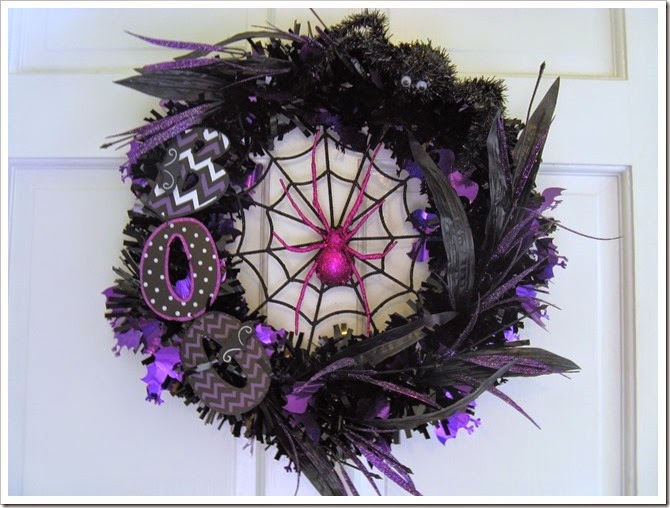
I just made a purple and black wreath that would look awesome in here, but I’m not sure where it will end up. 

IMG_0227

I bought a purple and black tinsel garland, a tinsel spider and the boo sign from ACMoore then added in the spiderweb decoration (from Party City) and some purple feathery picks from Michaels.  I love it!  It was so fun and so easy to make just by wrapping the tinsel on a wreath frame and then wiring on the decorations.

I’ll be back to share more decorations from the Guthrie Estate soon!  Stay tuned!  Only 17 days to go!

signature 1